A Nursery Feature Wall With Love | One Room Challenge Week 6
/
Well we did it, not in the first week like we originally had planned but all the way in the fifth week; we finally wrapped up all the nursery painting. It sure turned out to be nice that the One Room Challenge was extended another week.
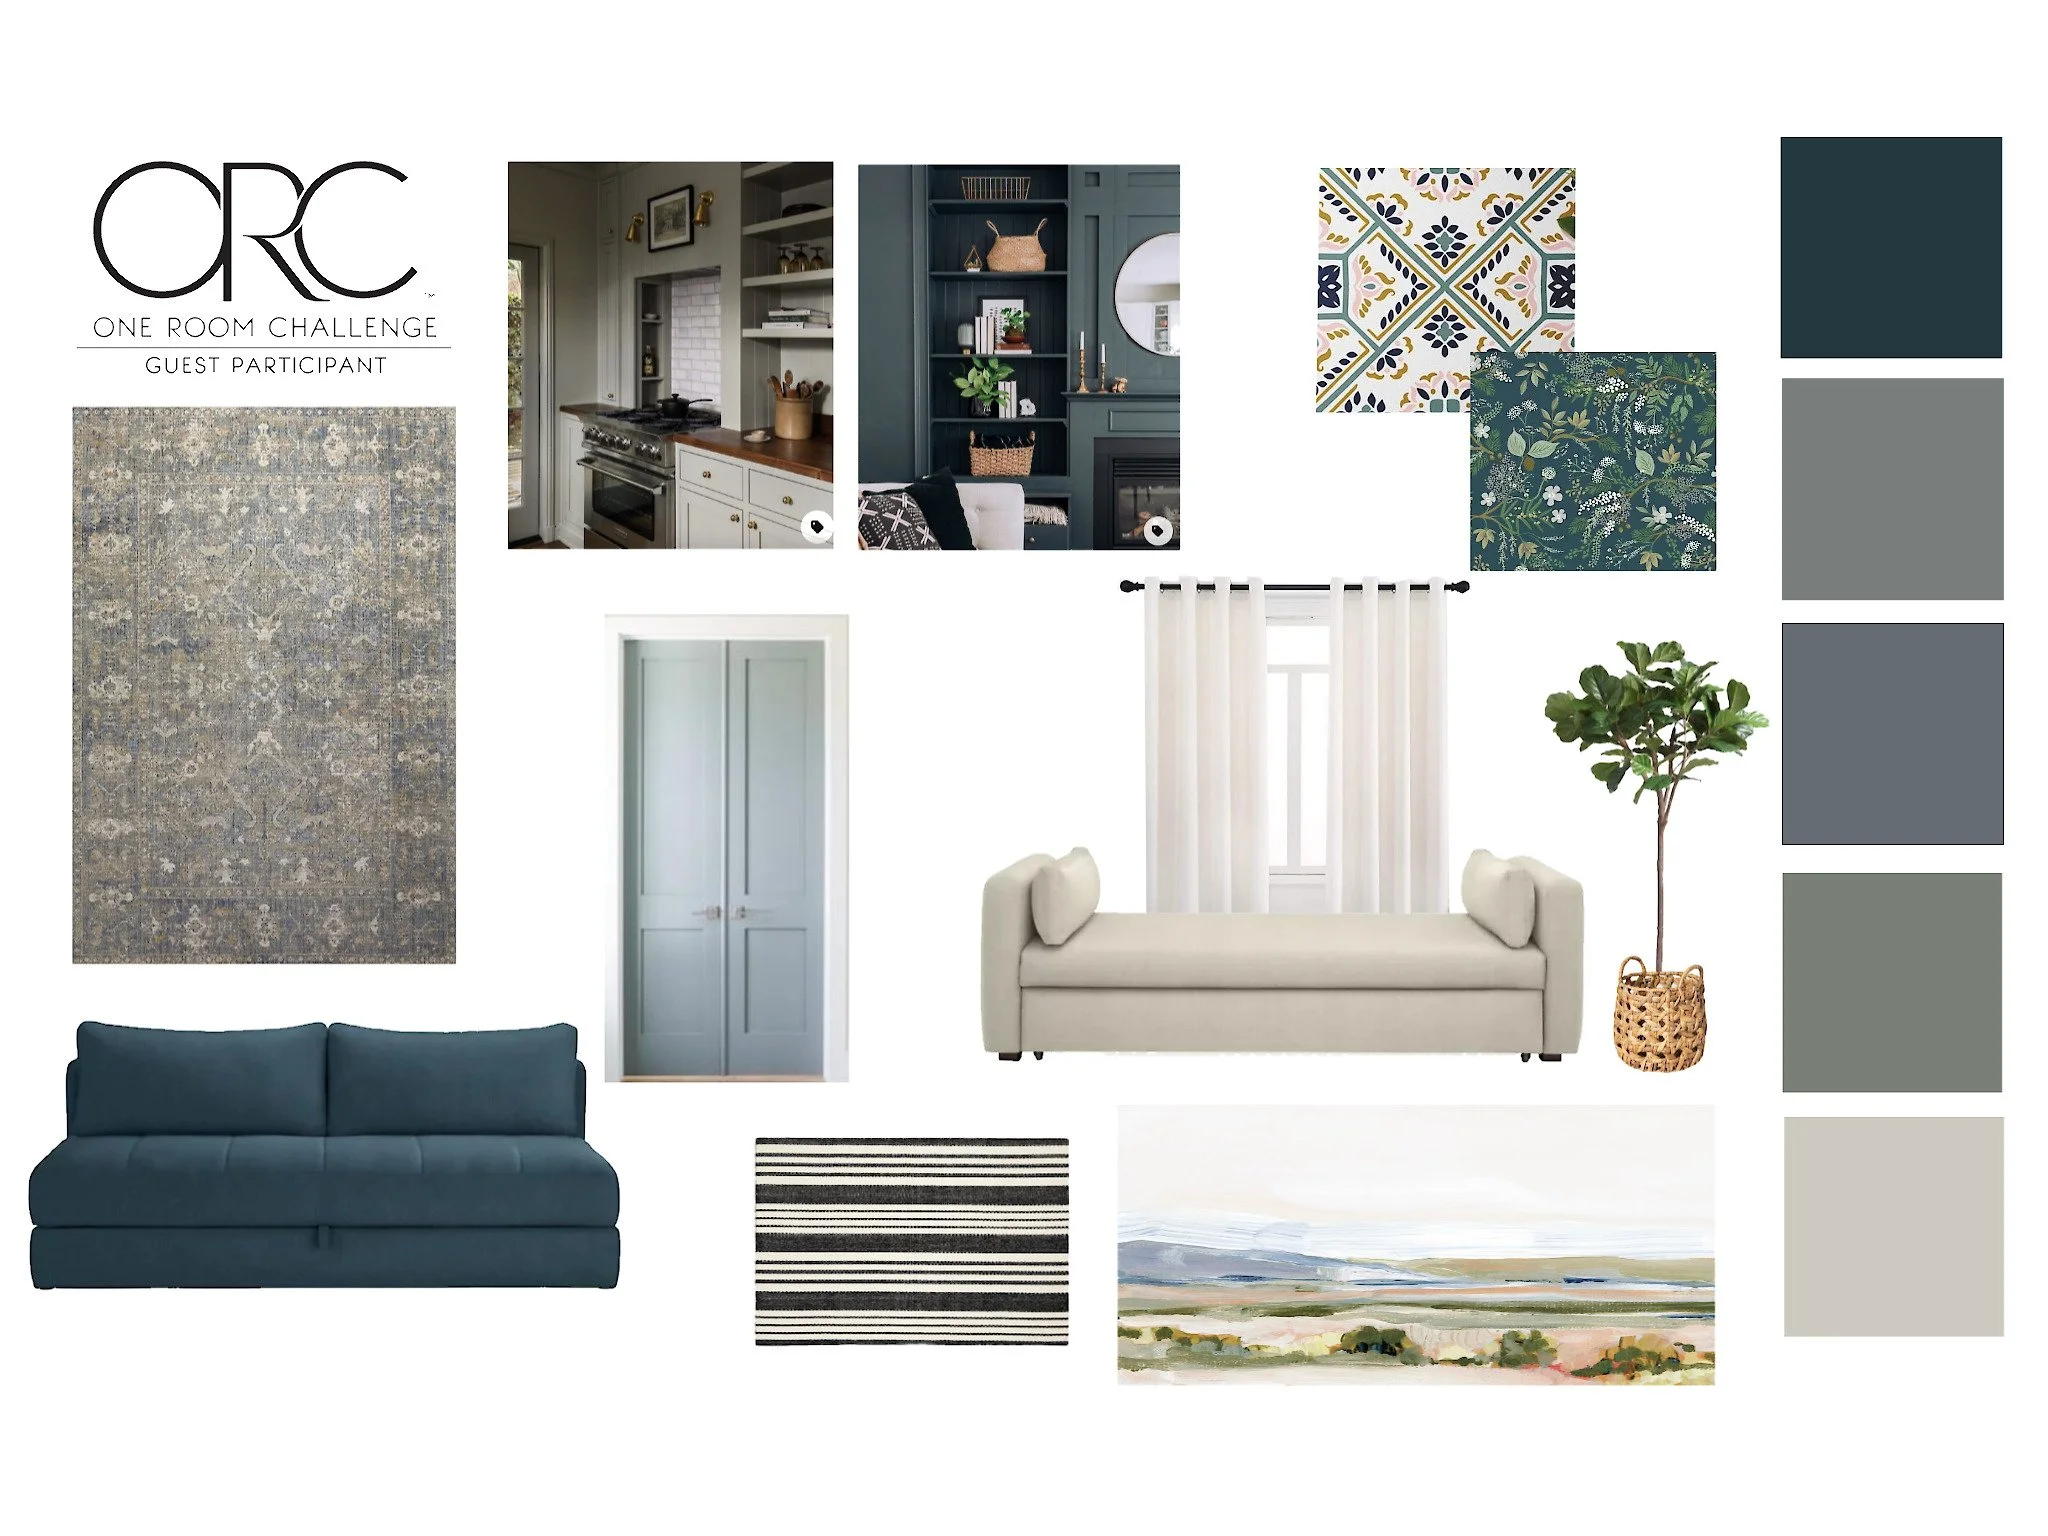
Here's what lead us to this week:The Design | Custom Artwork | Mid-Mod Dresser with Leather Pulls | Updates | Nursery Closet
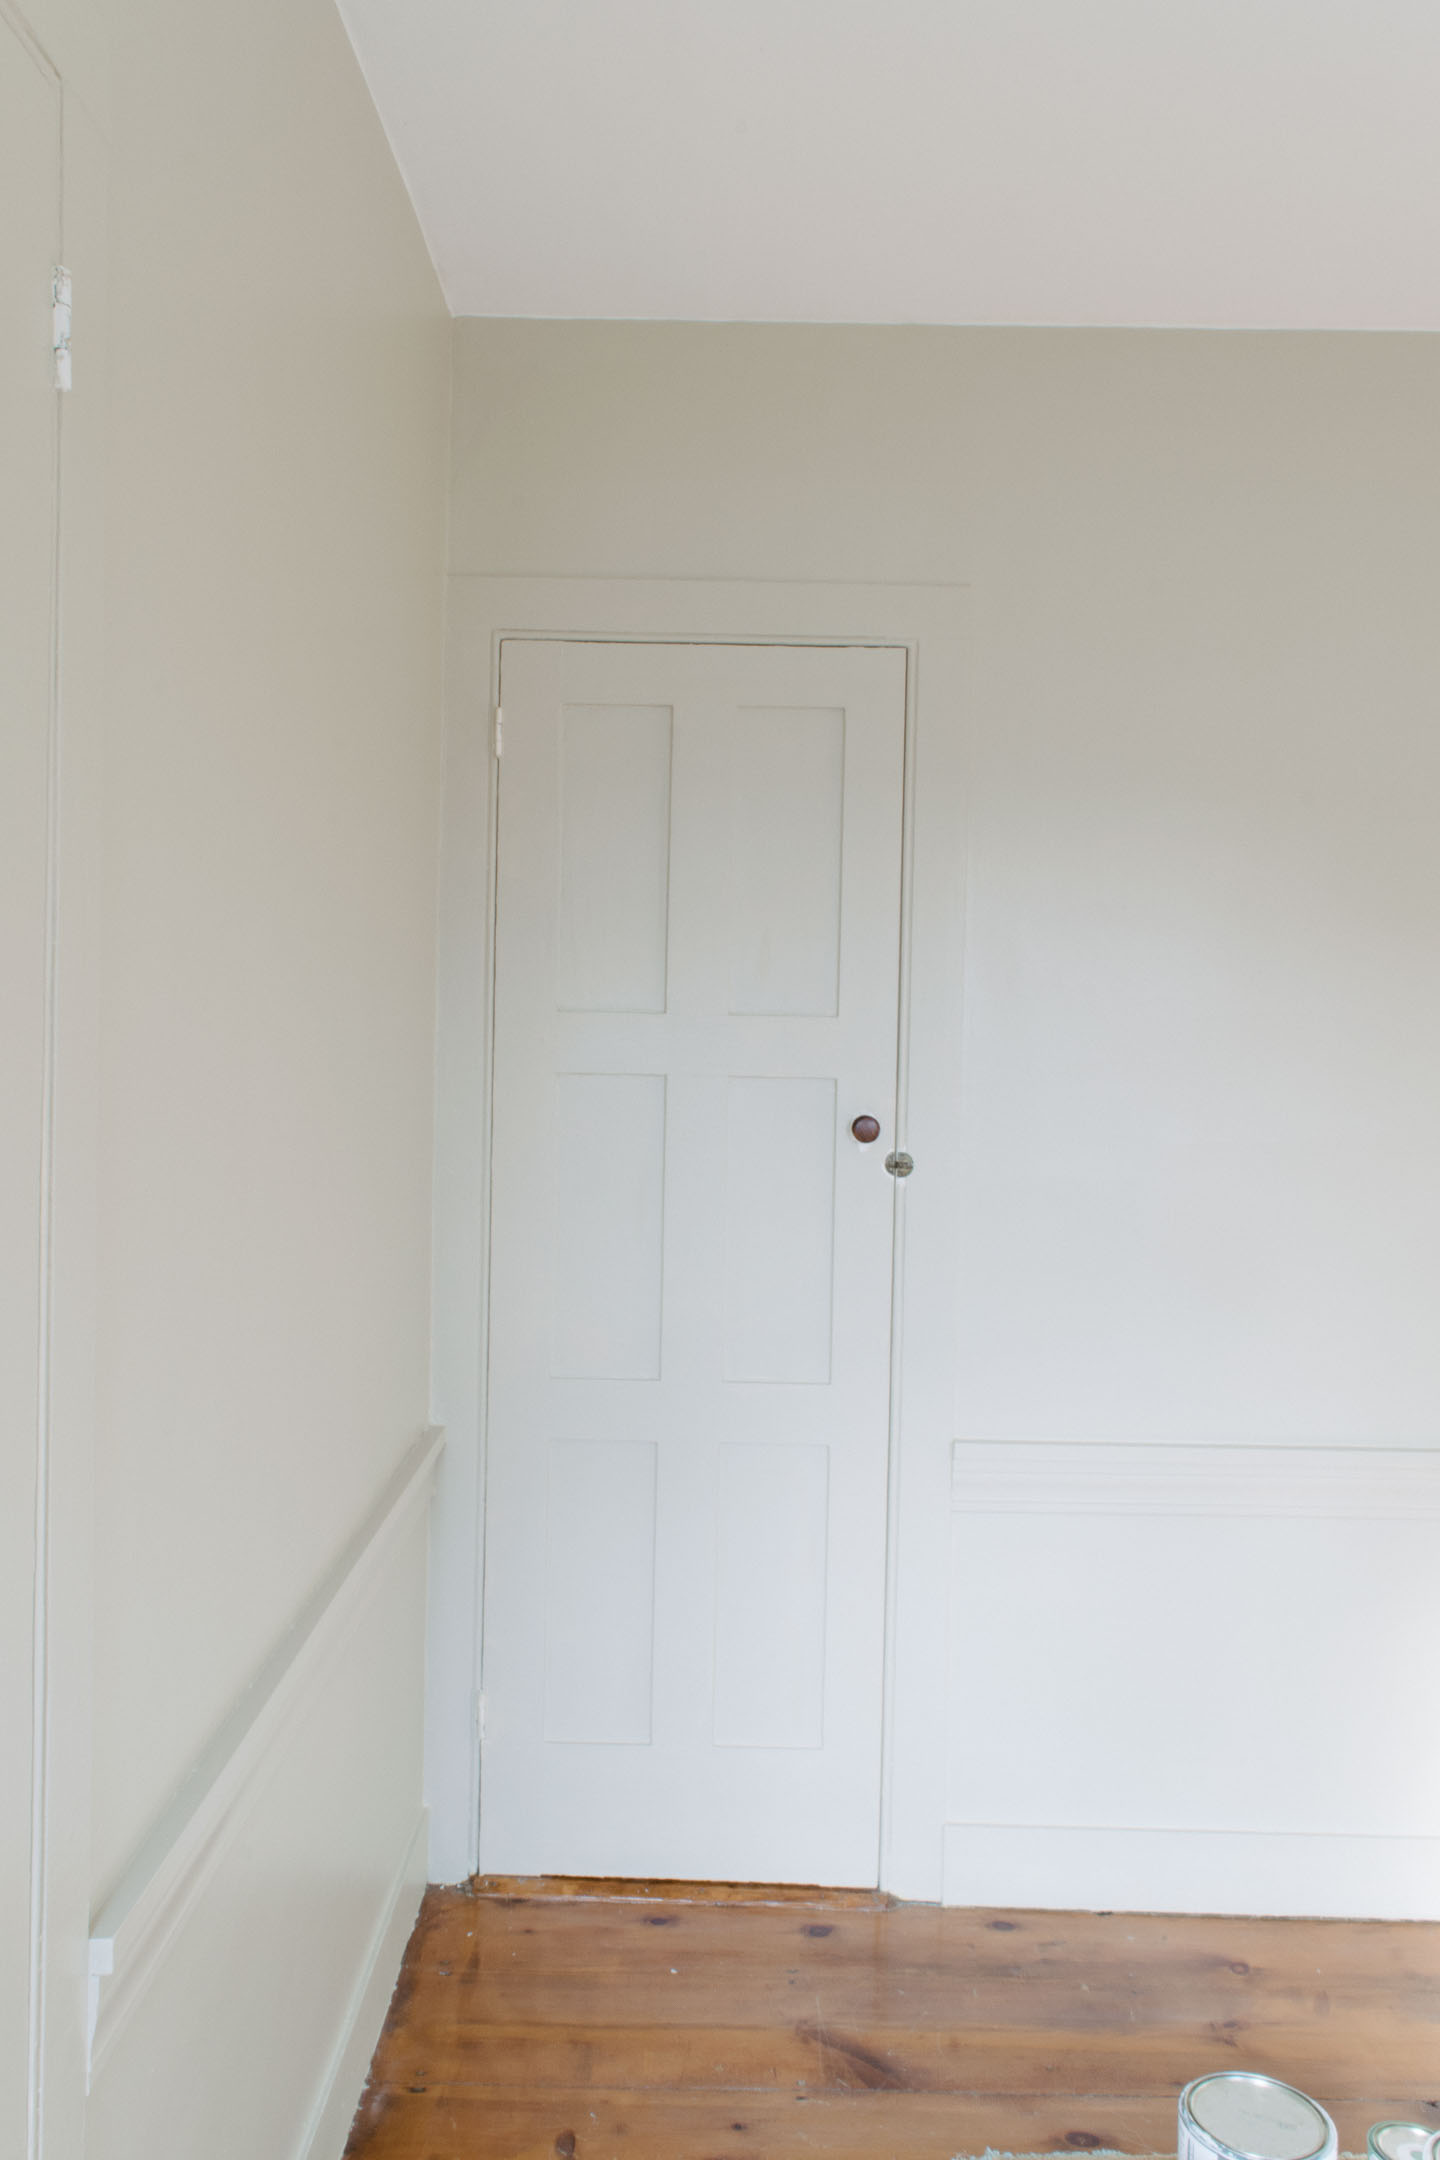
If your just joining us now we revealed the yellow wallpaper in week 1 that would need to be removed before painting the trim and walls (the same color) could commence. I figured it wouldn’t be fun to remove but I never imagined just how difficult it would be.
Here is where we started to refresh your memory:
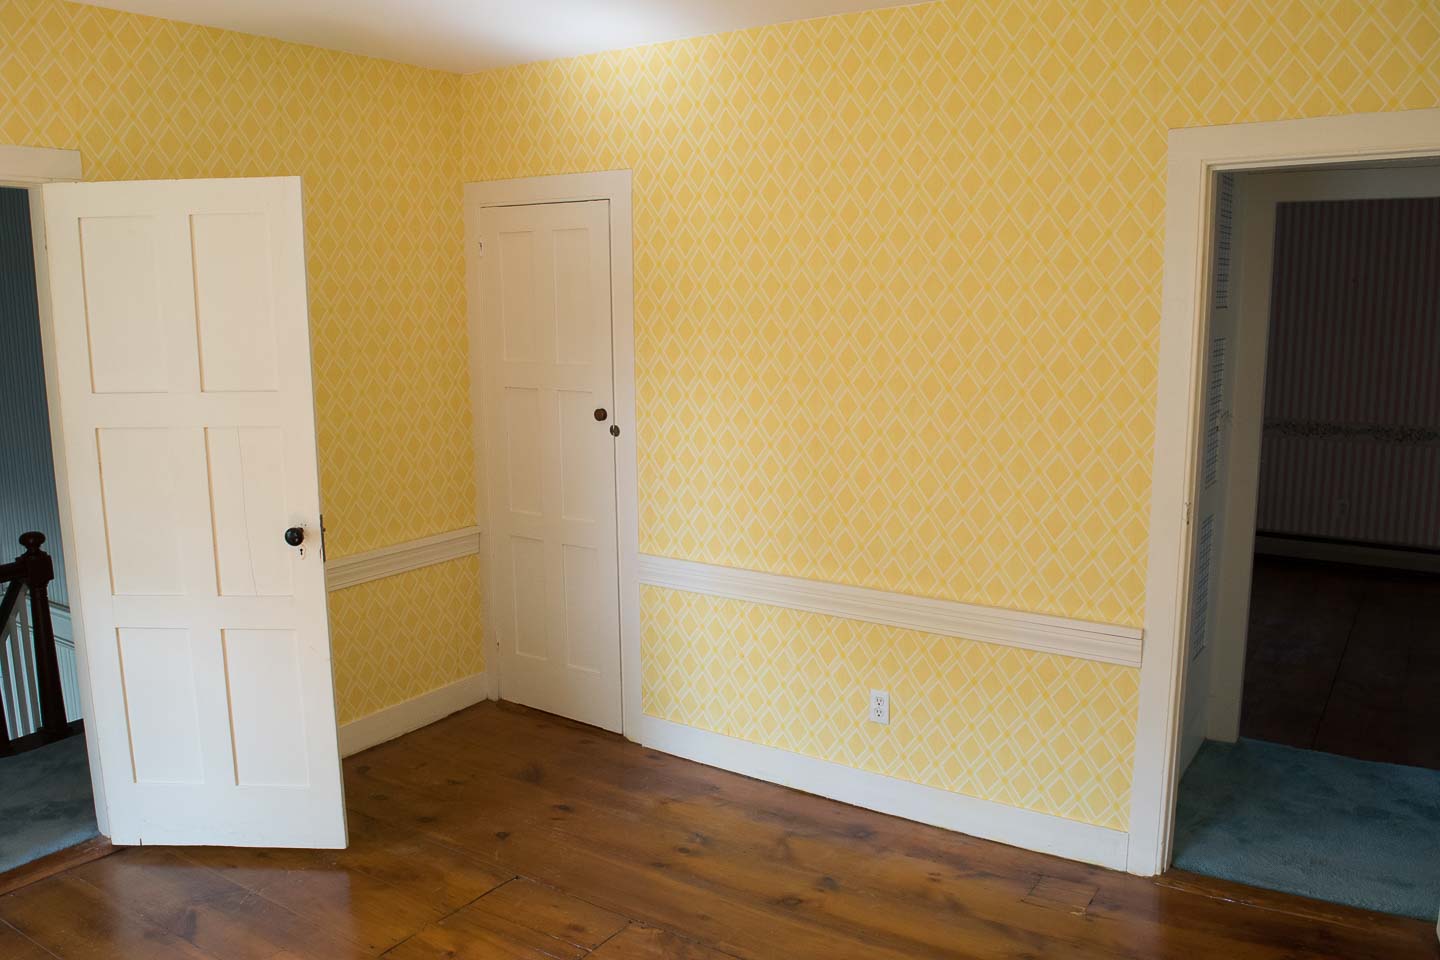
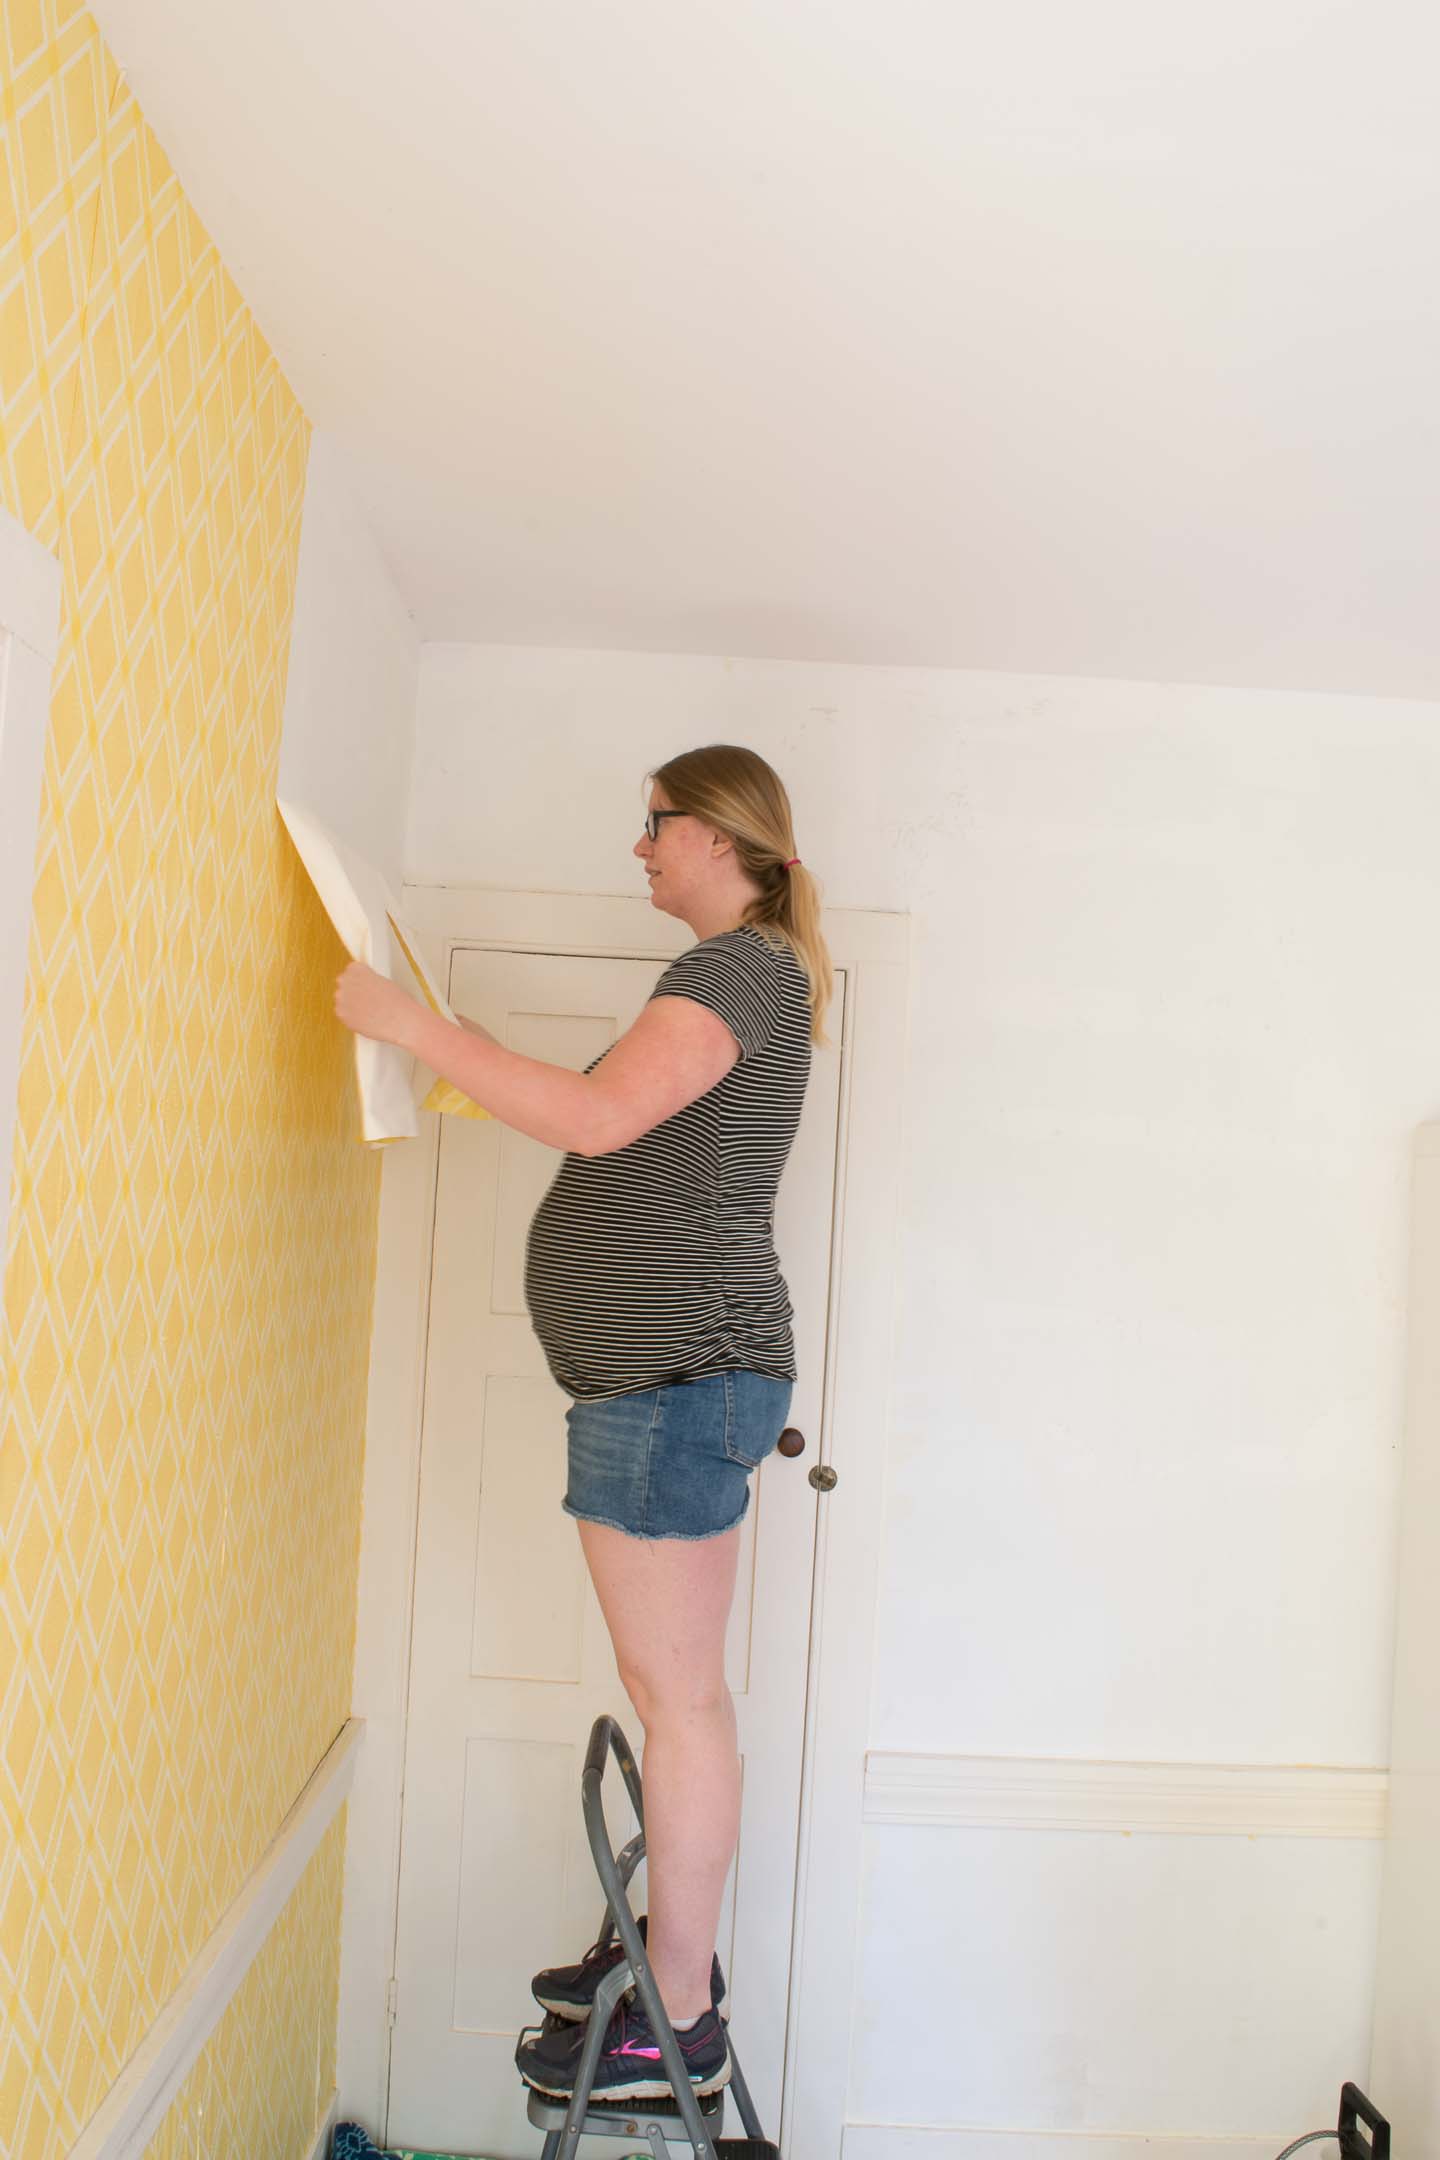
Wallpaper removal
This took a huge chunk of time because we actually have never had to remove wallpaper before. Therefore I was unaware that different types of wallpaper can need different removal techniques.
This wallpaper turned out to be some type of water resistant stuff from the early 70s. Apparently wetting down the paper doesn’t do much, who would have thunk it?!?
So I had to:
- Score all the paper with a little tool
- Wet everything down with a vinegar/water solution
- Peel off the top waterproof layer
- Wet everything down again
- Scrape off the backing and glue
- Clean the walls with scraper and sponge Two- three times
It was a process, but thankfully once I had done that part, Mitch had a day or two off from work and helped by plastering the walls in any spots that needed it and sanding. Then we had to clean the walls, again!
To say I will think twice before putting wallpaper back up anywhere in the house is an understatement!
Paint and More Paint
Then we started with priming everything since only some of it was primed before the wallpaper.
I did all my caulking after primer as per usual; I’m able to see issues better after getting that primer up. A painter also taught me the trick of dipping your finger in water before running it along the bead of caulking, turns out beautiful every time.
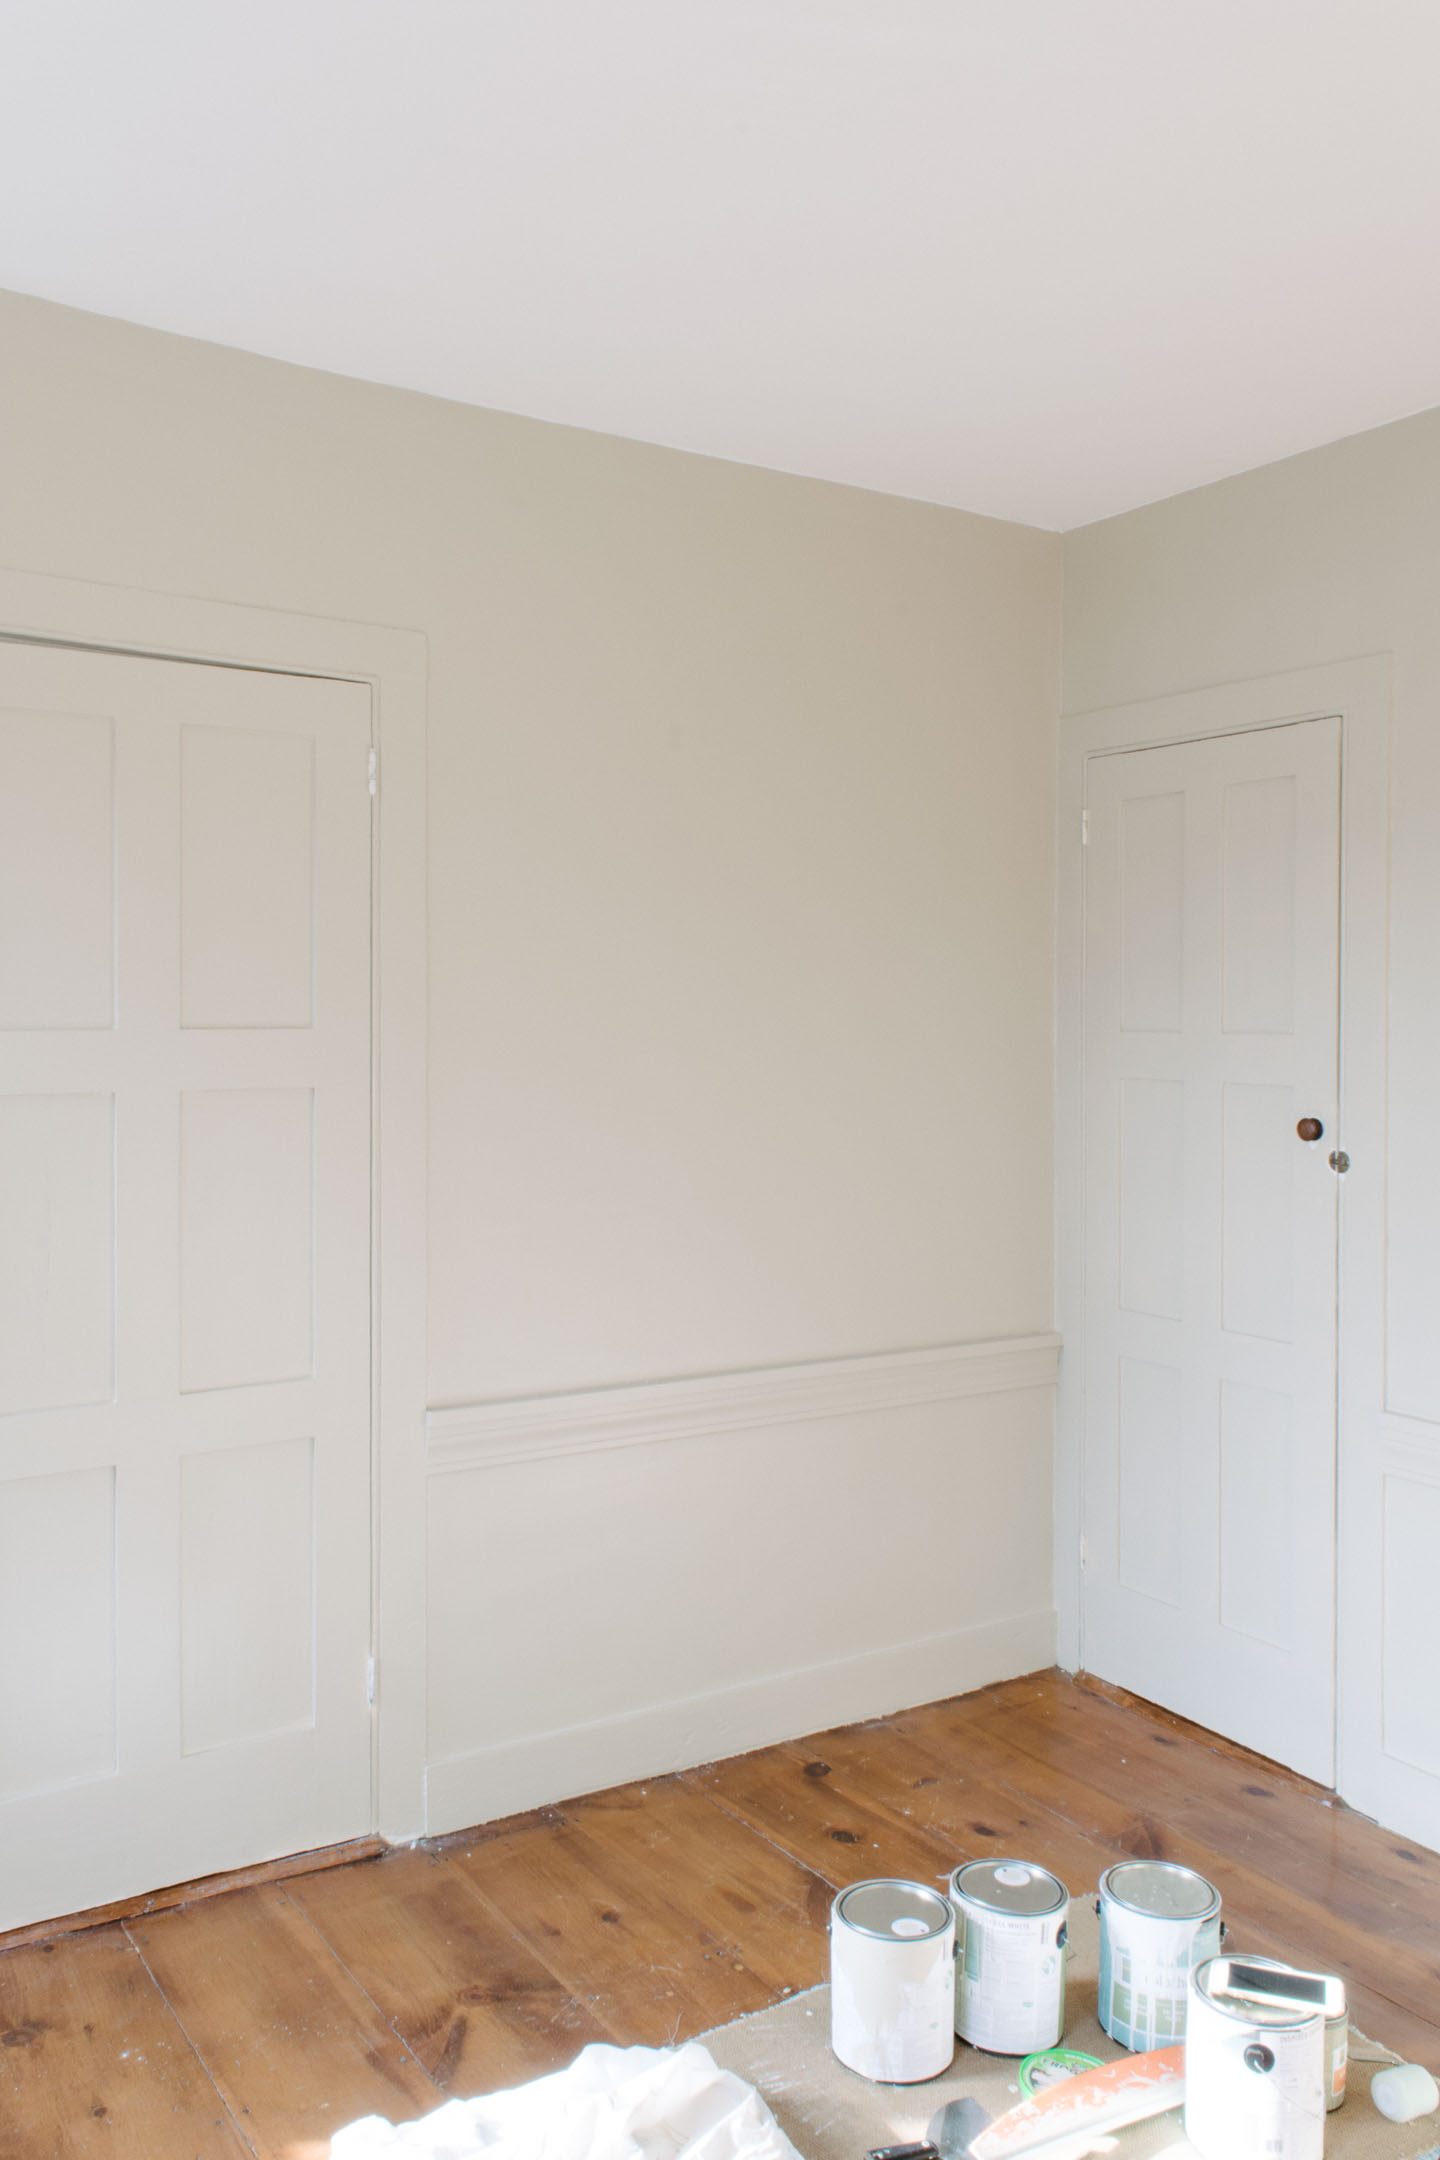
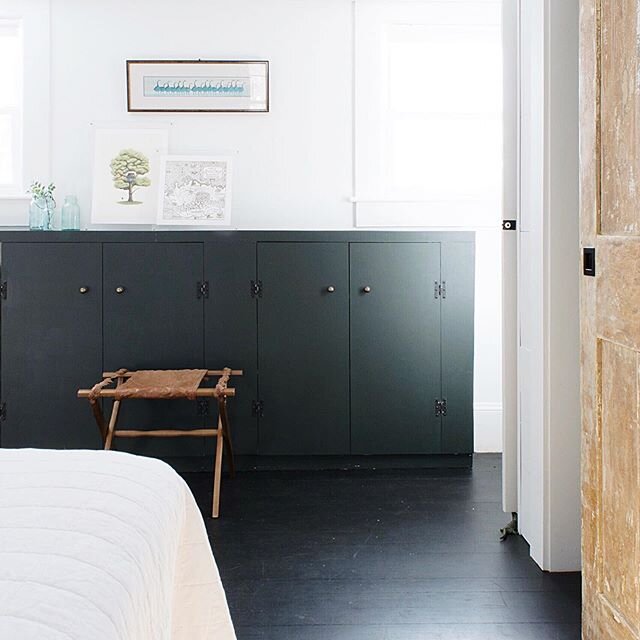
Then we put on two coats of eggshell paint on everything, trim, walls, and baseboard heaters.
Initially I got worried about the darkness but it’s really pretty wonderful. I will say my “neutral” room has turned out to be not so neutral anymore. But you will see that in the reveal shots!
We've since removed the doors and original (?) hinges so that the old paint could be removed and the hinges could be sprayed black.
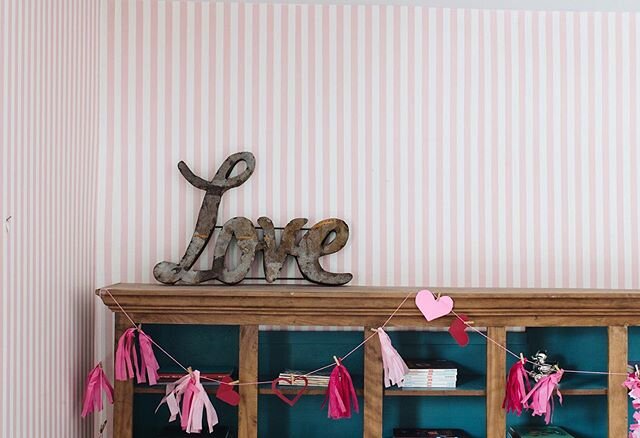
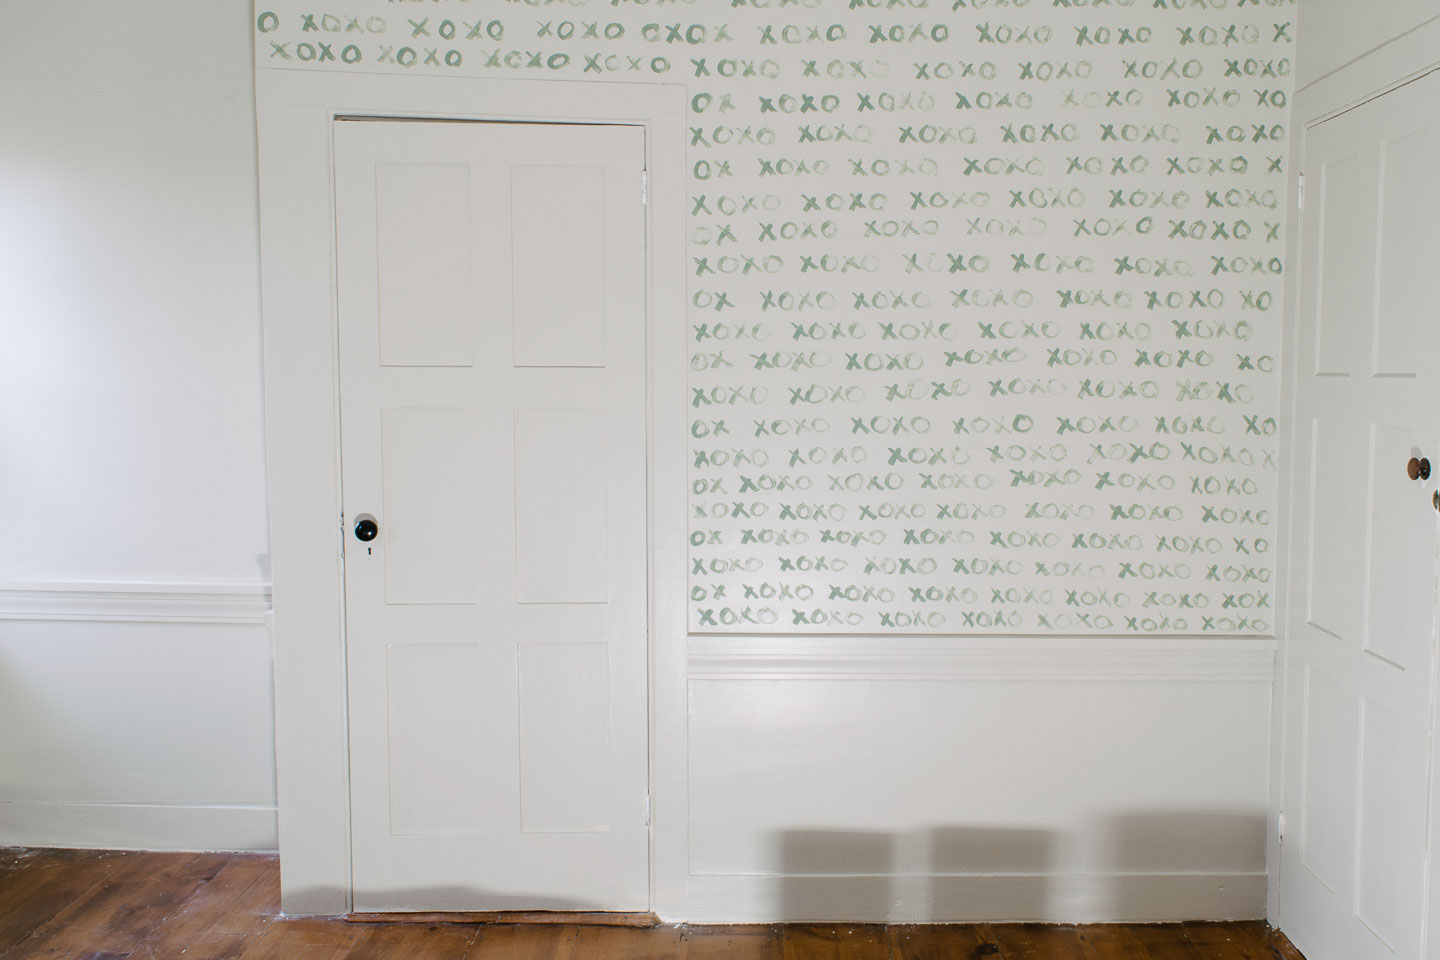
Nursery Feature Wall
I wanted to do another Feature Wall since we have been missing the uniqueness of our last one from last spring ORC (we sold the tiny bungalow in September) .
Before we even knew whether we were having a boy or a girl an idea popped into my head about painting xoxo on the wall in either green or possibly green with a pink here or there.
Mitch couldn’t visualize it but went along with the idea anyways and so here we are!
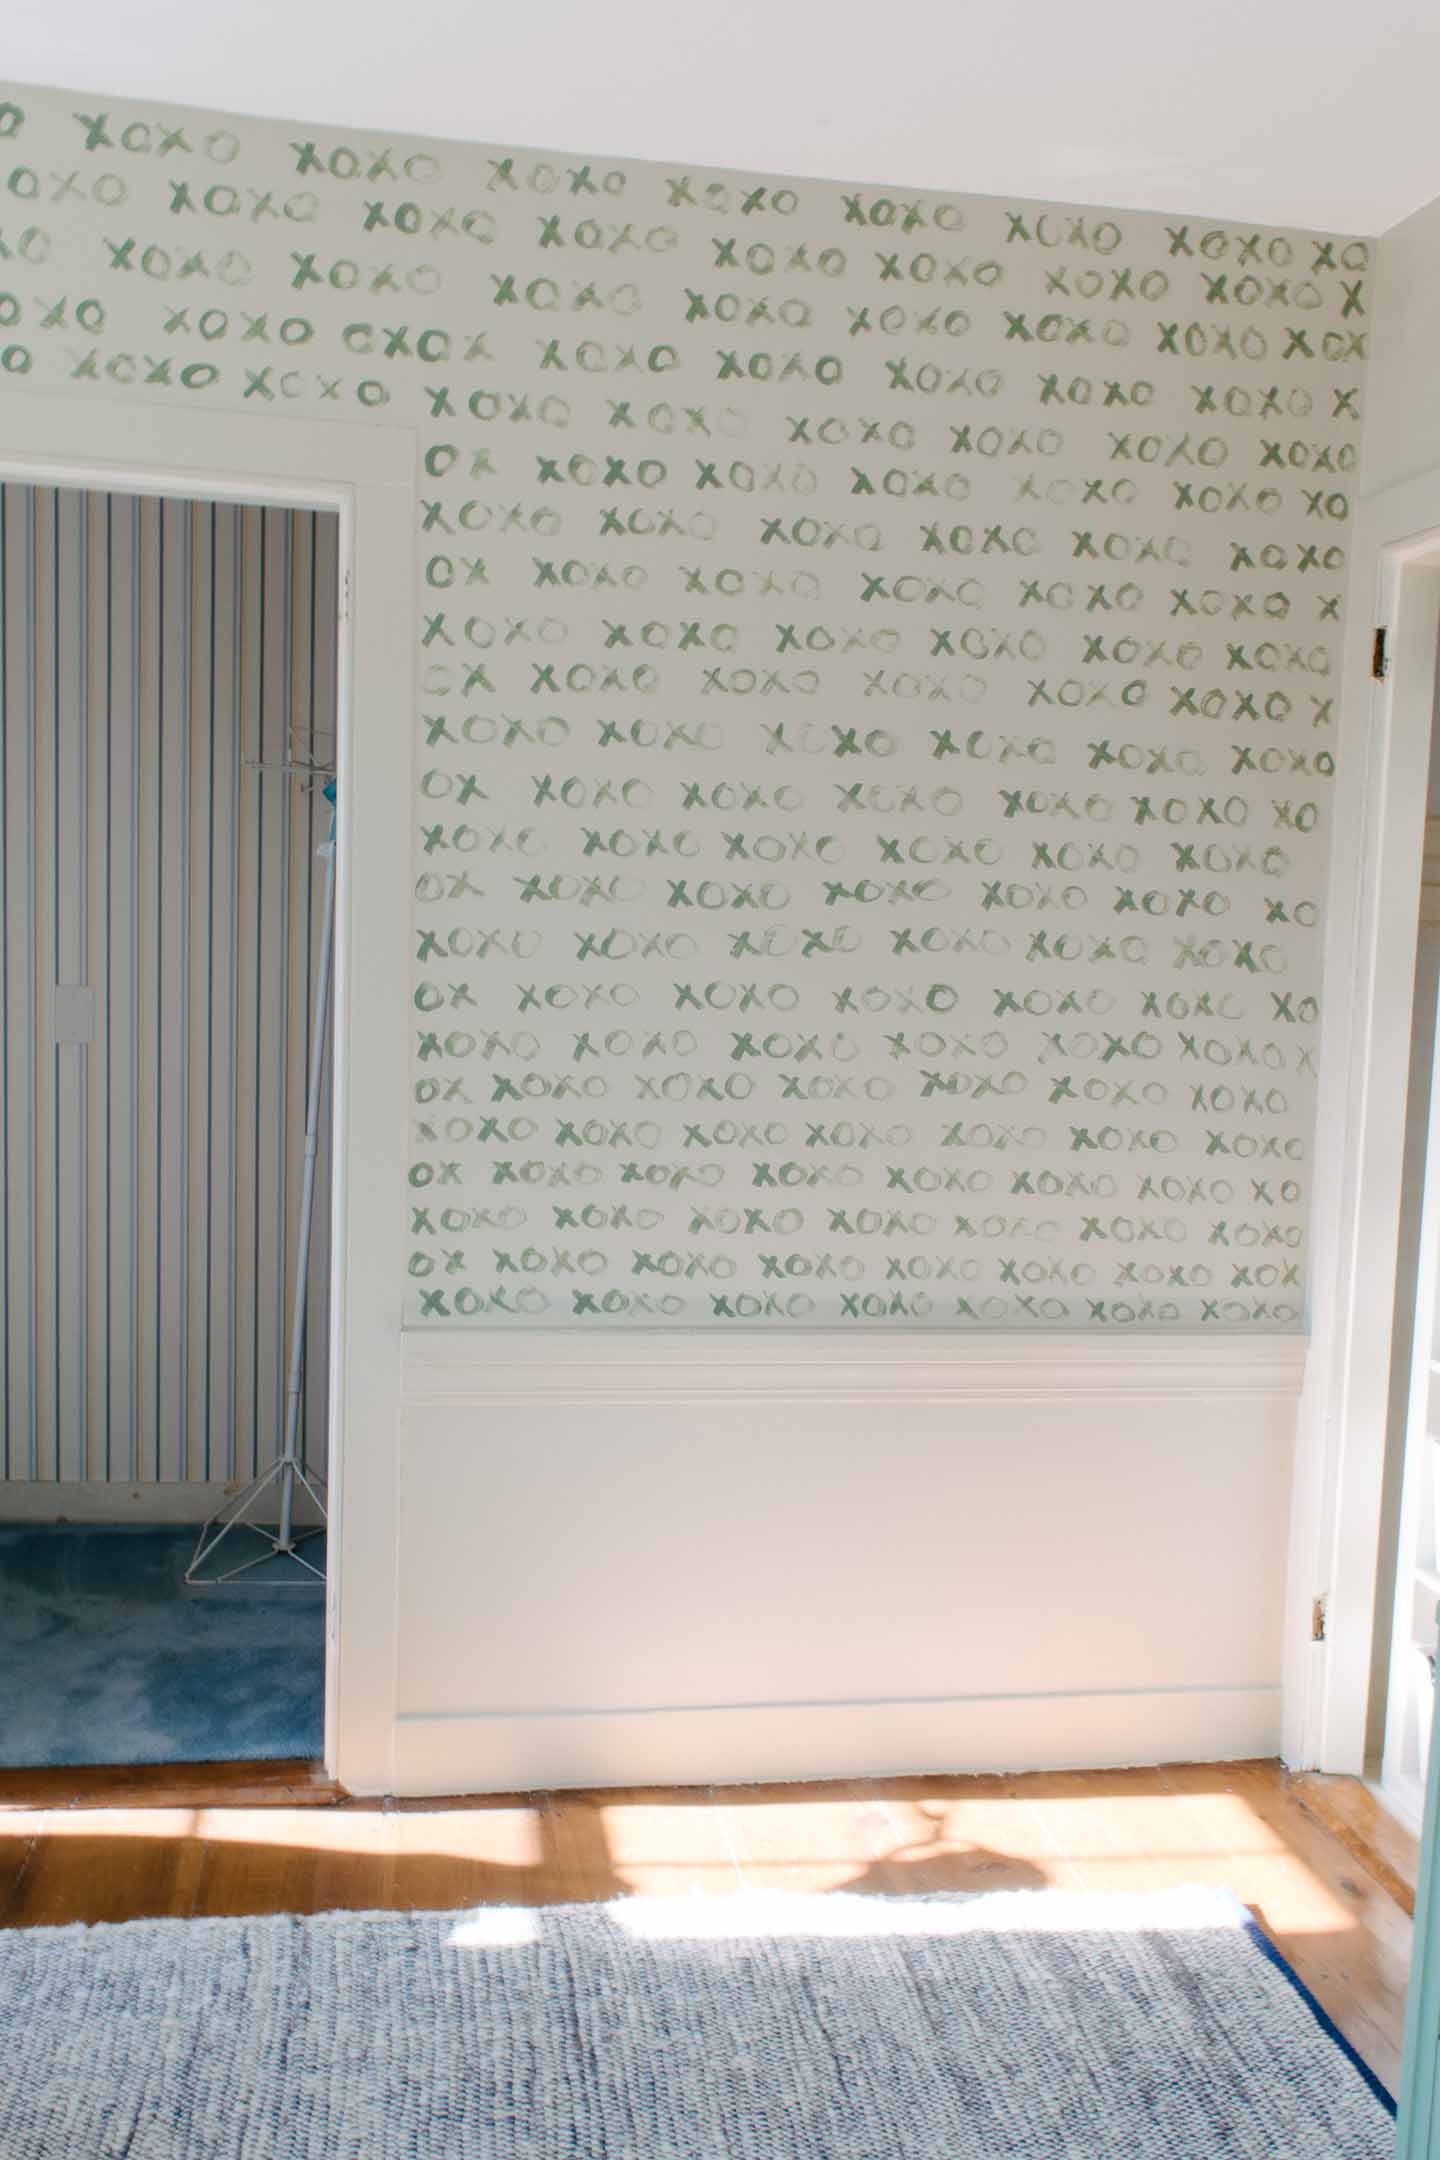
I polled everyone on my Instagram Stories about finishing under the chair rail and the majority leaned in the same direction as I did, leave it blank. I think if I had filled in the bottom section it would have excentuated the chair rail, something I was avoiding by painting everything the same color.
How to Paint The XOXO Nursery Feature Wall
This was pretty simple but it still didn’t come out “perfect”, although I wanted a free hand look since it’s a message from mommy and daddy to our little guy... should probably be our handwriting (and you can’t read Mitch’s).
I recently saw an Instagram-er who did a painted feature wall and recommended painting a pattern in 12 x 12 blocks to keep things relatively straight. I really wish I knew who it was because without that piece of advice I’m sure things would have gone way askew.
Here's the succession (I was working in the evening/night so not the greatest pictures guys)

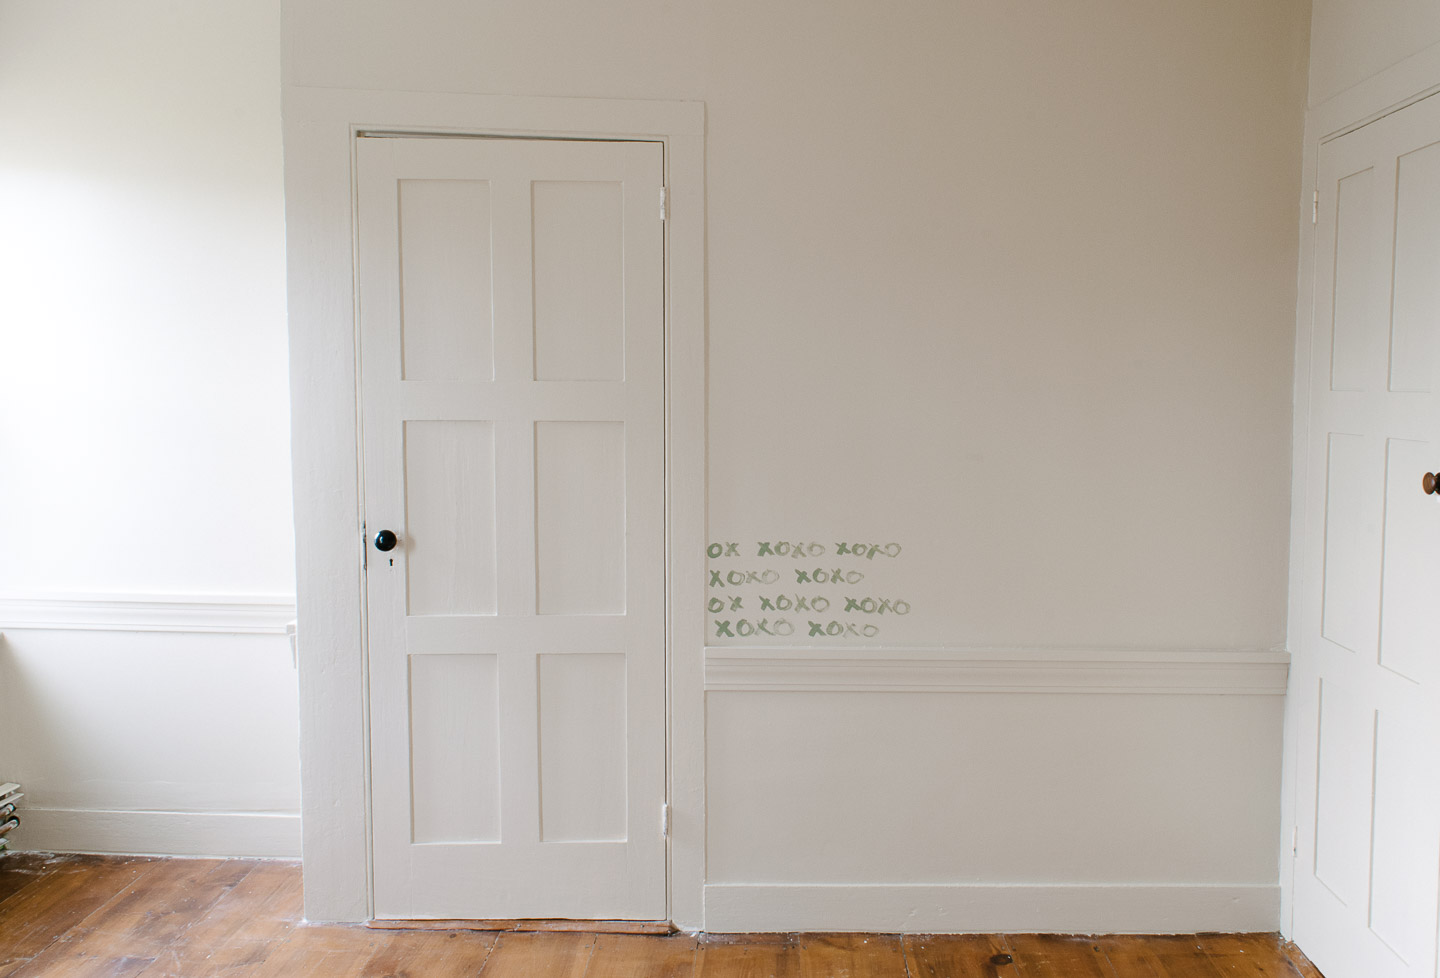
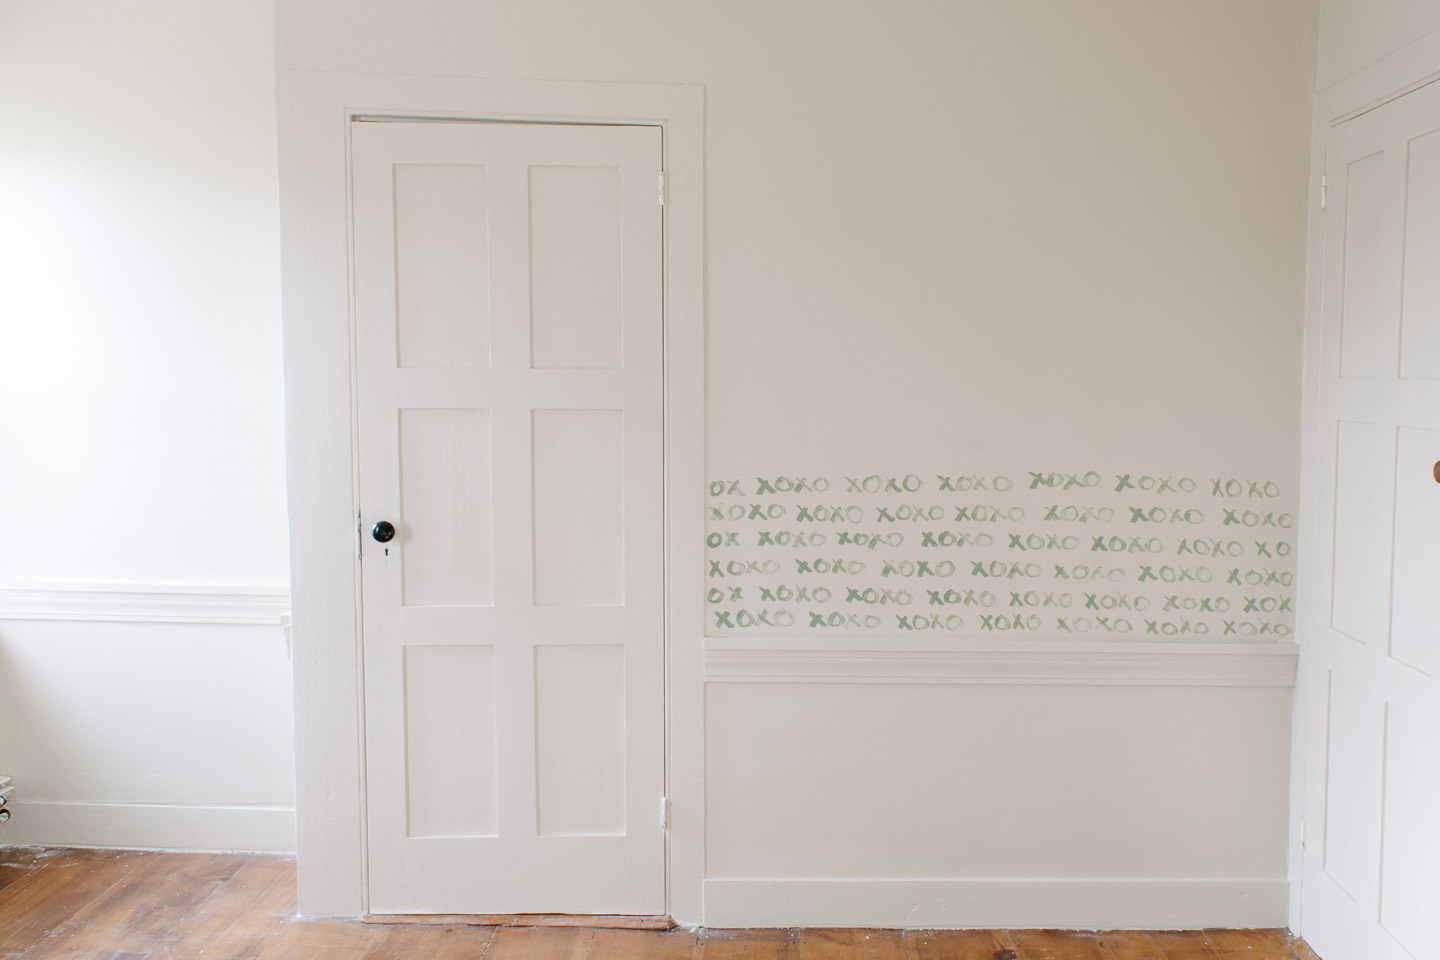
Honestly, that was it, I worked in blocks up and then over (left to right) until I got to the top of the door frame and had to work right to left (which was a bit difficult) , and offsetting the “words”.
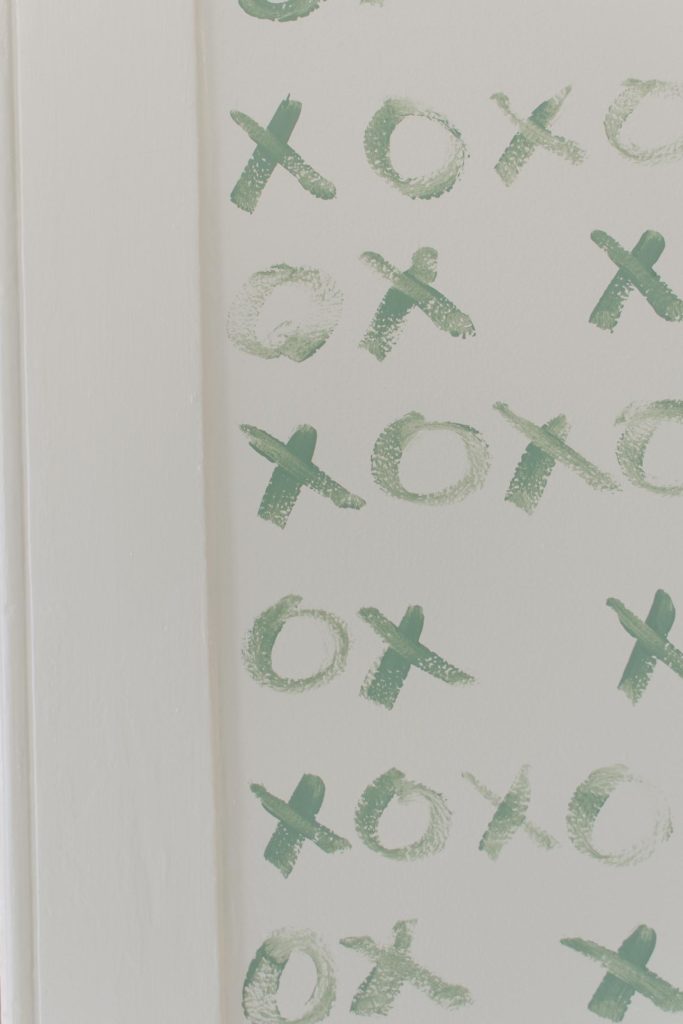
Inadvertently, I switched the xoxo pattern at my offset from xoxo to oxox and at the very top of the door you can see where the mishap had to be corrected.
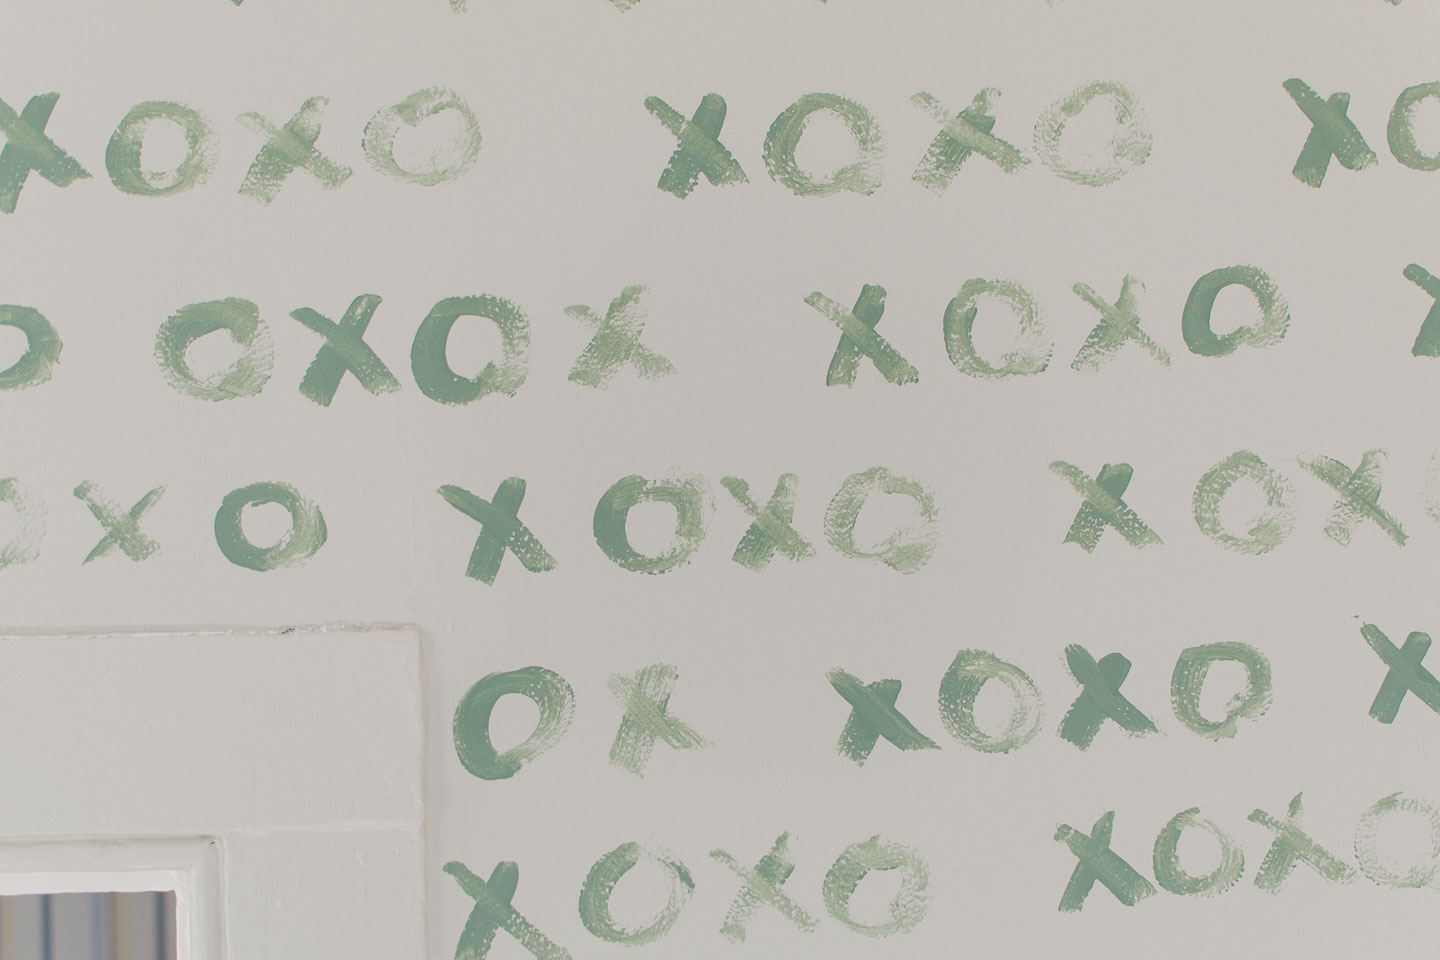
The pattern being :
OX XOXO
XOXO XOXO
OX XOXO
XOXO XOXO
I can’t really tell and I think it was a useful mistake. If I hadn’t done that the pattern going up the door frame would have all started with an x.
Like this:
XOXO XOXO
XO XOXO
XOXO XOXO
XO XOXO
So keep that in mind if you want to do something similar, my font also got a tad bigger and a tad spread out as I reached the top. Still not a deal breaker for me but if you are a total perfectionist you might want wallpaper (I’m crying while writing that!)
Next week is the Big Reveal, and we still have so many little projects to complete! Shelving, side table, hanging artwork and the mobile, and then final touches! Wish all of us participants luck and check out what everyone else did this week on the One Room Challenge!