A Modern Cement Tile Stenciled Fireplace (+ Easy Tutorial)
/I swore I’d never stencil again, not after the kitchen stenciling I had already done for this Umass Amherst Sorority Project. But then here I was stenciling this mantle hearth while the sisters were moving in. Talk about down to the wire, but that’s how it goes when you have a vision, sometimes you’ve just have to see it through.
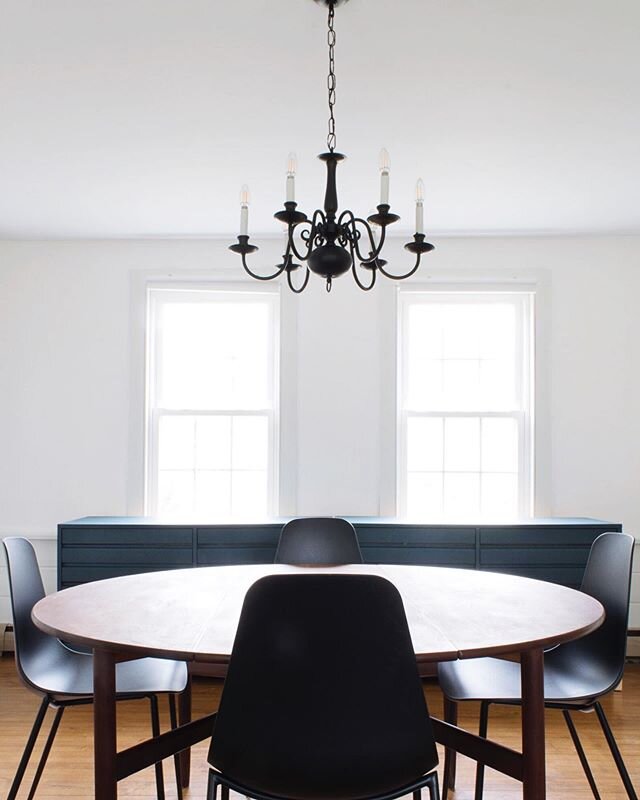
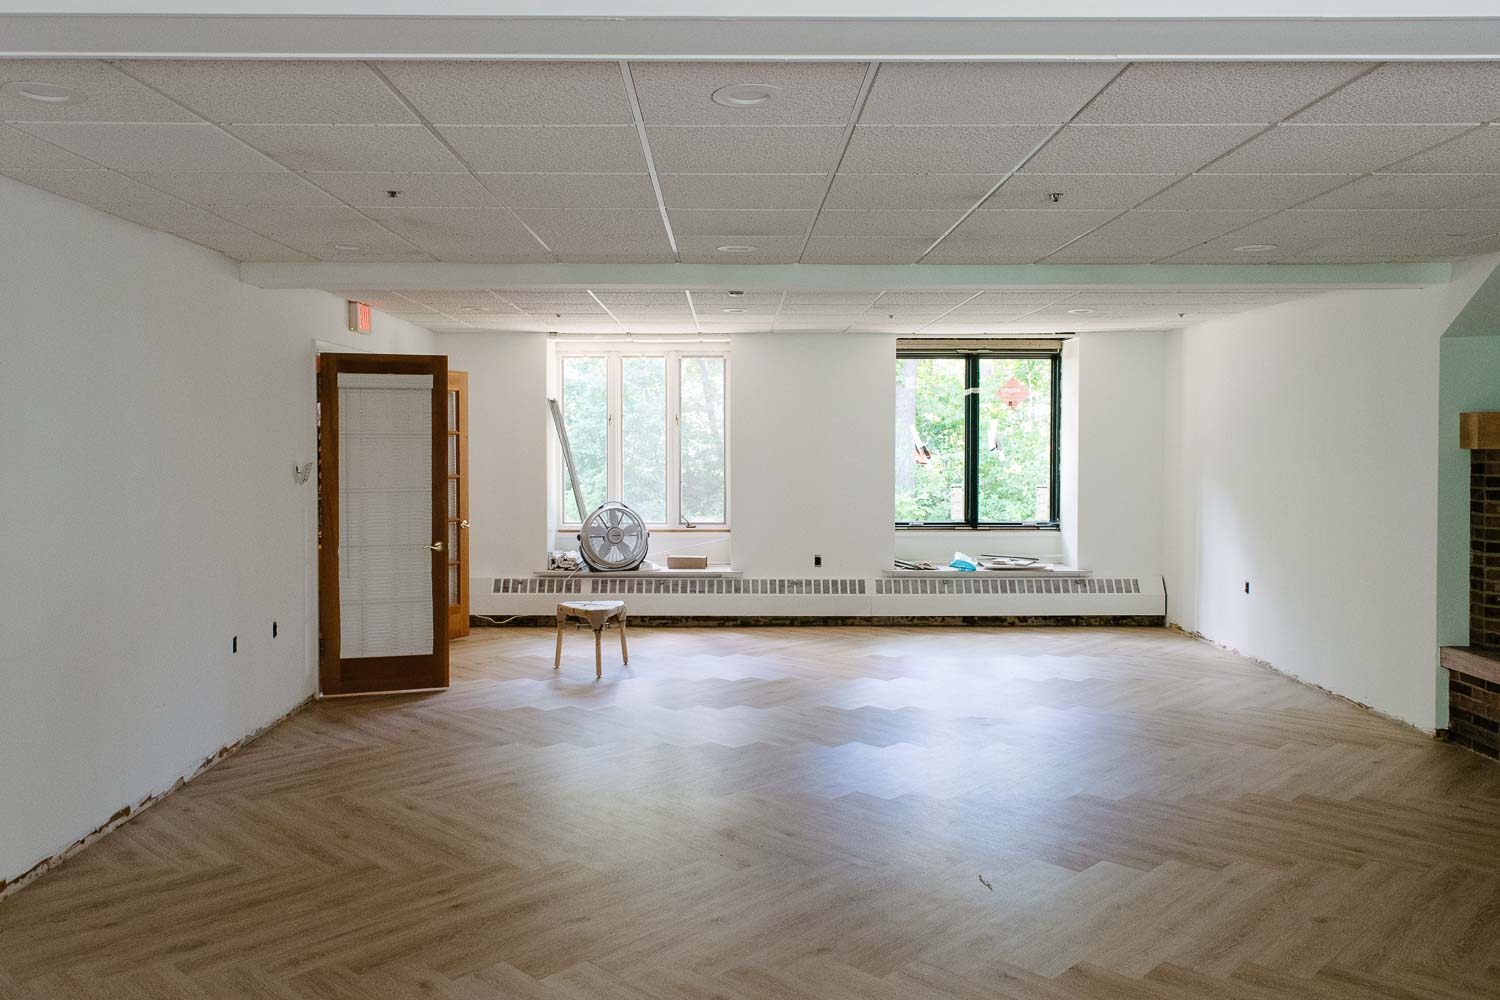
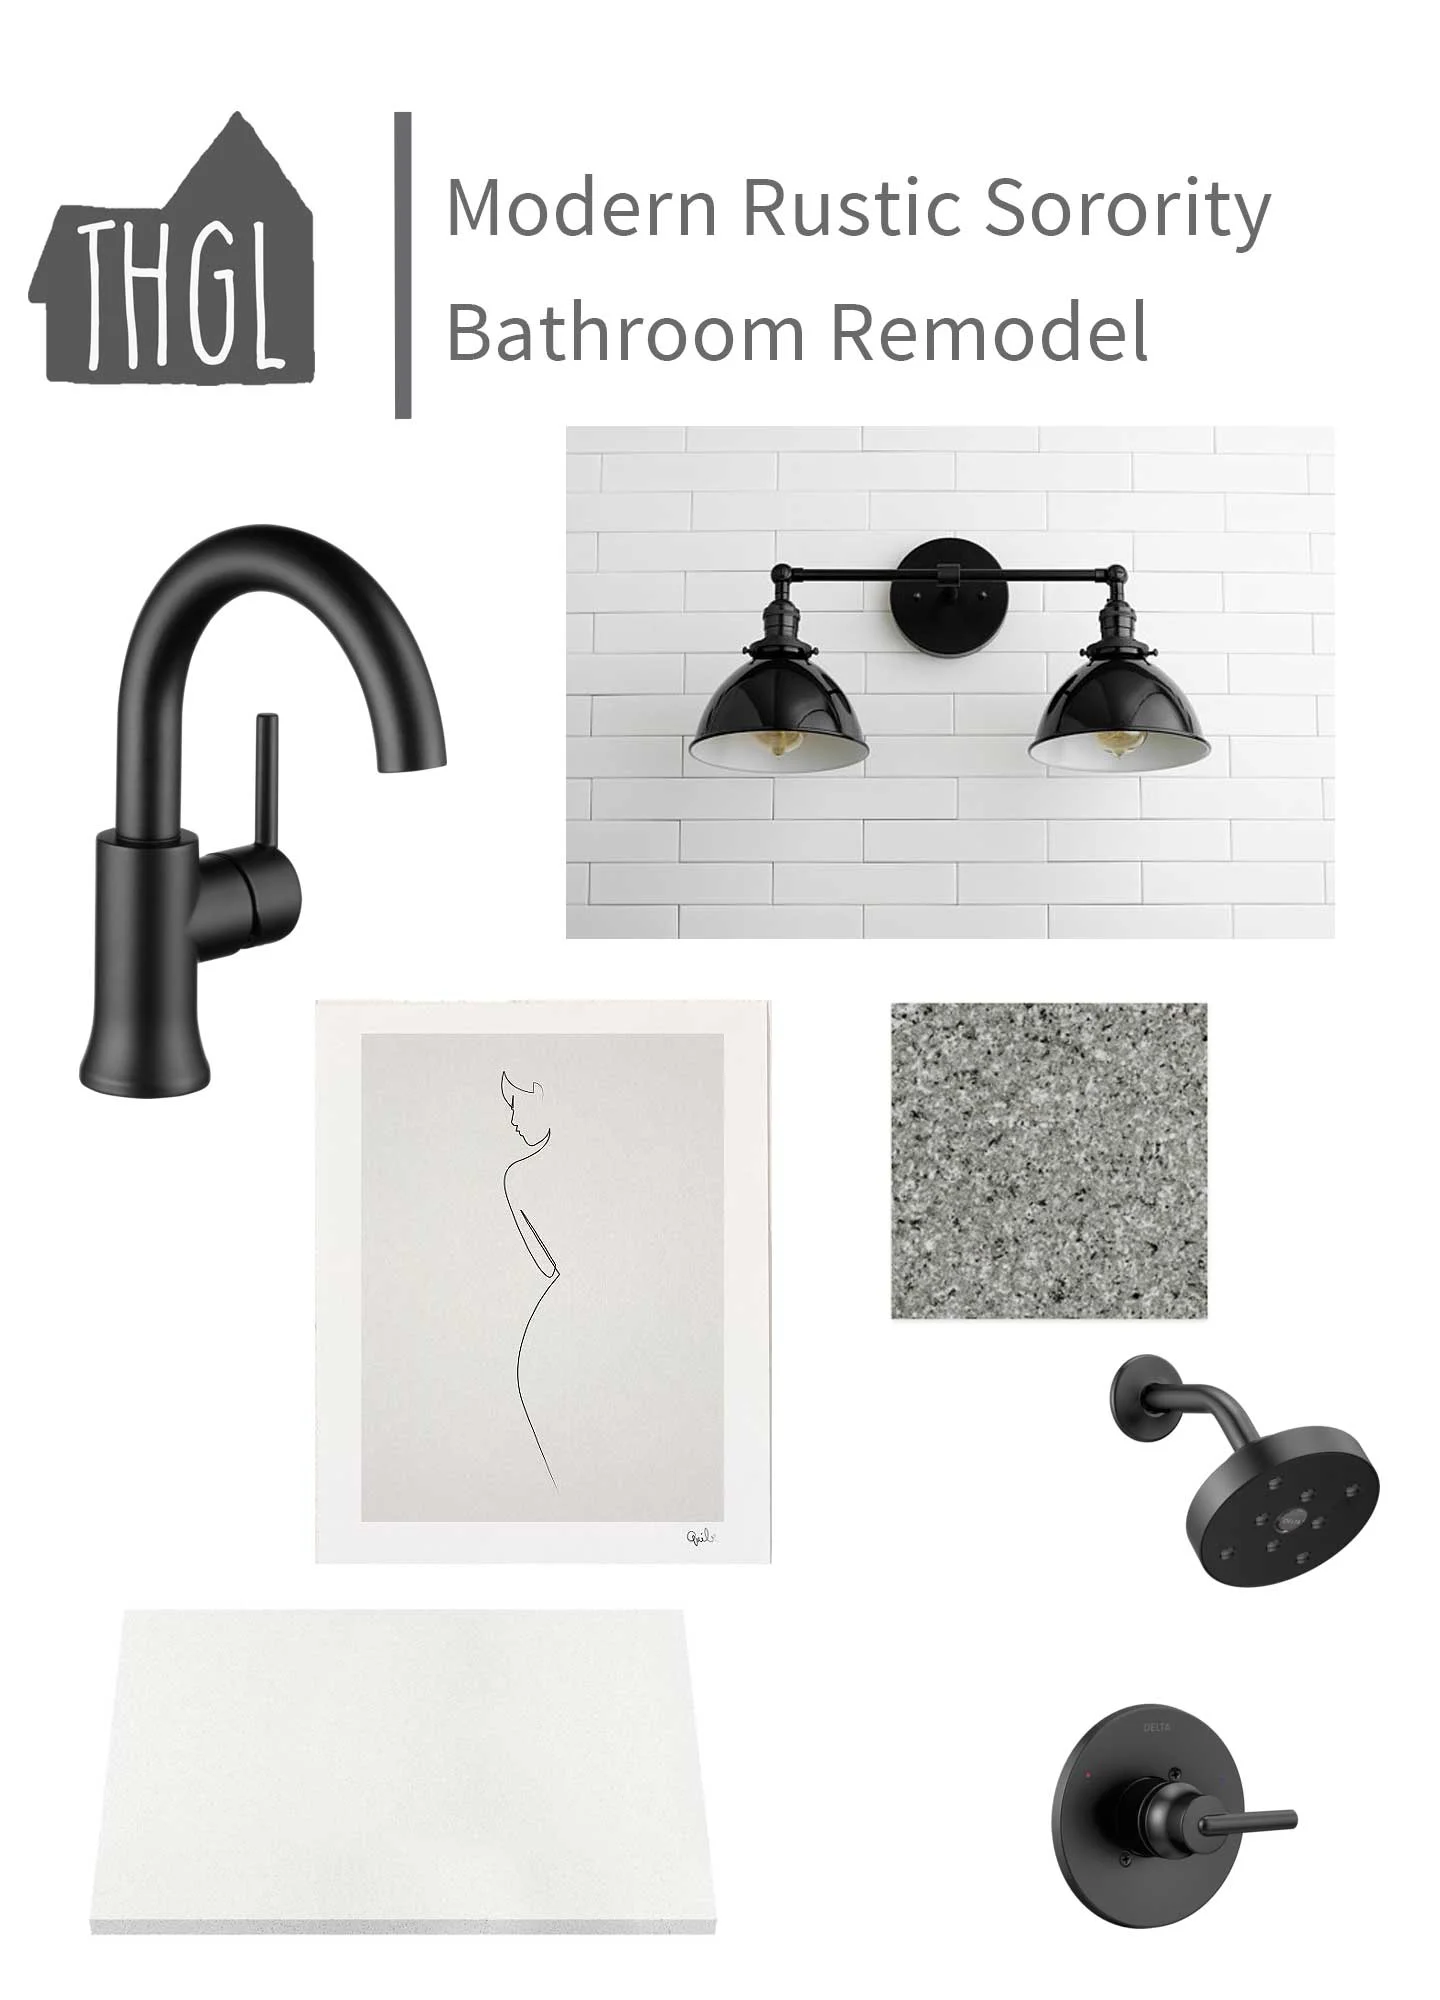
New here? Thanks for stopping by! We remodel and DIY our own 1847 Historic Colonial and take on various other client projects. This was a remodel of a UMASS- Amherst Sorority living room we worked on this summer!

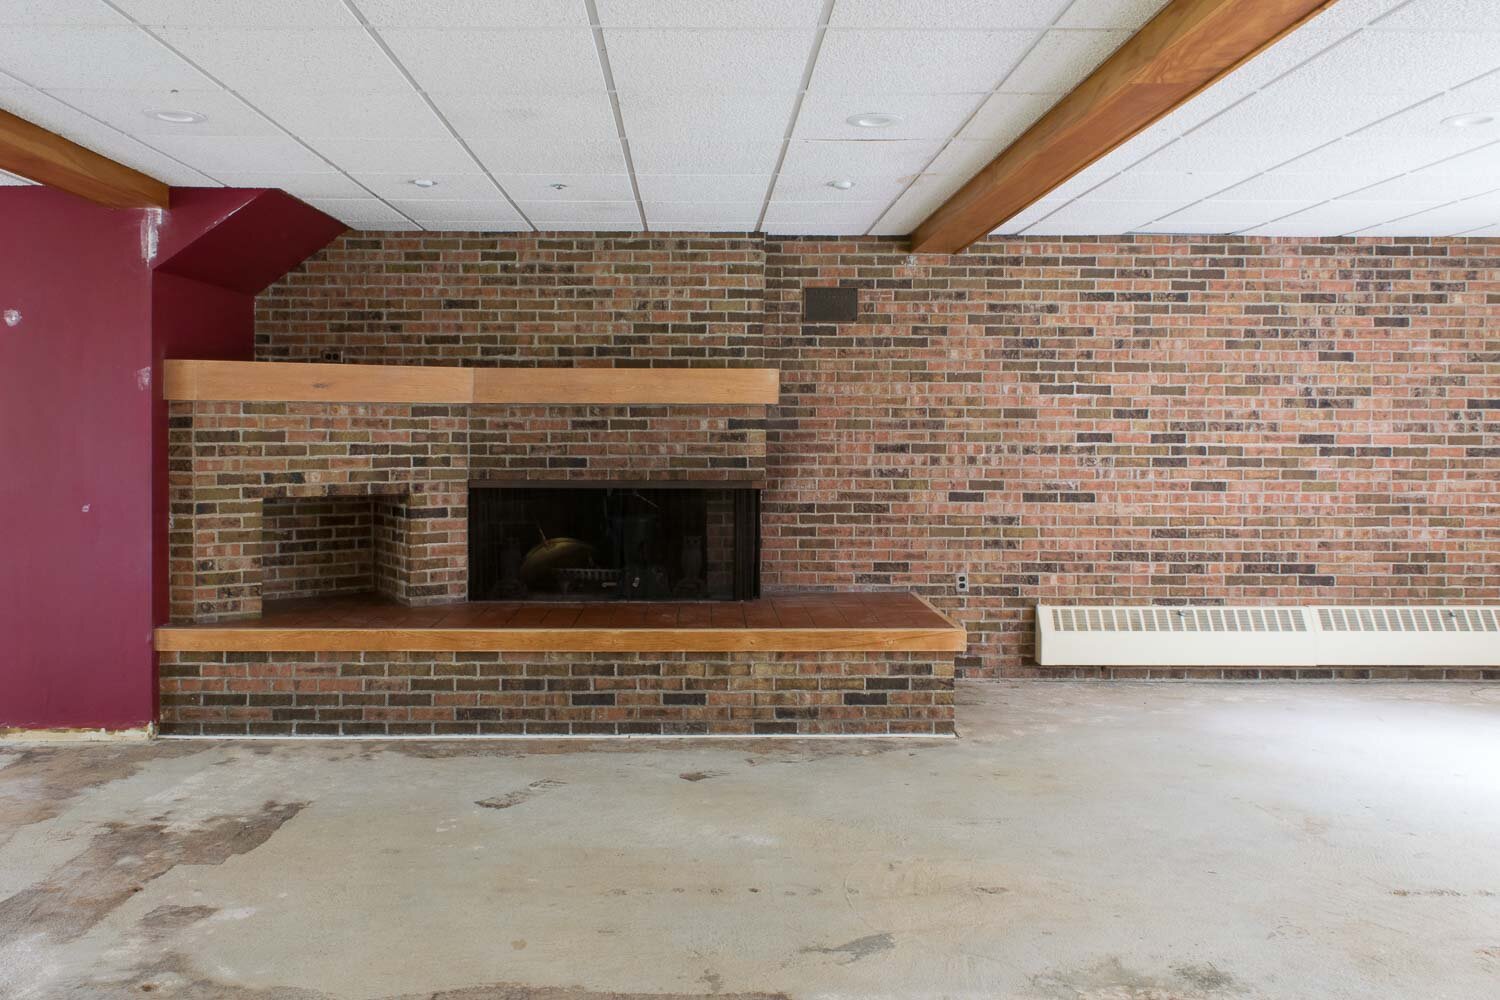
Here’s where we started at the beginning of the summer (flooring was already demoed).

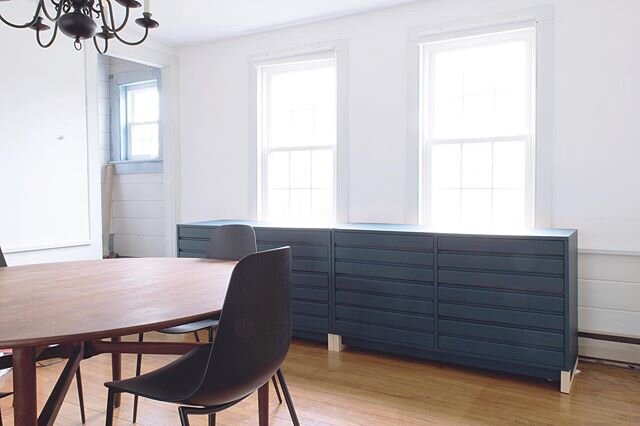
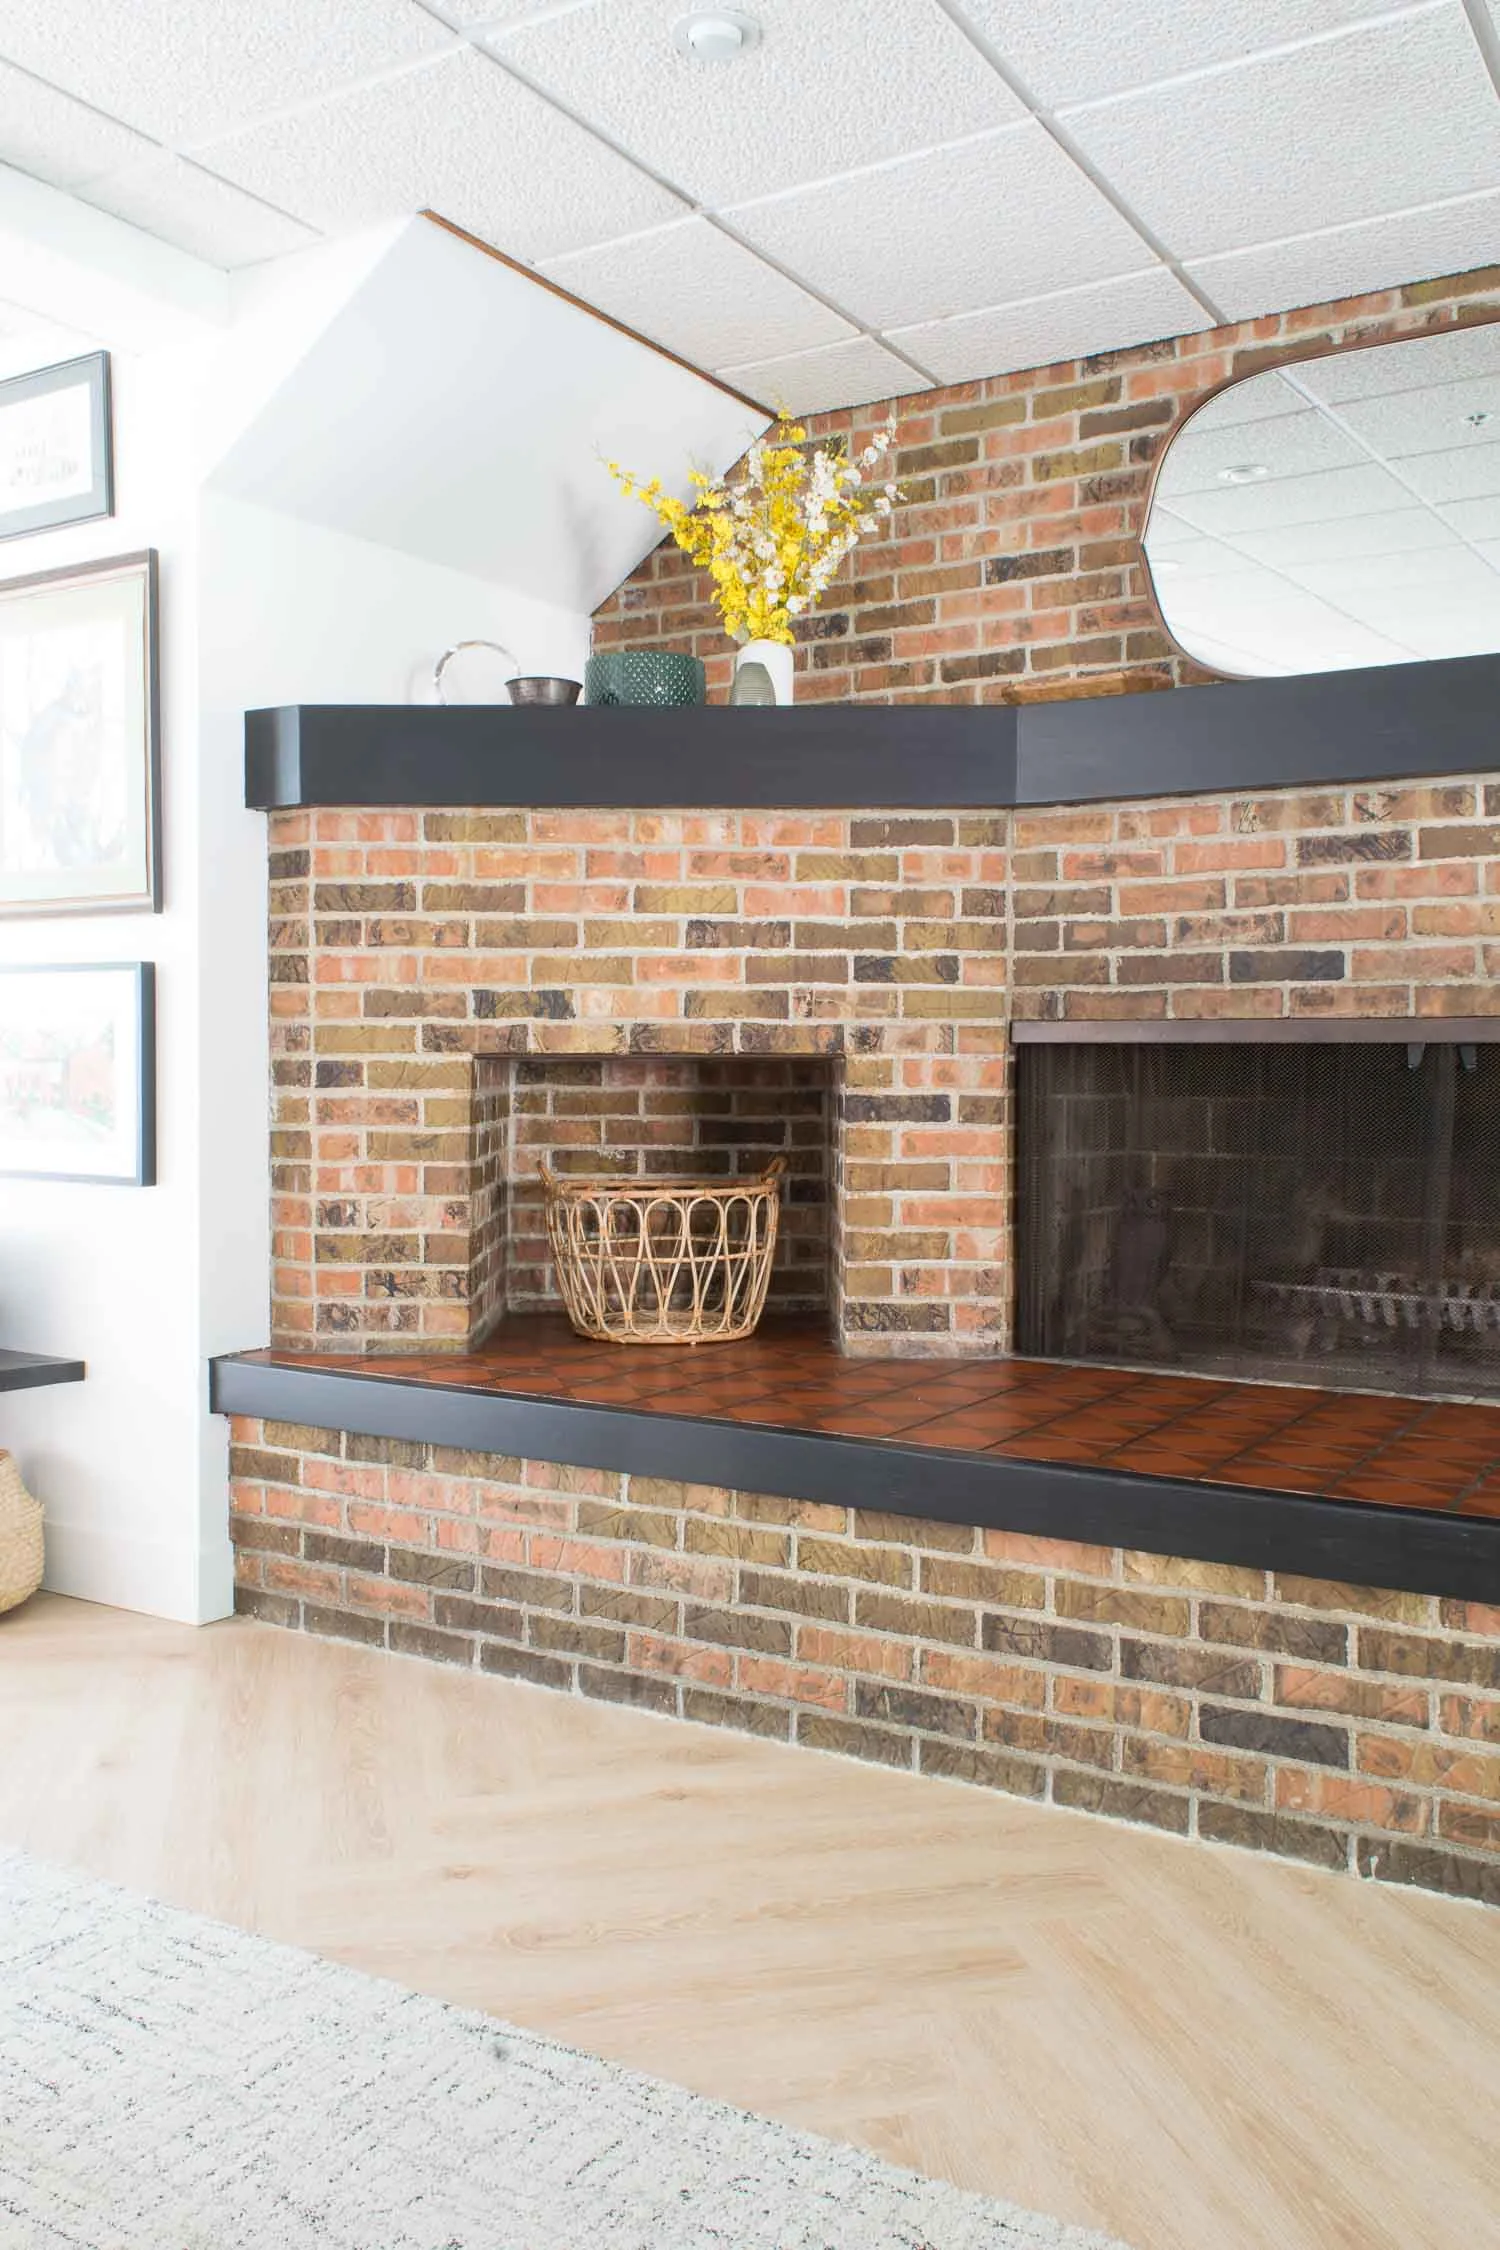
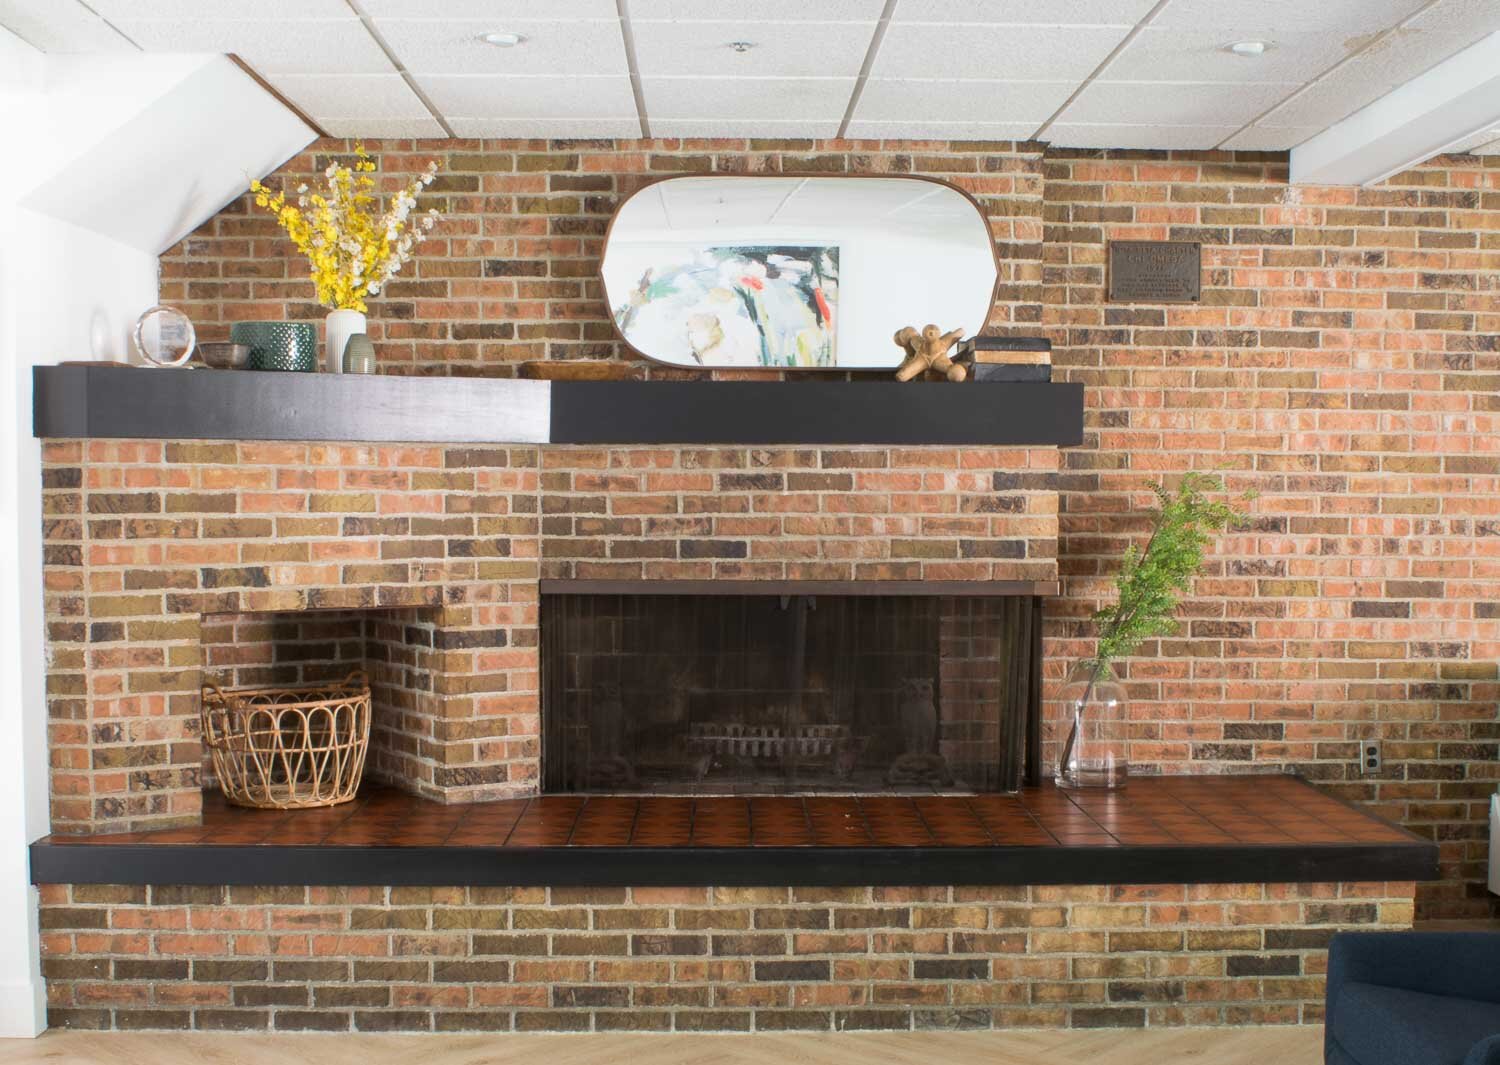
Now Its a whole different mantle with cement look tile.
This post may contain affiliate links. When you click on a link and purchase I will get a small compensation at no extra cost to you, win win. Read the full disclosure here.
Stenciling Supplies
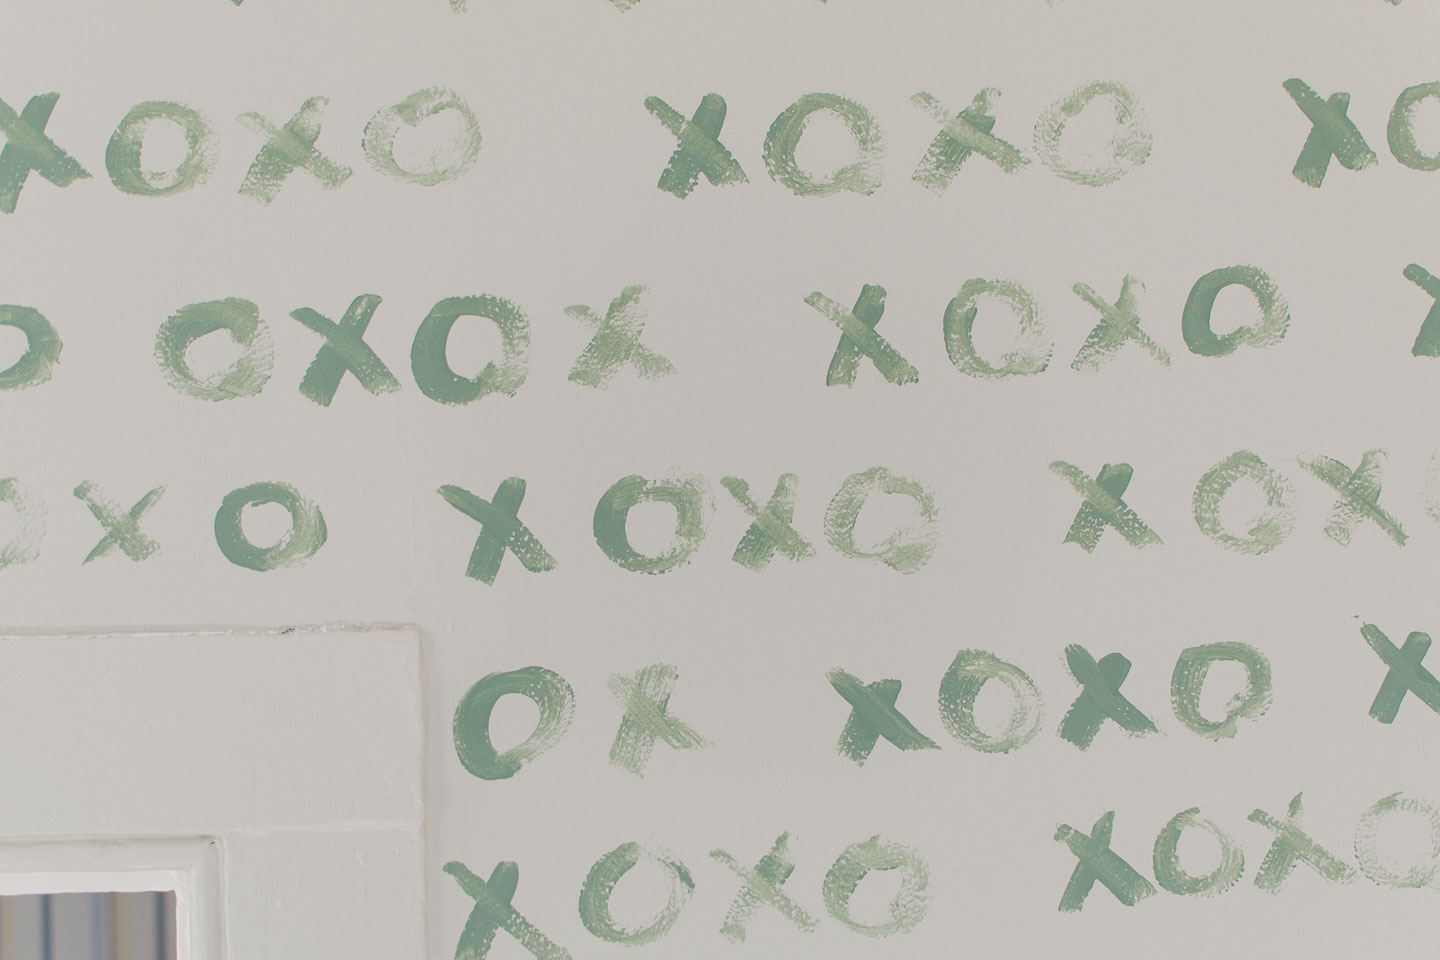
Cutting Edge Stencil - Nola Tile (We used a small for our 6 x 6 Tile)

Prepping the tile for paint

Our tiles needed a good scrubbing since the house was built in 1971 and the mantle area I stenciled is horizontal. It’s seen a lot of bottoms sitting on it and feet stepping on it over the years.
TSP is a chemical cleaner that does the trick, but be careful and use high grade chemical gloves when using it. Wear eye protection!
Mix and use according to the directions.
I was particularly lucky in the sense that these tiles were already matte. Think old restaurant floor tiles. They were similar to concrete tiles, and didn’t need any sanding or deglossing on my part.
A good scrub with TSP insured no grime was left on the tiles and we were ready for paint.
The stencil strategy
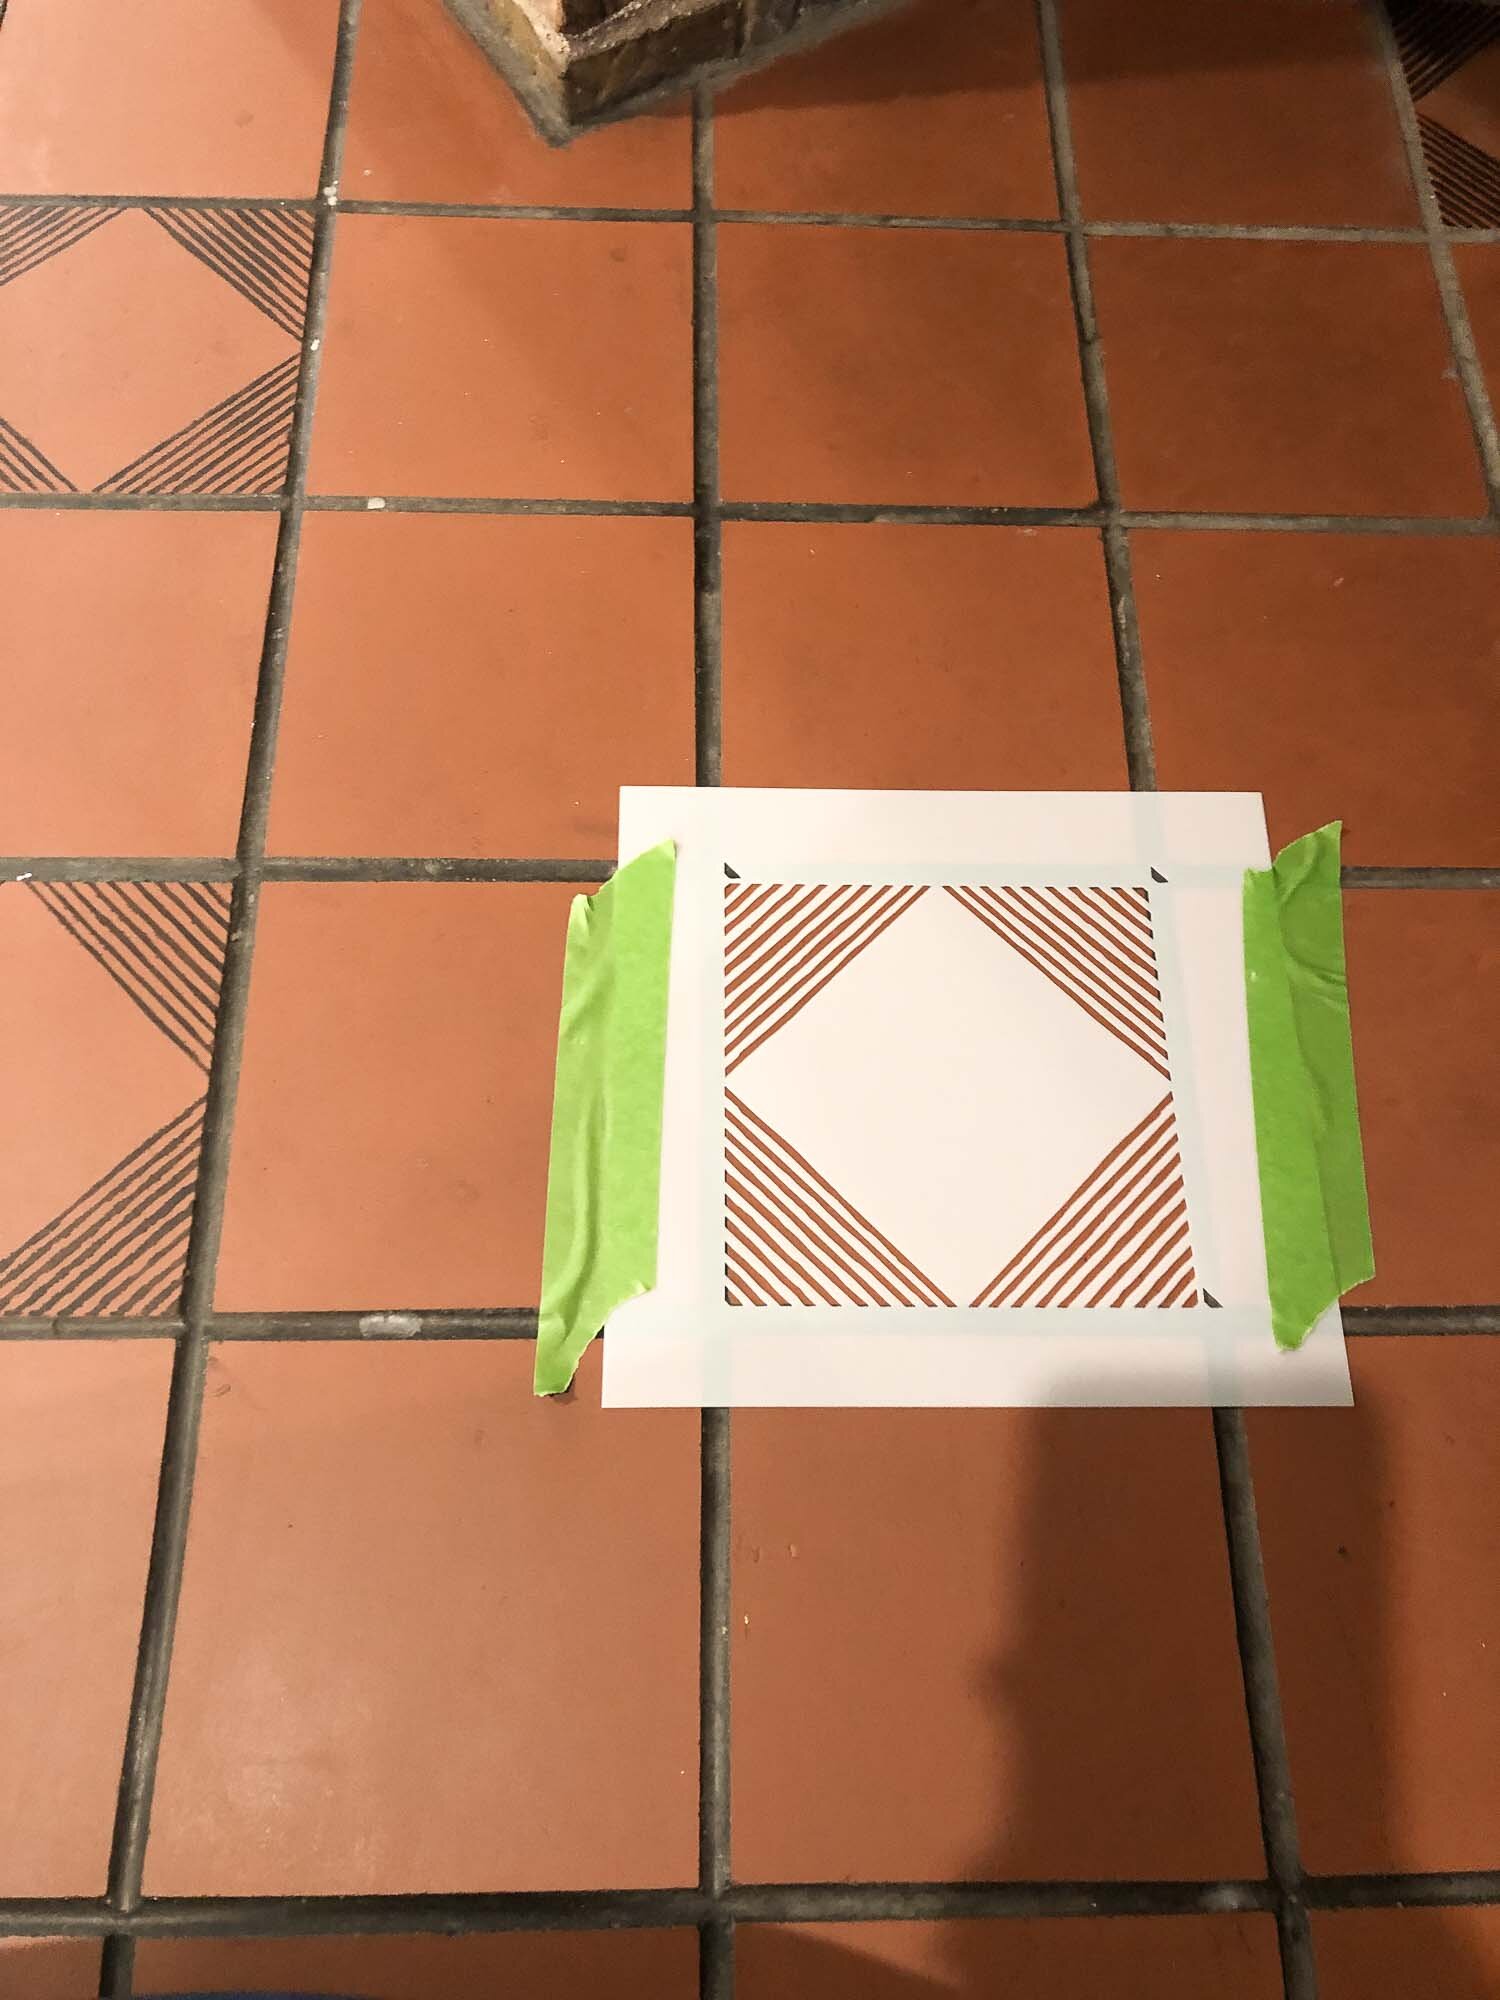
Painters tape helped me ensure the stencil didn’t shift while I was painting. I would keep on changing out the tape when it lost the stickiness.
I also alternated which stencil I used, and which tile, to make sure I wasn’t overlapping before the paint had dried.
Time for Paint
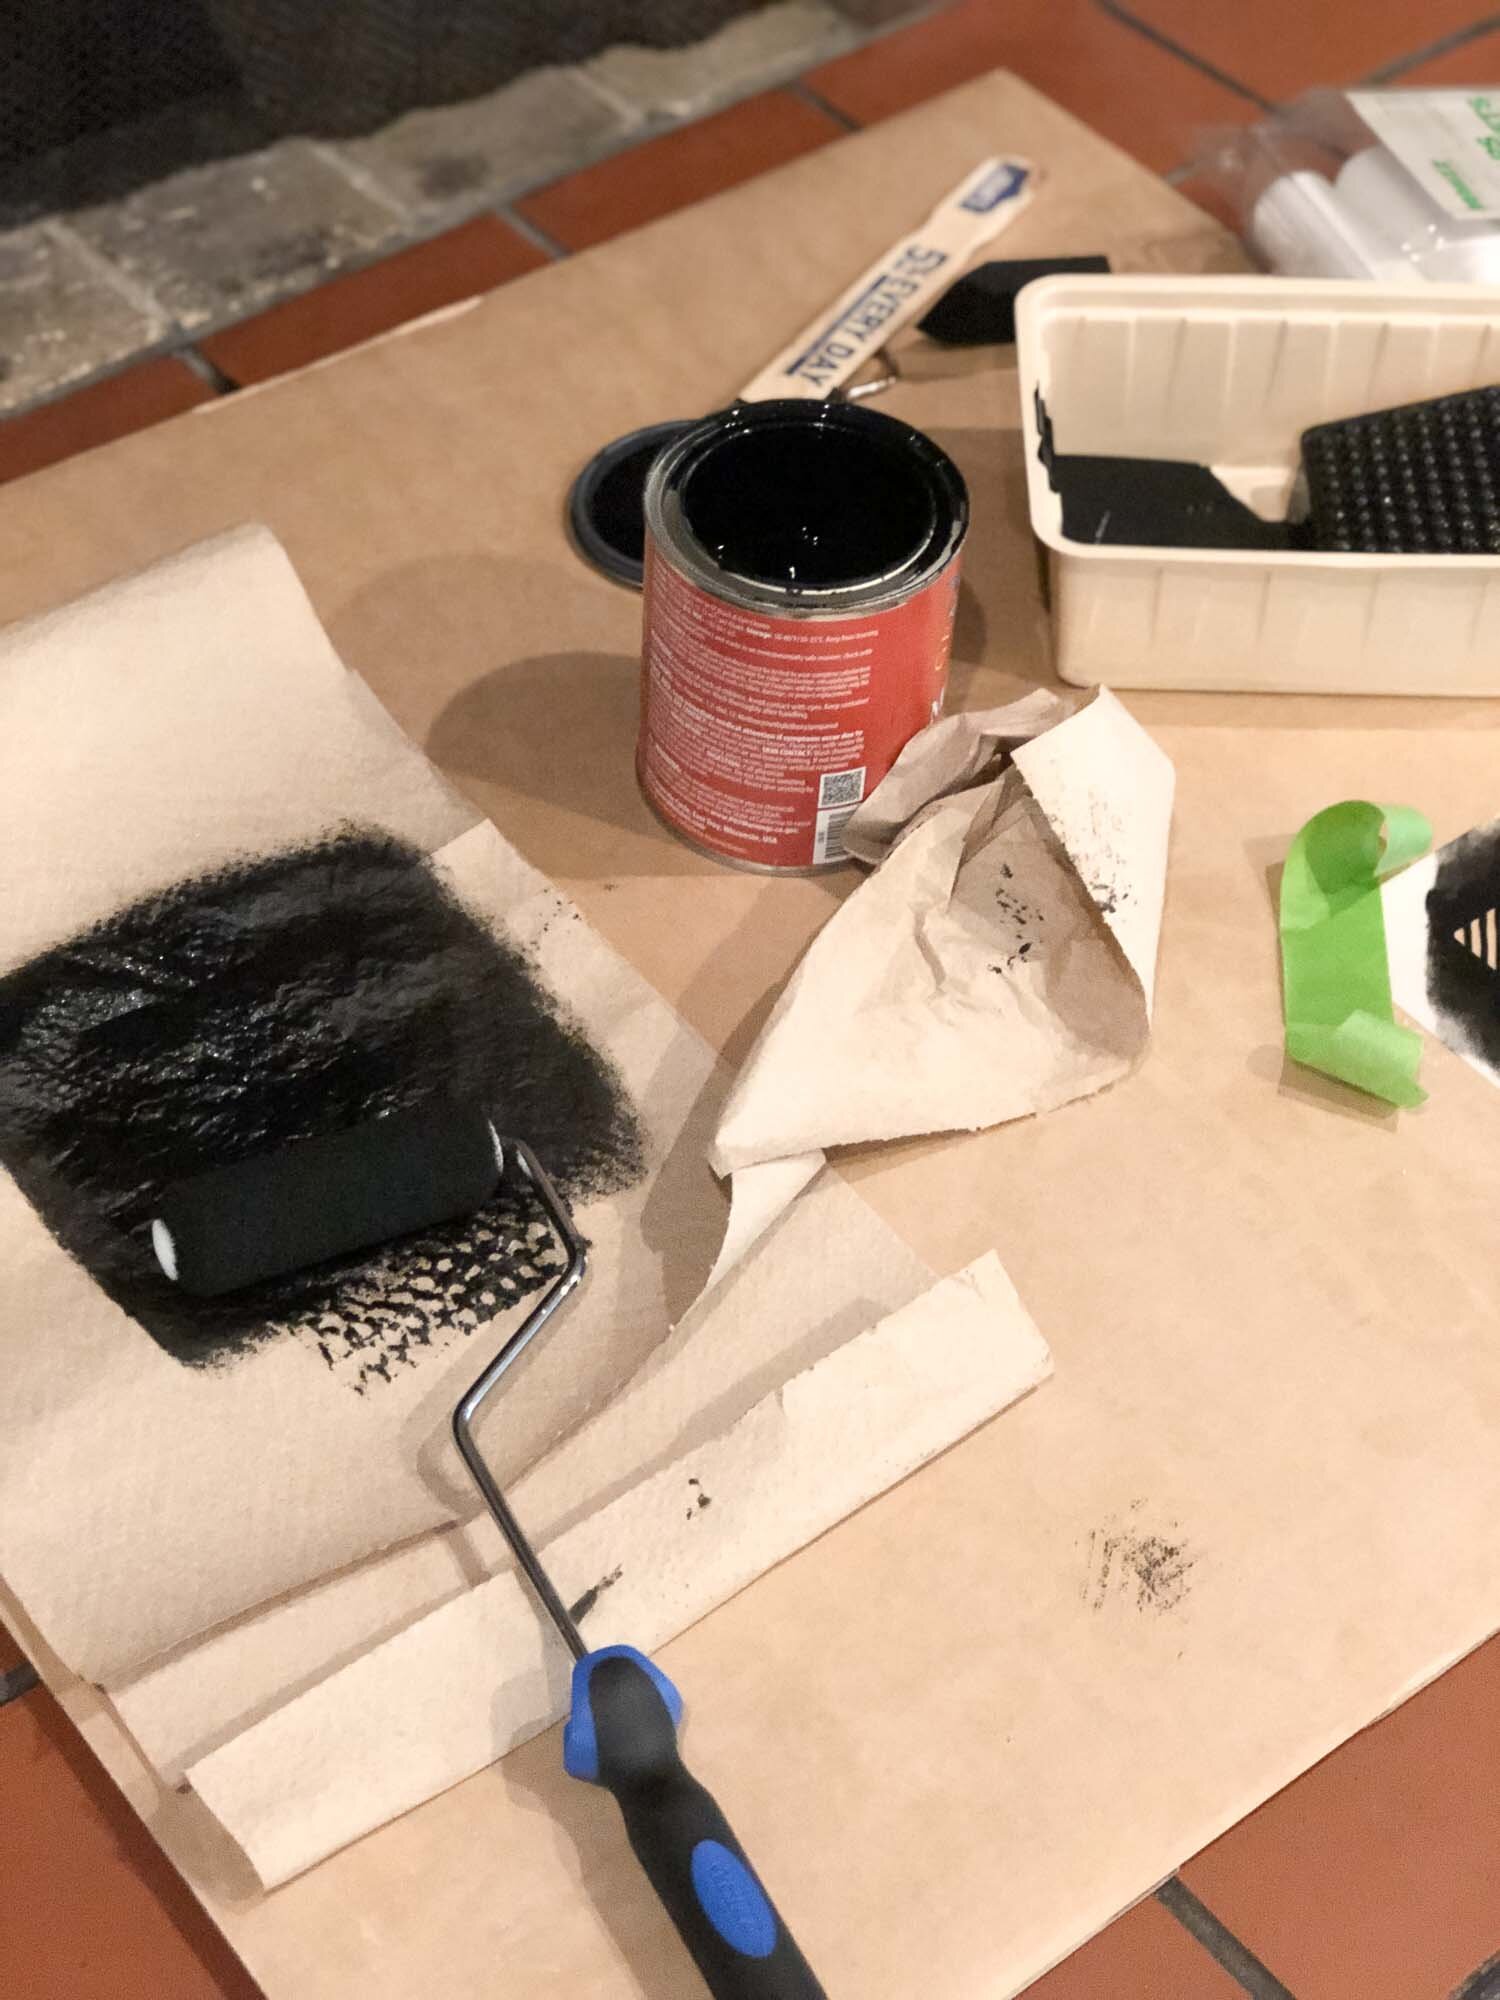
I couldn’t use primer because I wasn’t painting the whole tile. So I decided on milk paint which adheres really well.
You should test on an inconspicuous spot like I did in this fire wood nook, in order to get a rhythm down. Here was my routine:
Put a little paint on the roller and spread evenly
Roll it off on paper towels
Light-medium pressure on the stencil
Create layers until it looks full
Carefully peel off stencil
*pretty much exactly what the directions say BTW*
Corners and Cutting Your Tile

Eventually you will need to cut one of your two stencils (you got two right?!) in order to get into corners and odd spaces.
I cut one into half and then into fourths to have options. Depending on the pattern you may need a triangle etc.
Basically the stencil will need to be lightly taped down and bend into the corners. This is no easy task when the cut outs are lines like my stencil. The lines tend to get bigger as you press into the corner, making the result look odd compared to a normal tile.
My only advice. Slow and steady wins the race (not my strong suit). But I made (most) of them look great.
Reality Check
This was easy, and now that I’ve seen the results (for the price) I would totally do it again. Especially for a phase 1 makeover, I would then save and circle back to replace the tile at a later date.
But getting all the details perfect was difficult, not to mention I tweaked me back which made it impossible to get into that fire wood nook very well.
In the end I had some smudges and figured if anyone had time to sit on that and bend over looking at every detail... they probably should go get a life. It was a $50 makeover. It’s not like I replaced the tile.
It’s a little forward but that my two cents. I’m a little bit rough around the edges y’all!
Love Love,
Susie Q


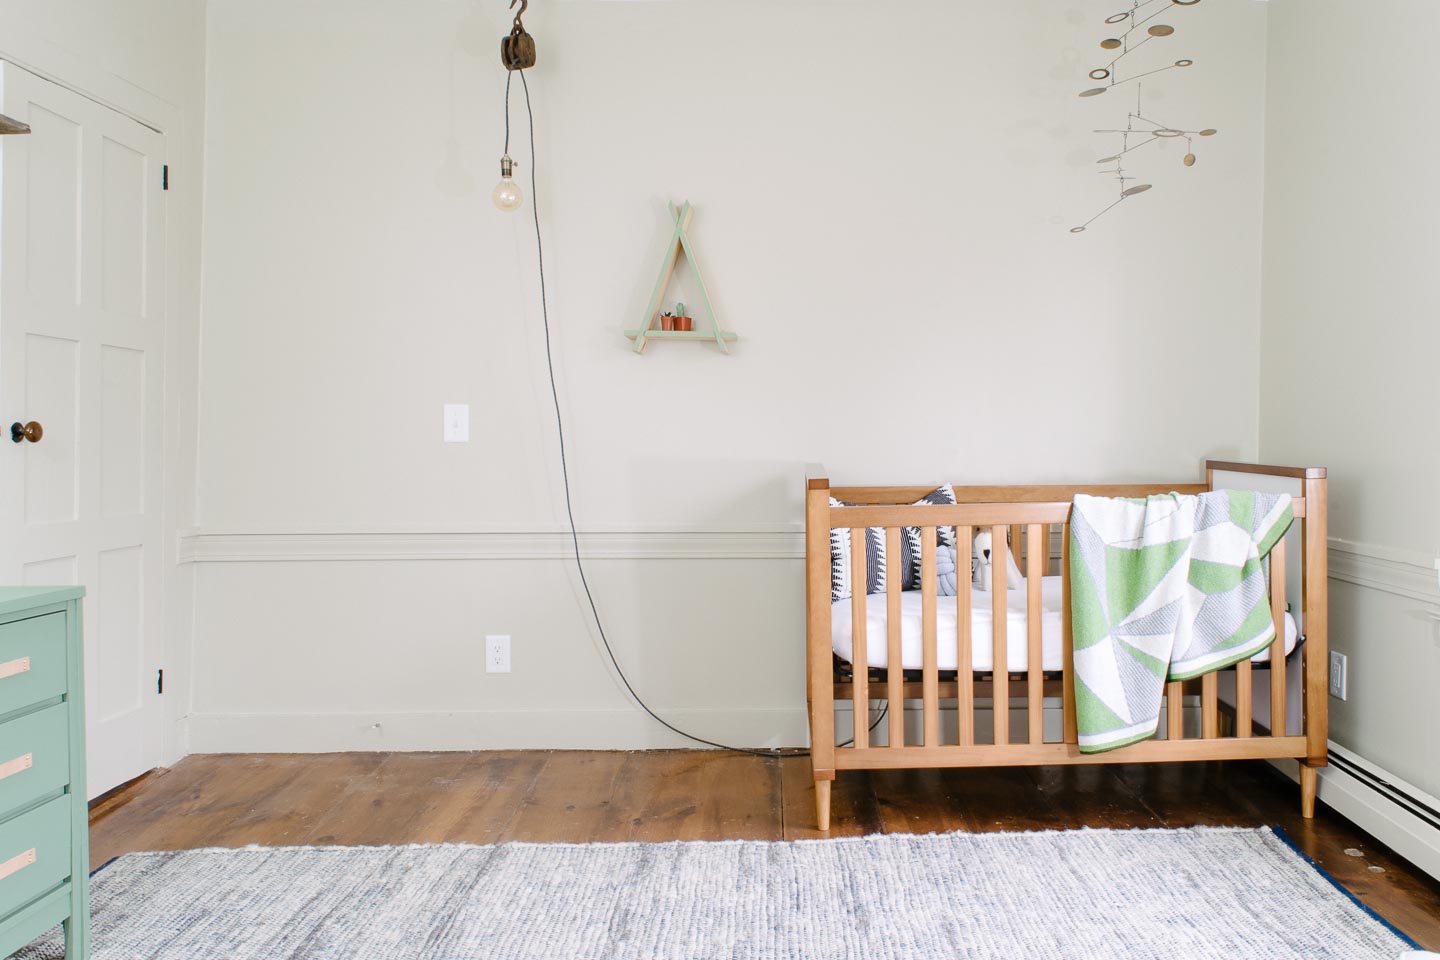


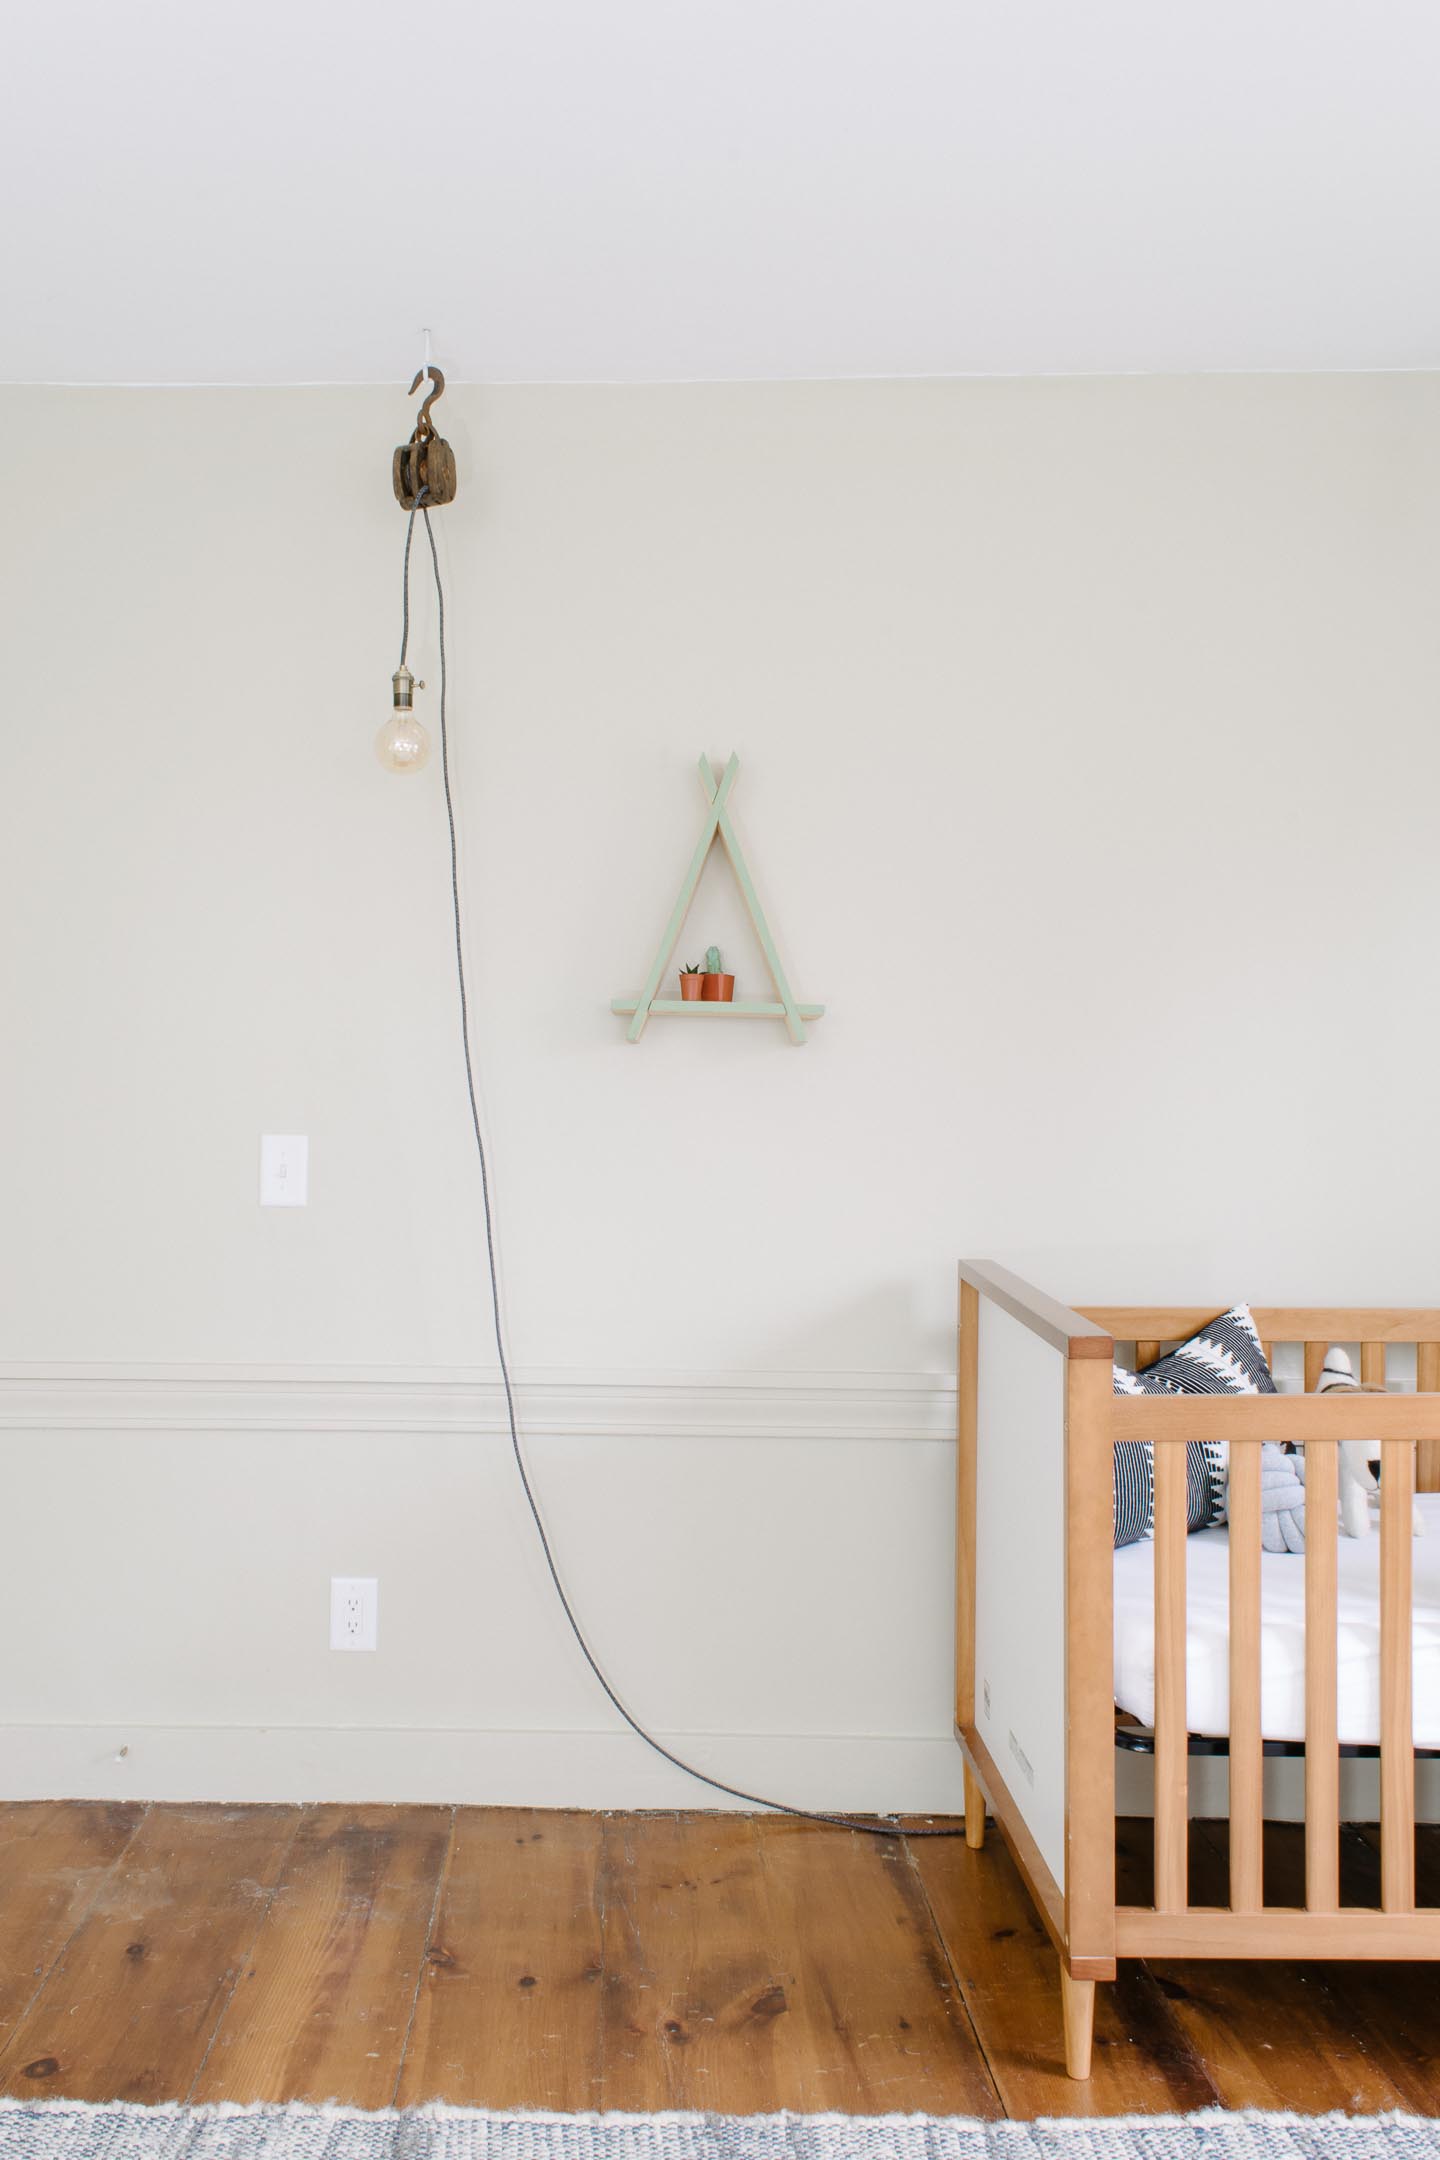


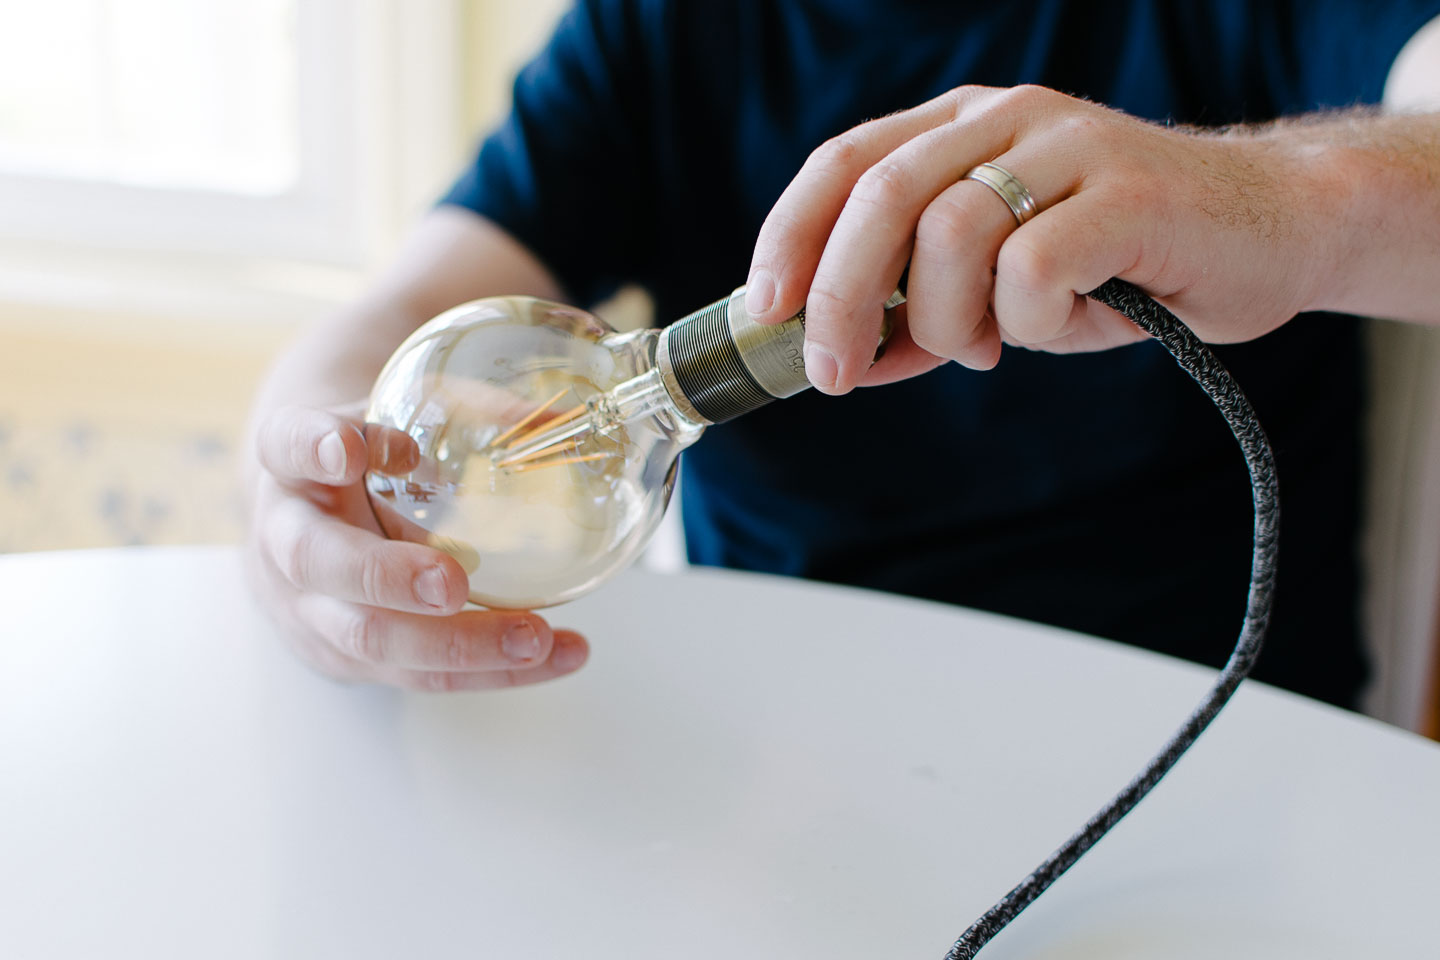
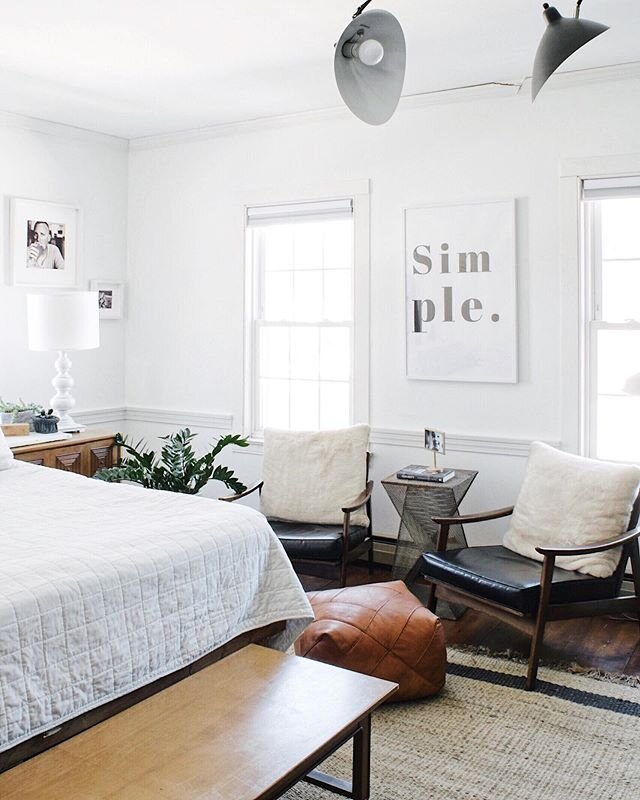
 -Wrap wire into pulley as you will want it... making sure the plug or back section is far enough away from the light bulb so that they do not touch.
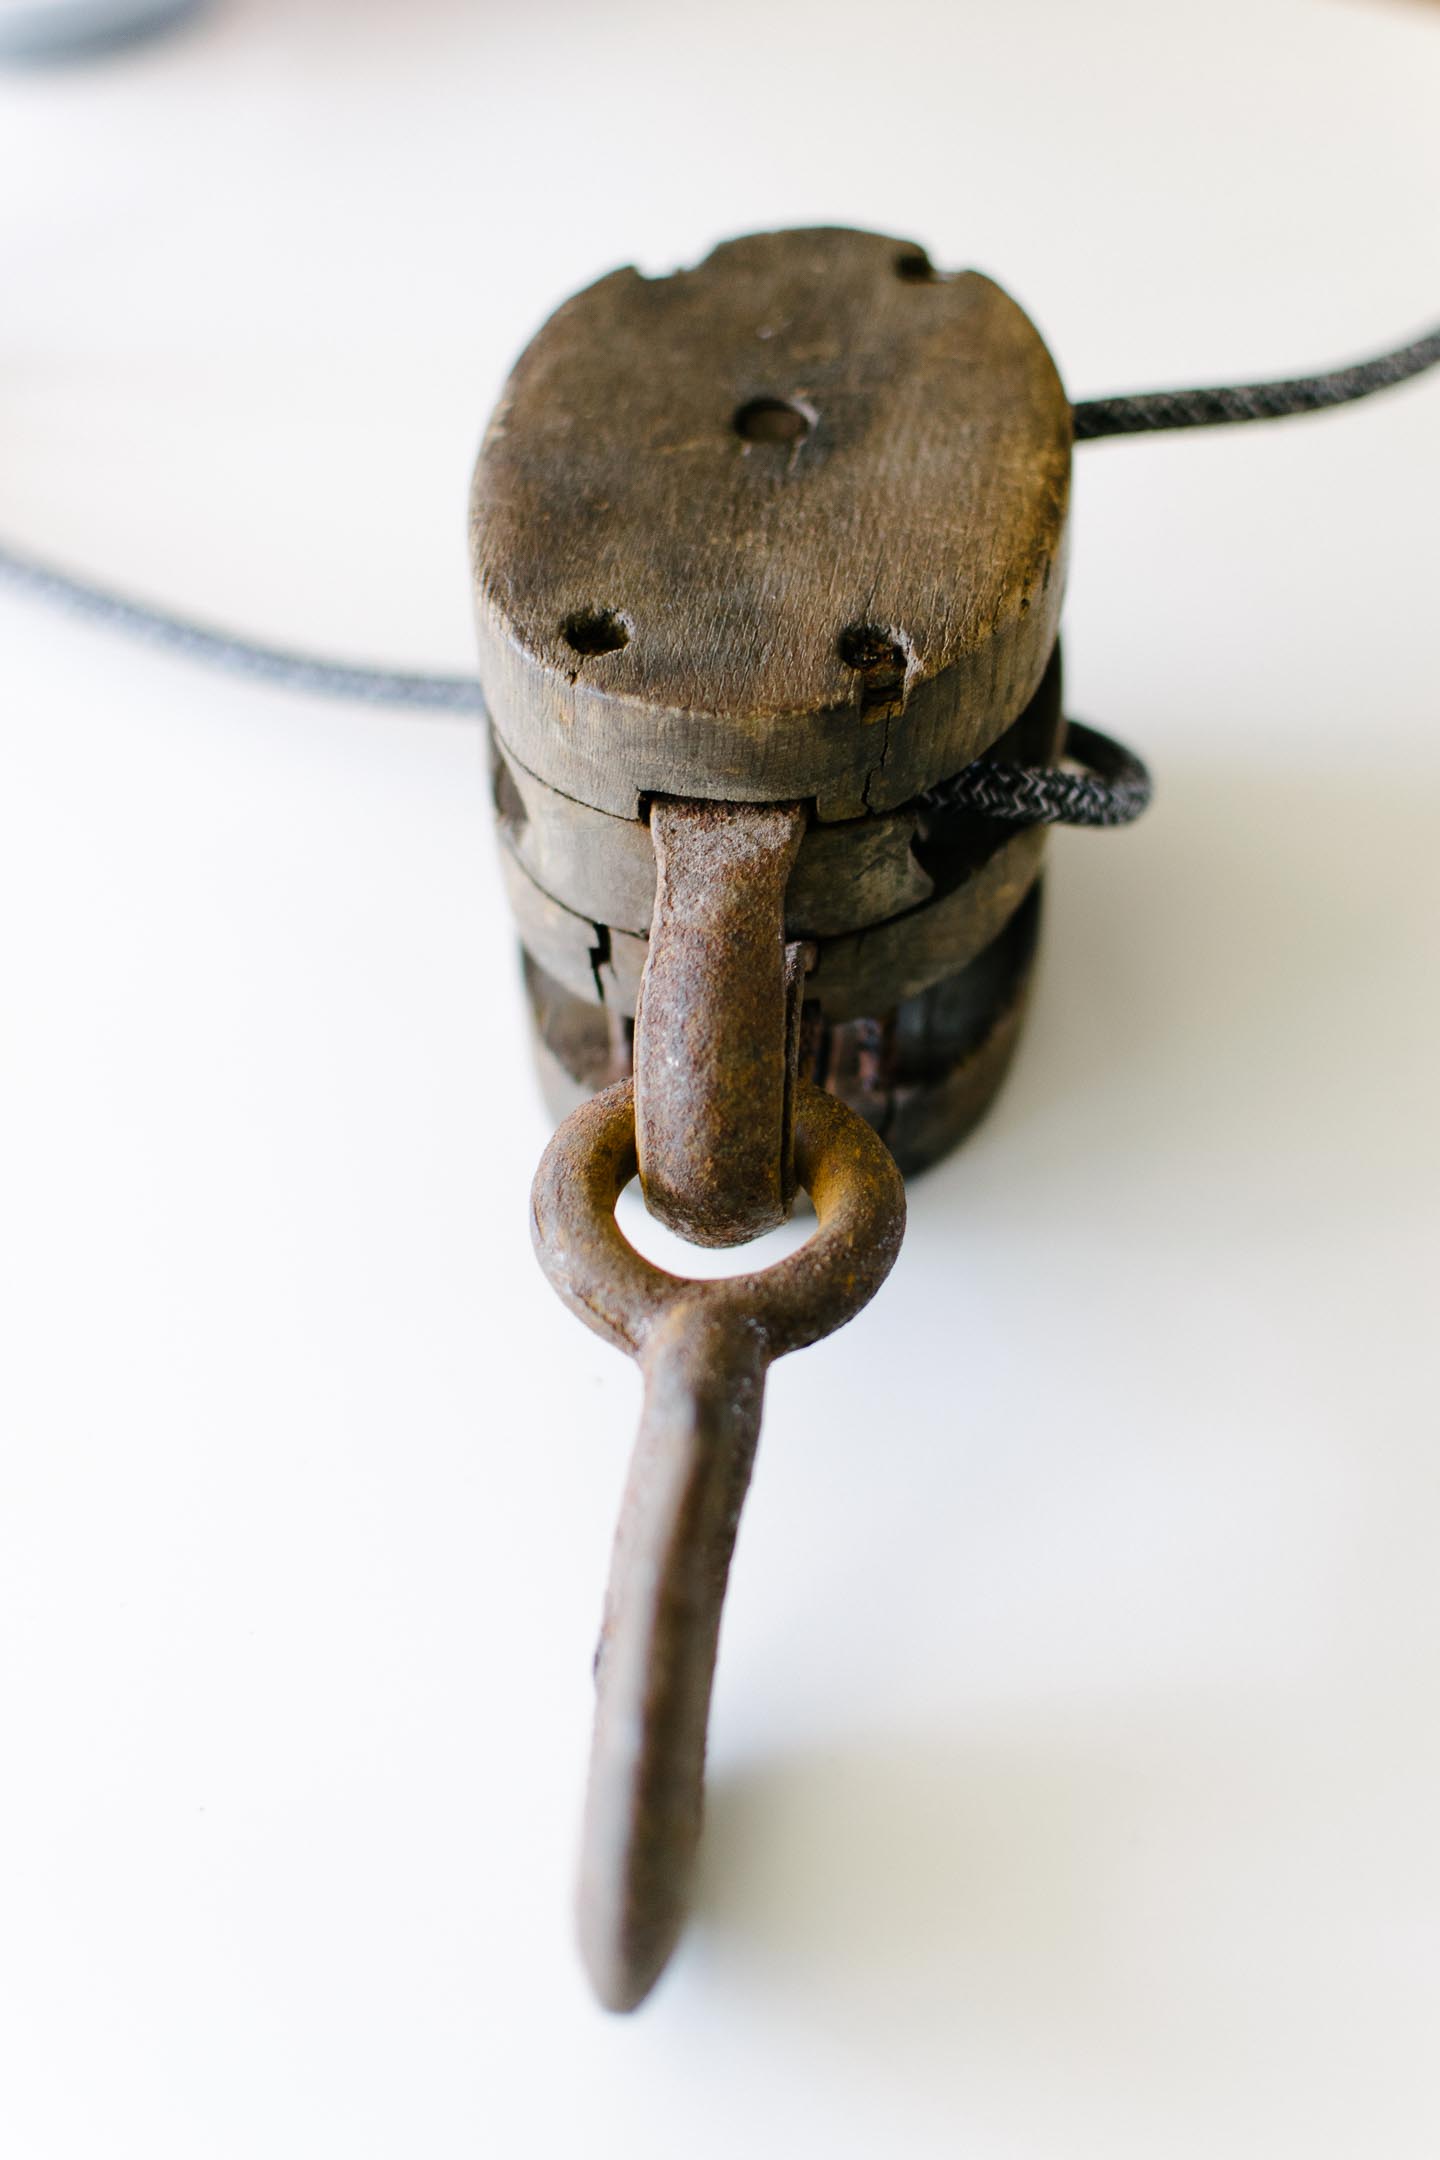 -Expose the copper wire and wire to socket
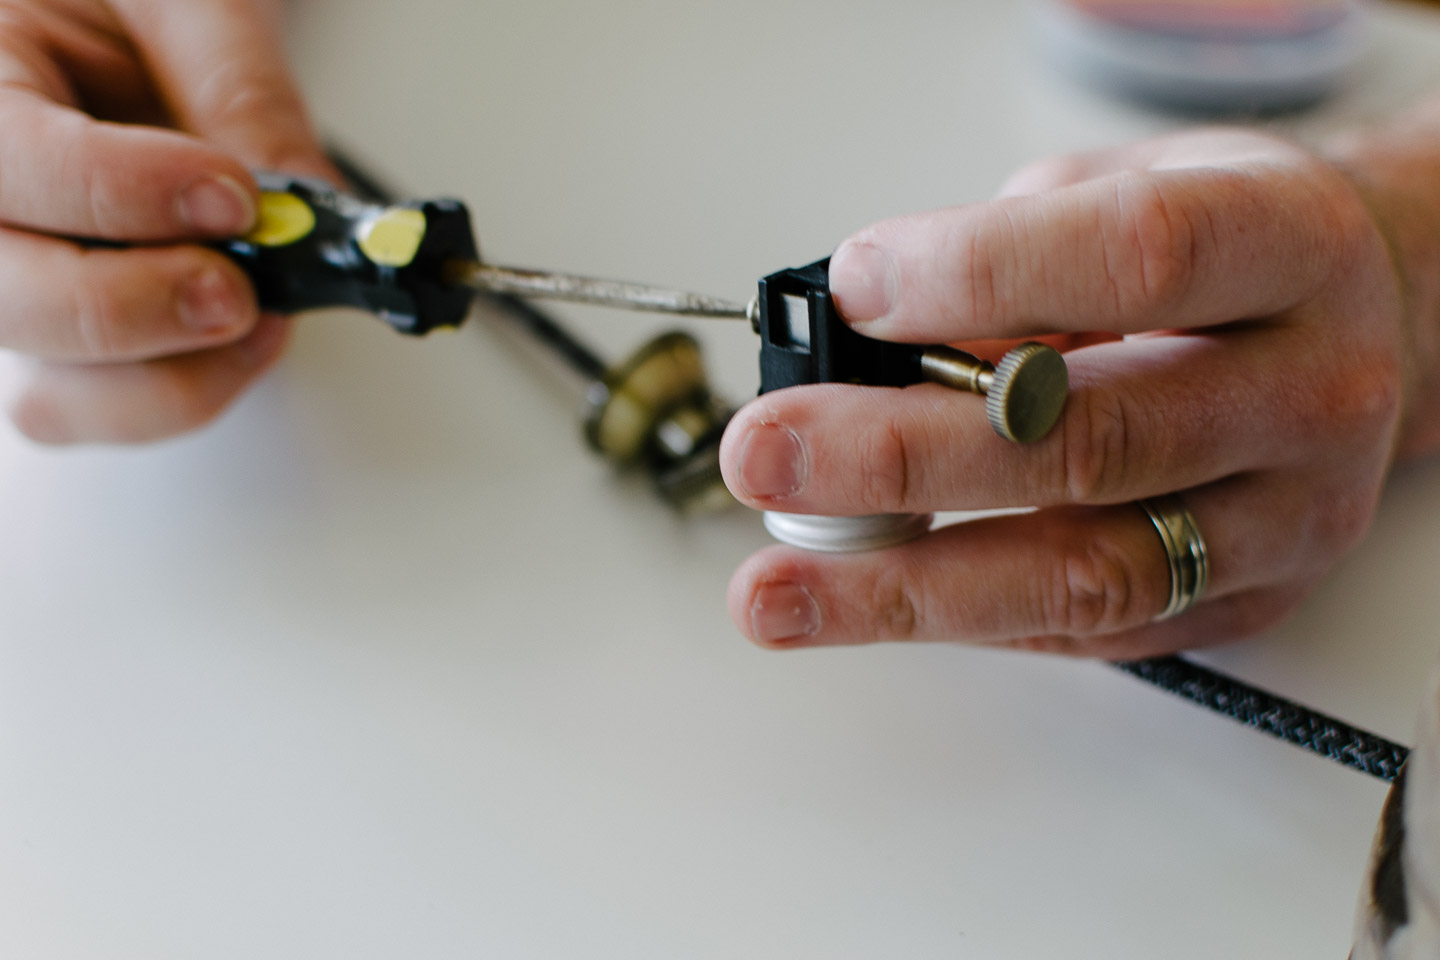
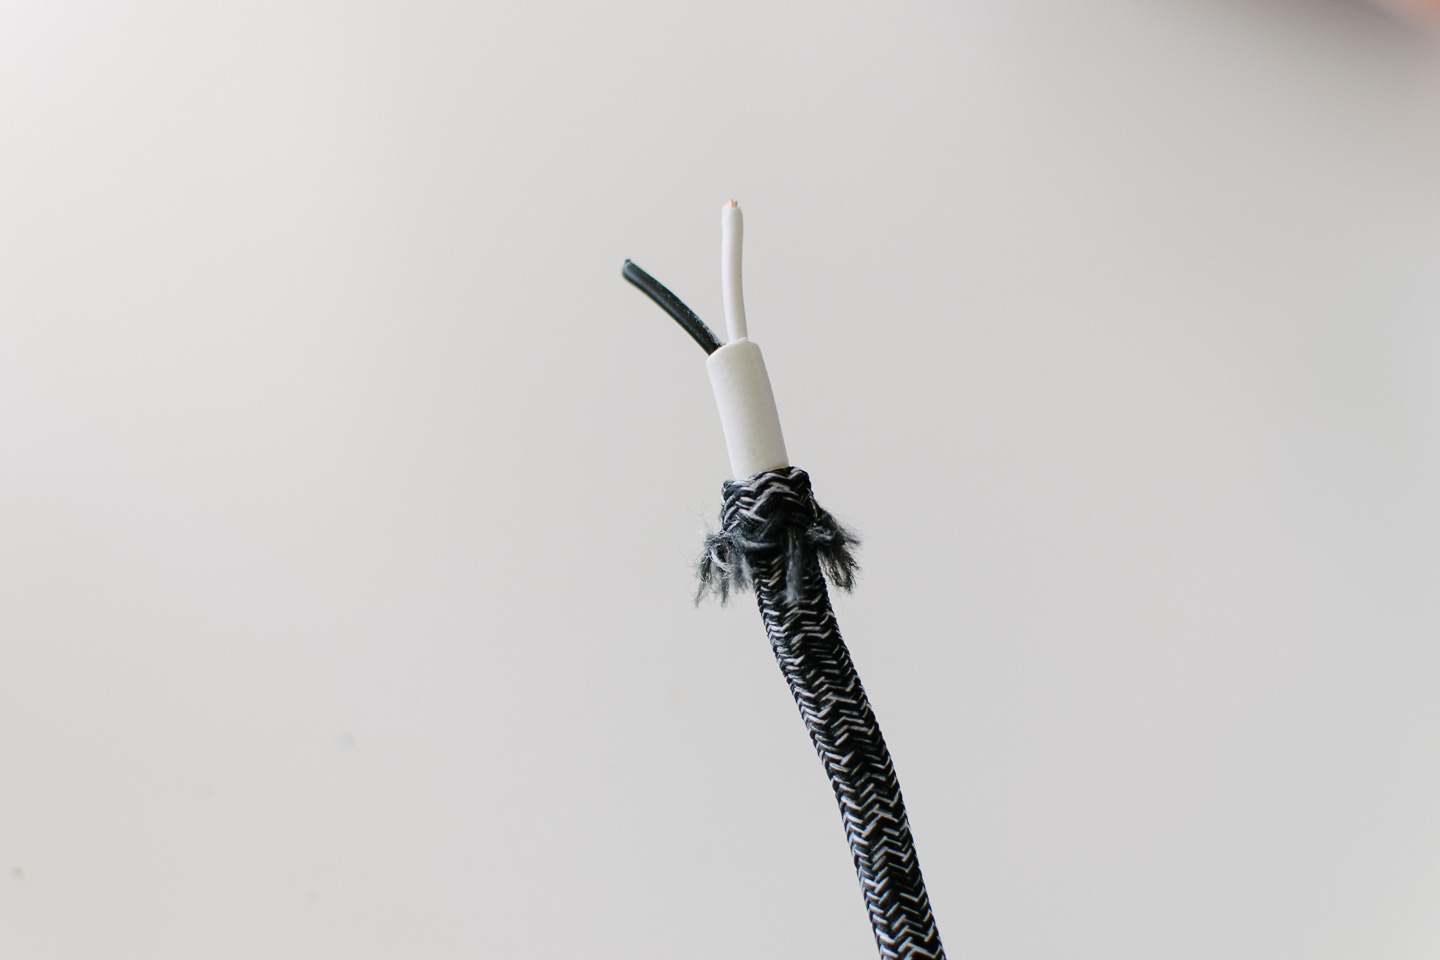
 - Stretch fabric back over wiring
- Take lighter and burn ends of fabric to stop fraying
- Pull back fabric on plug end and strip back insulation to wires
- Strip back wires to copper
- Wire end to plug
- Stretch fabric back over wiring
- Take lighter and burn ends of fabric to stop fraying
- Pull back fabric on plug end and strip back insulation to wires
- Strip back wires to copper
- Wire end to plug - Voila! Now hang from a ceiling hook , screw in bulb, and plug it in!