Organizing a Small Nursery Closet | One Room Challenge Week 5
/
We’re back for week 5 of the One Room Challenge with a quick and simple baby closet makeover, and our tips and tricks for organizing a small nursery closet. Our host, Linda from Calling It Home, has extended the ORC for an additional week so the Reveal will happen in just two short weeks... Ekk! Catch up on the last few weeks here: Design | Custom Print | Modern Green Dresser | One Step Ahead, One Step Behind
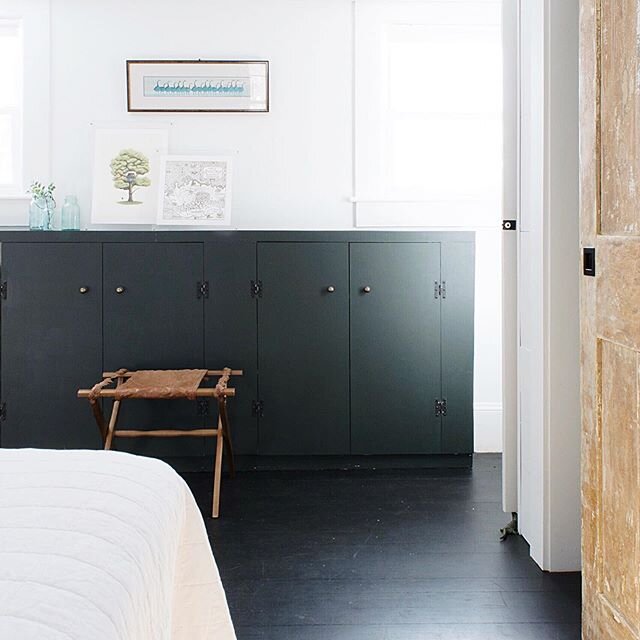
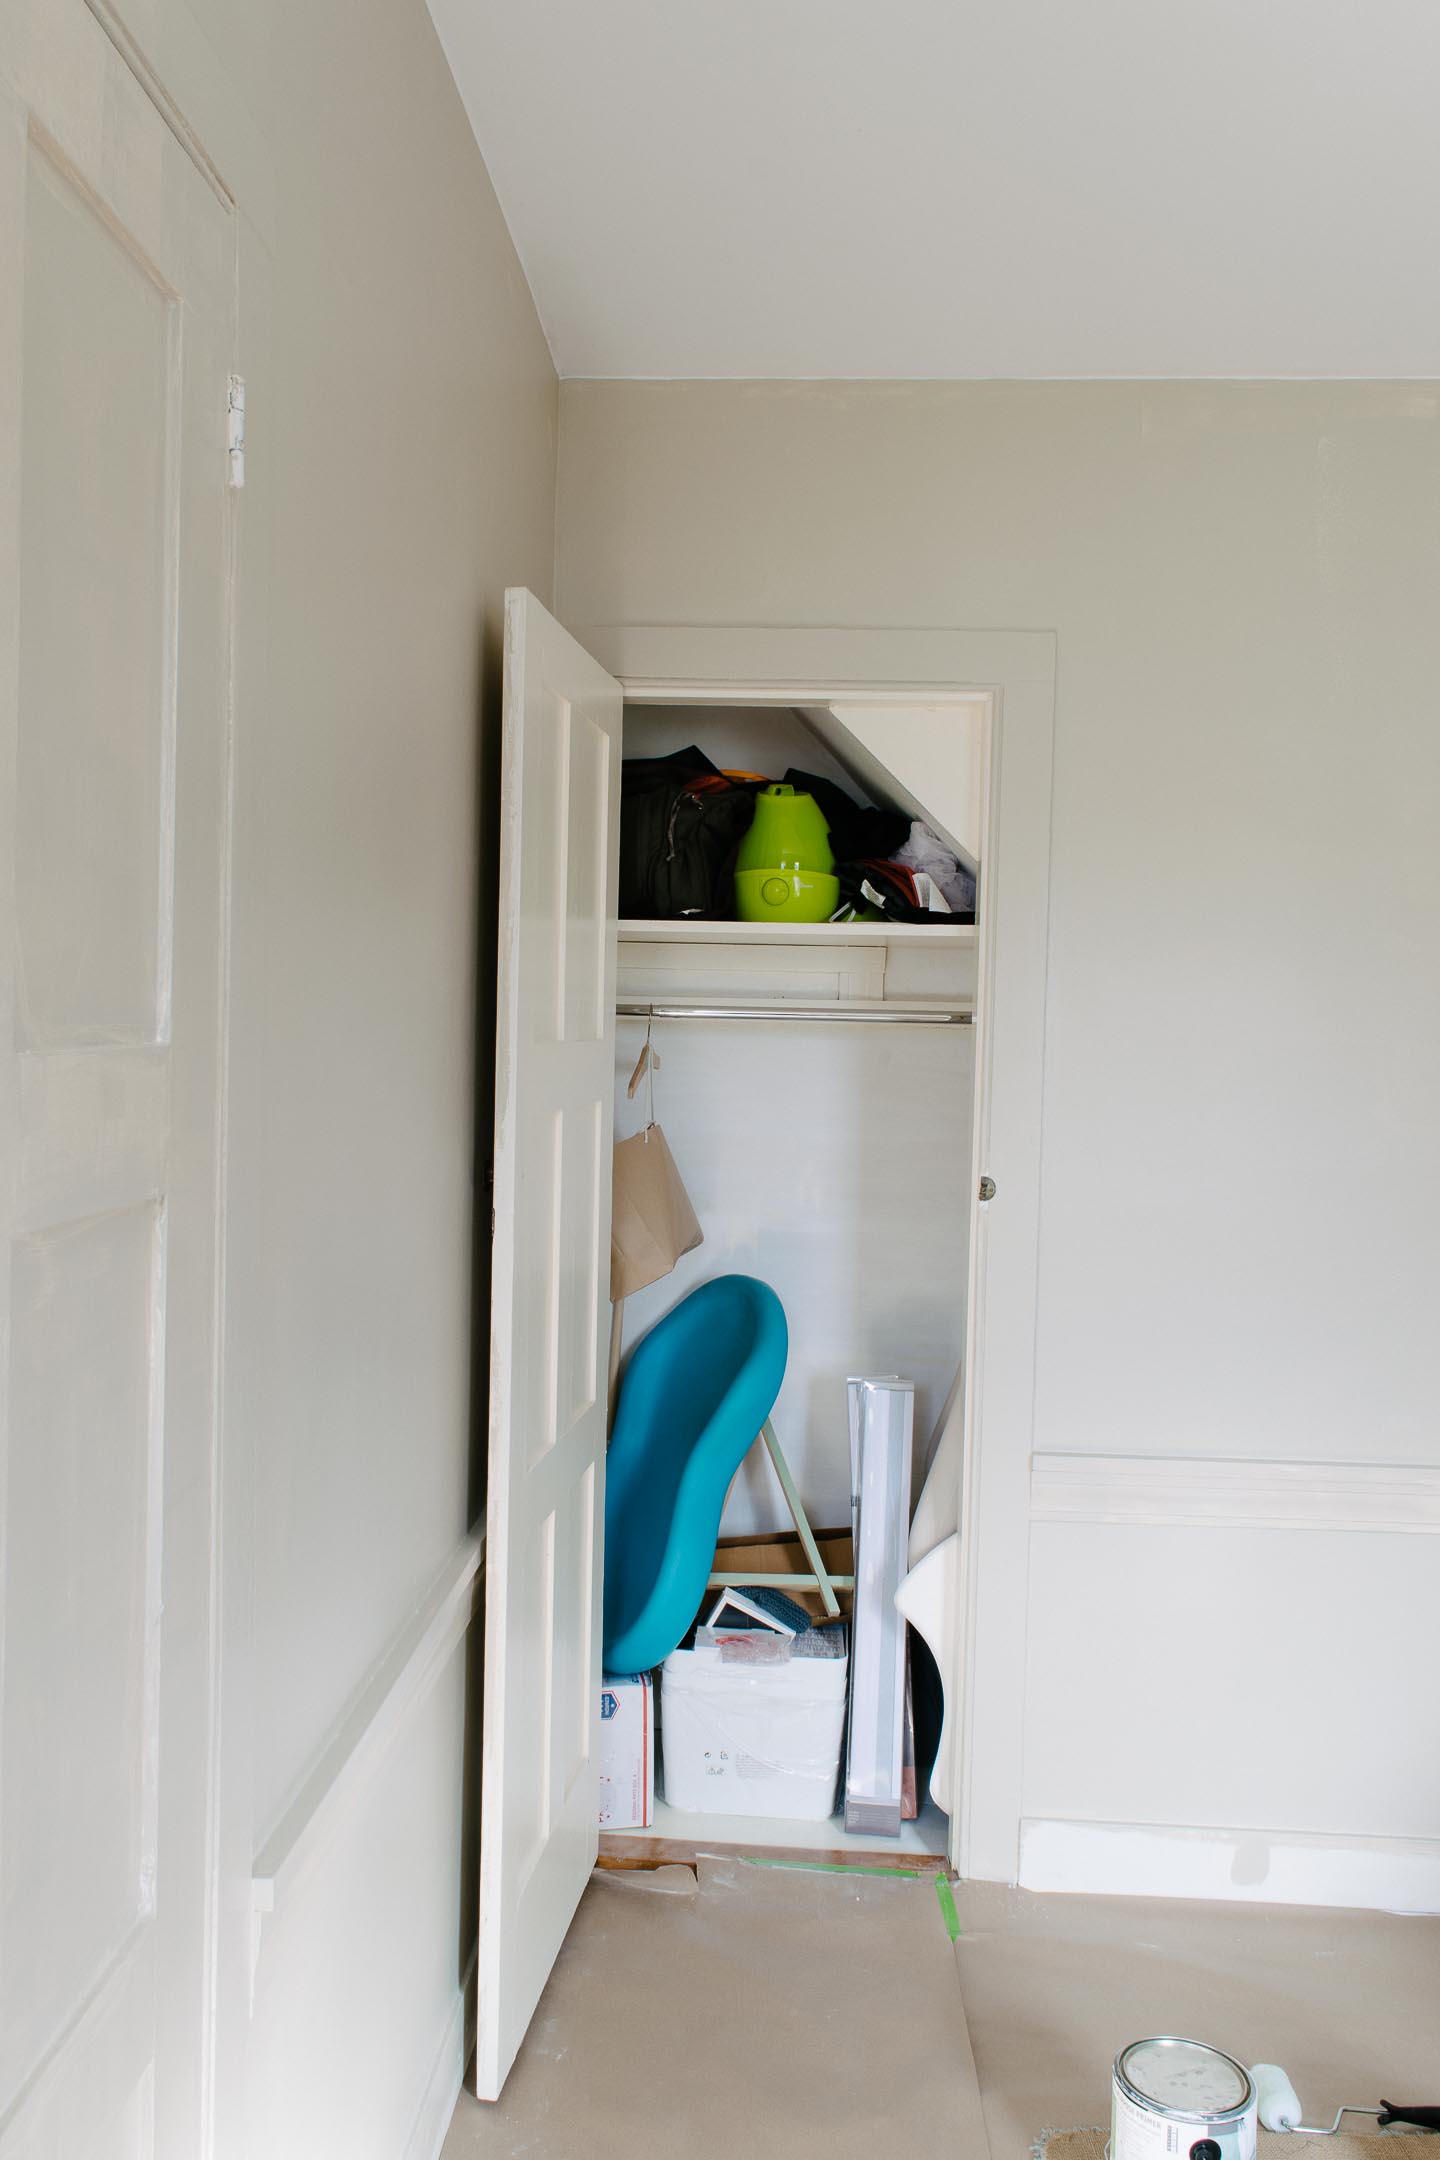
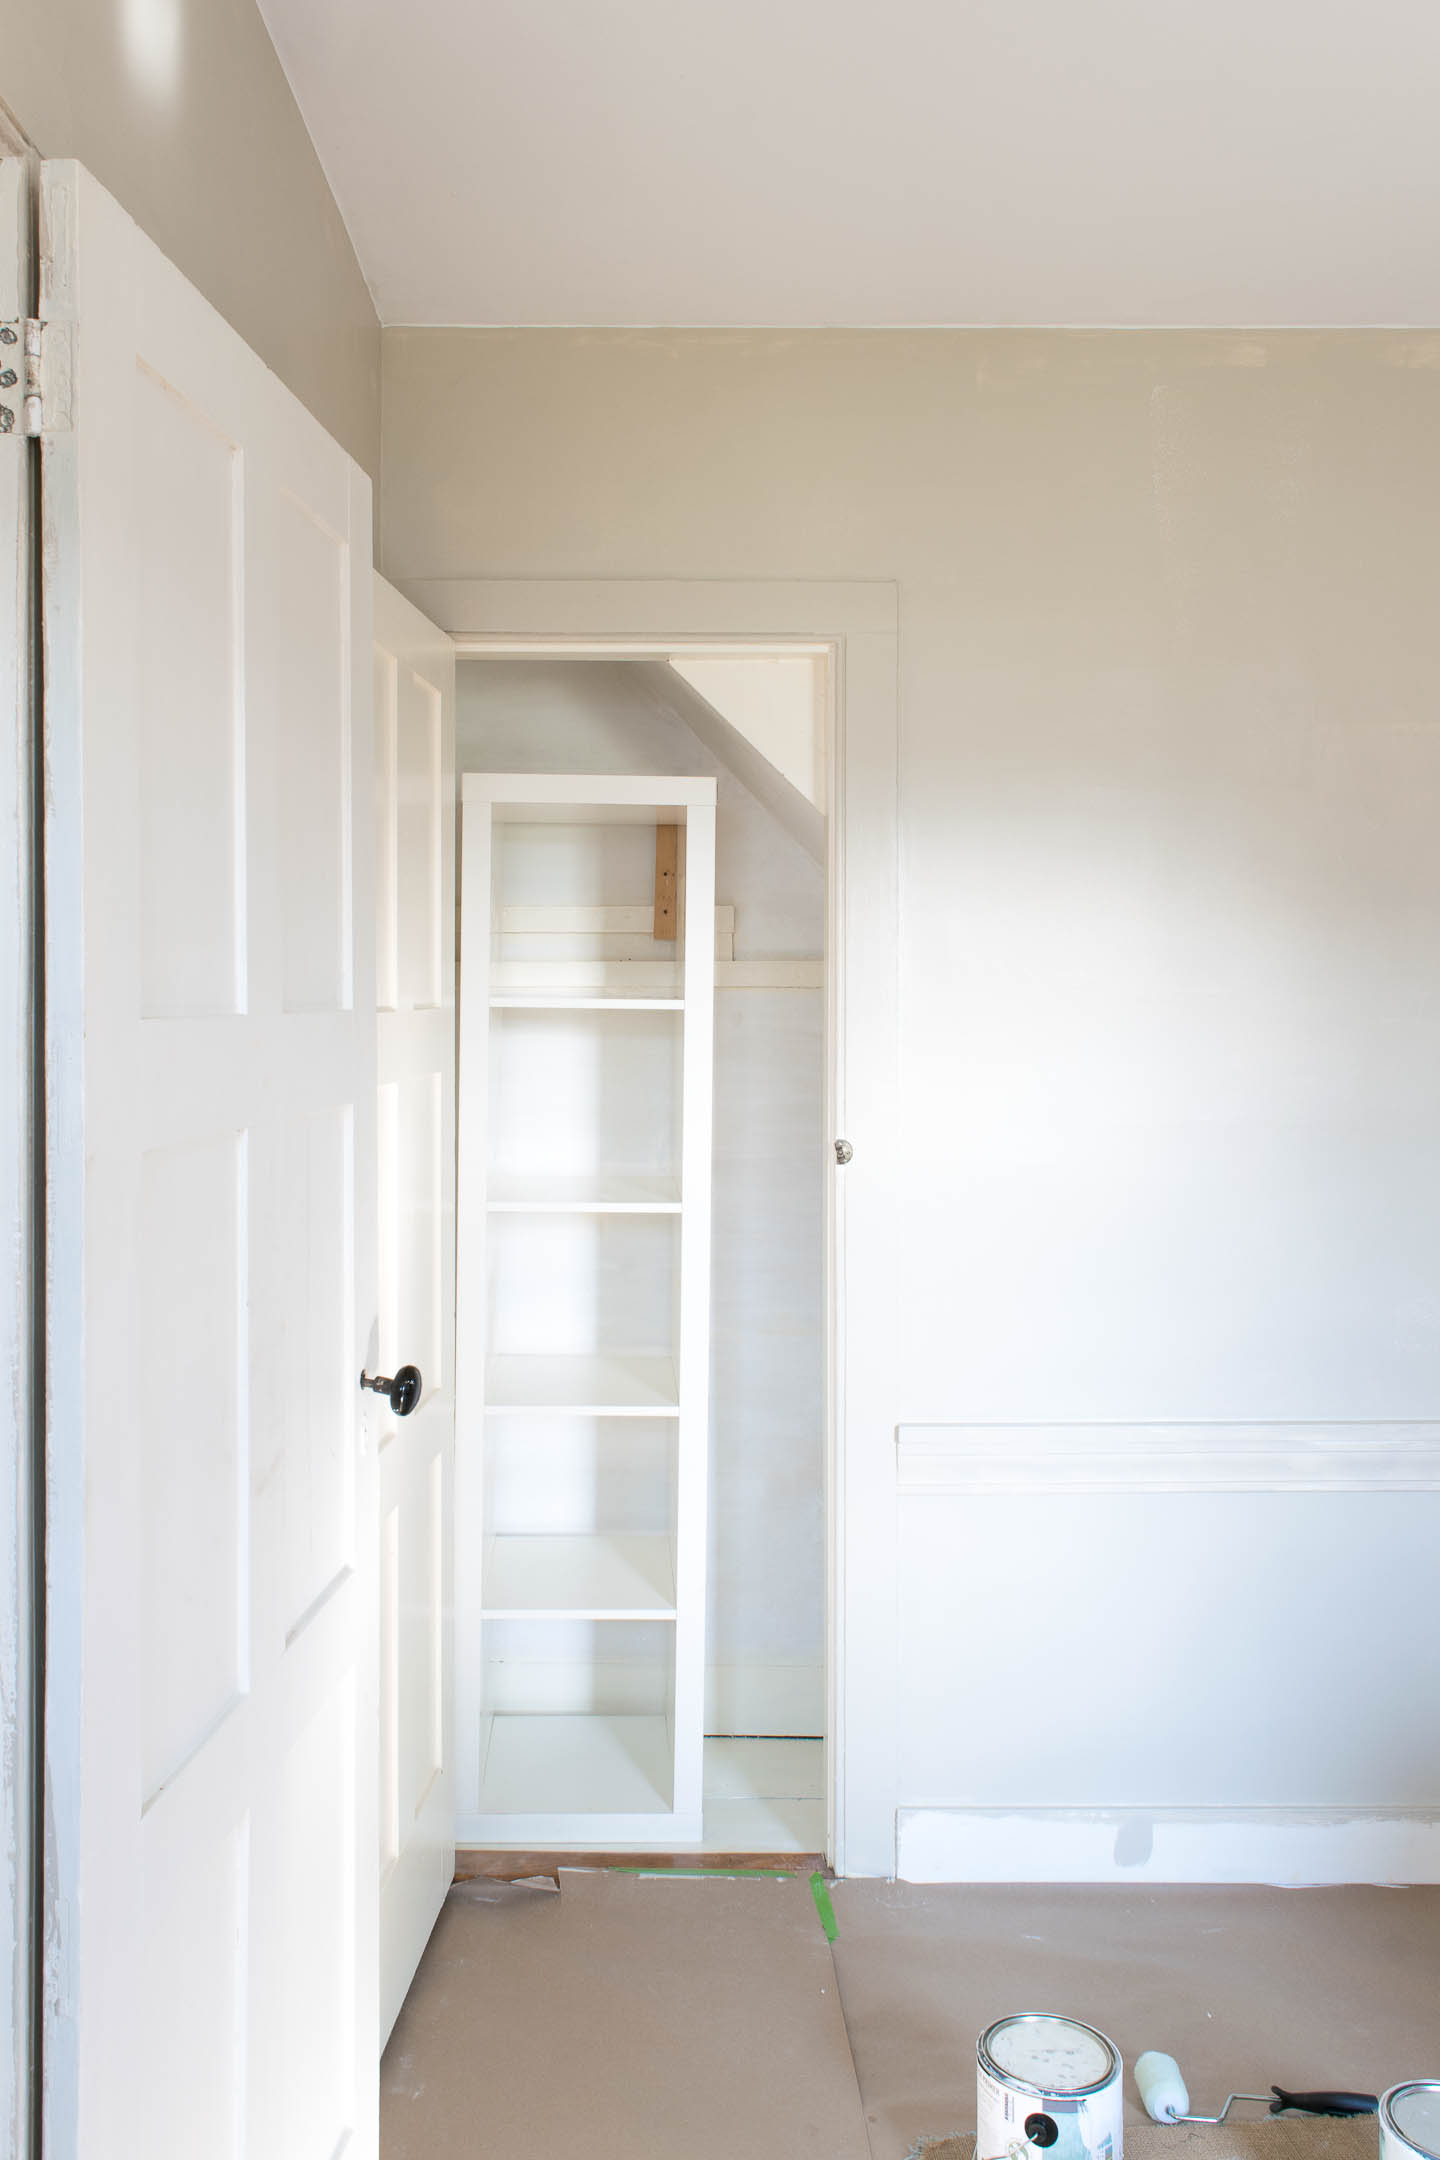
Before
We had to add four closets into our last home, so we are very thankful this historic colonial had a bunch to work with. The nursery closet is actually located under the attic stairs and therefore a bit oddly shaped, but that’s where all the fun is!
Small Nursery Closet Storage
This isn’t our first go around with organizing a small closet space, and initially our daughter’s room didn’t have a closet at all. So we’ve amassed some tips and tricks that worked out well along the way.
Our biggest tip? Ditch the hanging storage, unless you have room of course.
But those teeny tiny clothes look so cute all hung up perfectly and I’m with you!
For the first two years of babies life you won’t need to hang clothes; I dare say you won’t even care once baby is born!
So, if you happen to be limited on space (and possibly even if you have space) do yourself a favor and don't start hanging all those little onesies; you will thank me later when you just need a freakin' nap.
Our solution you ask?
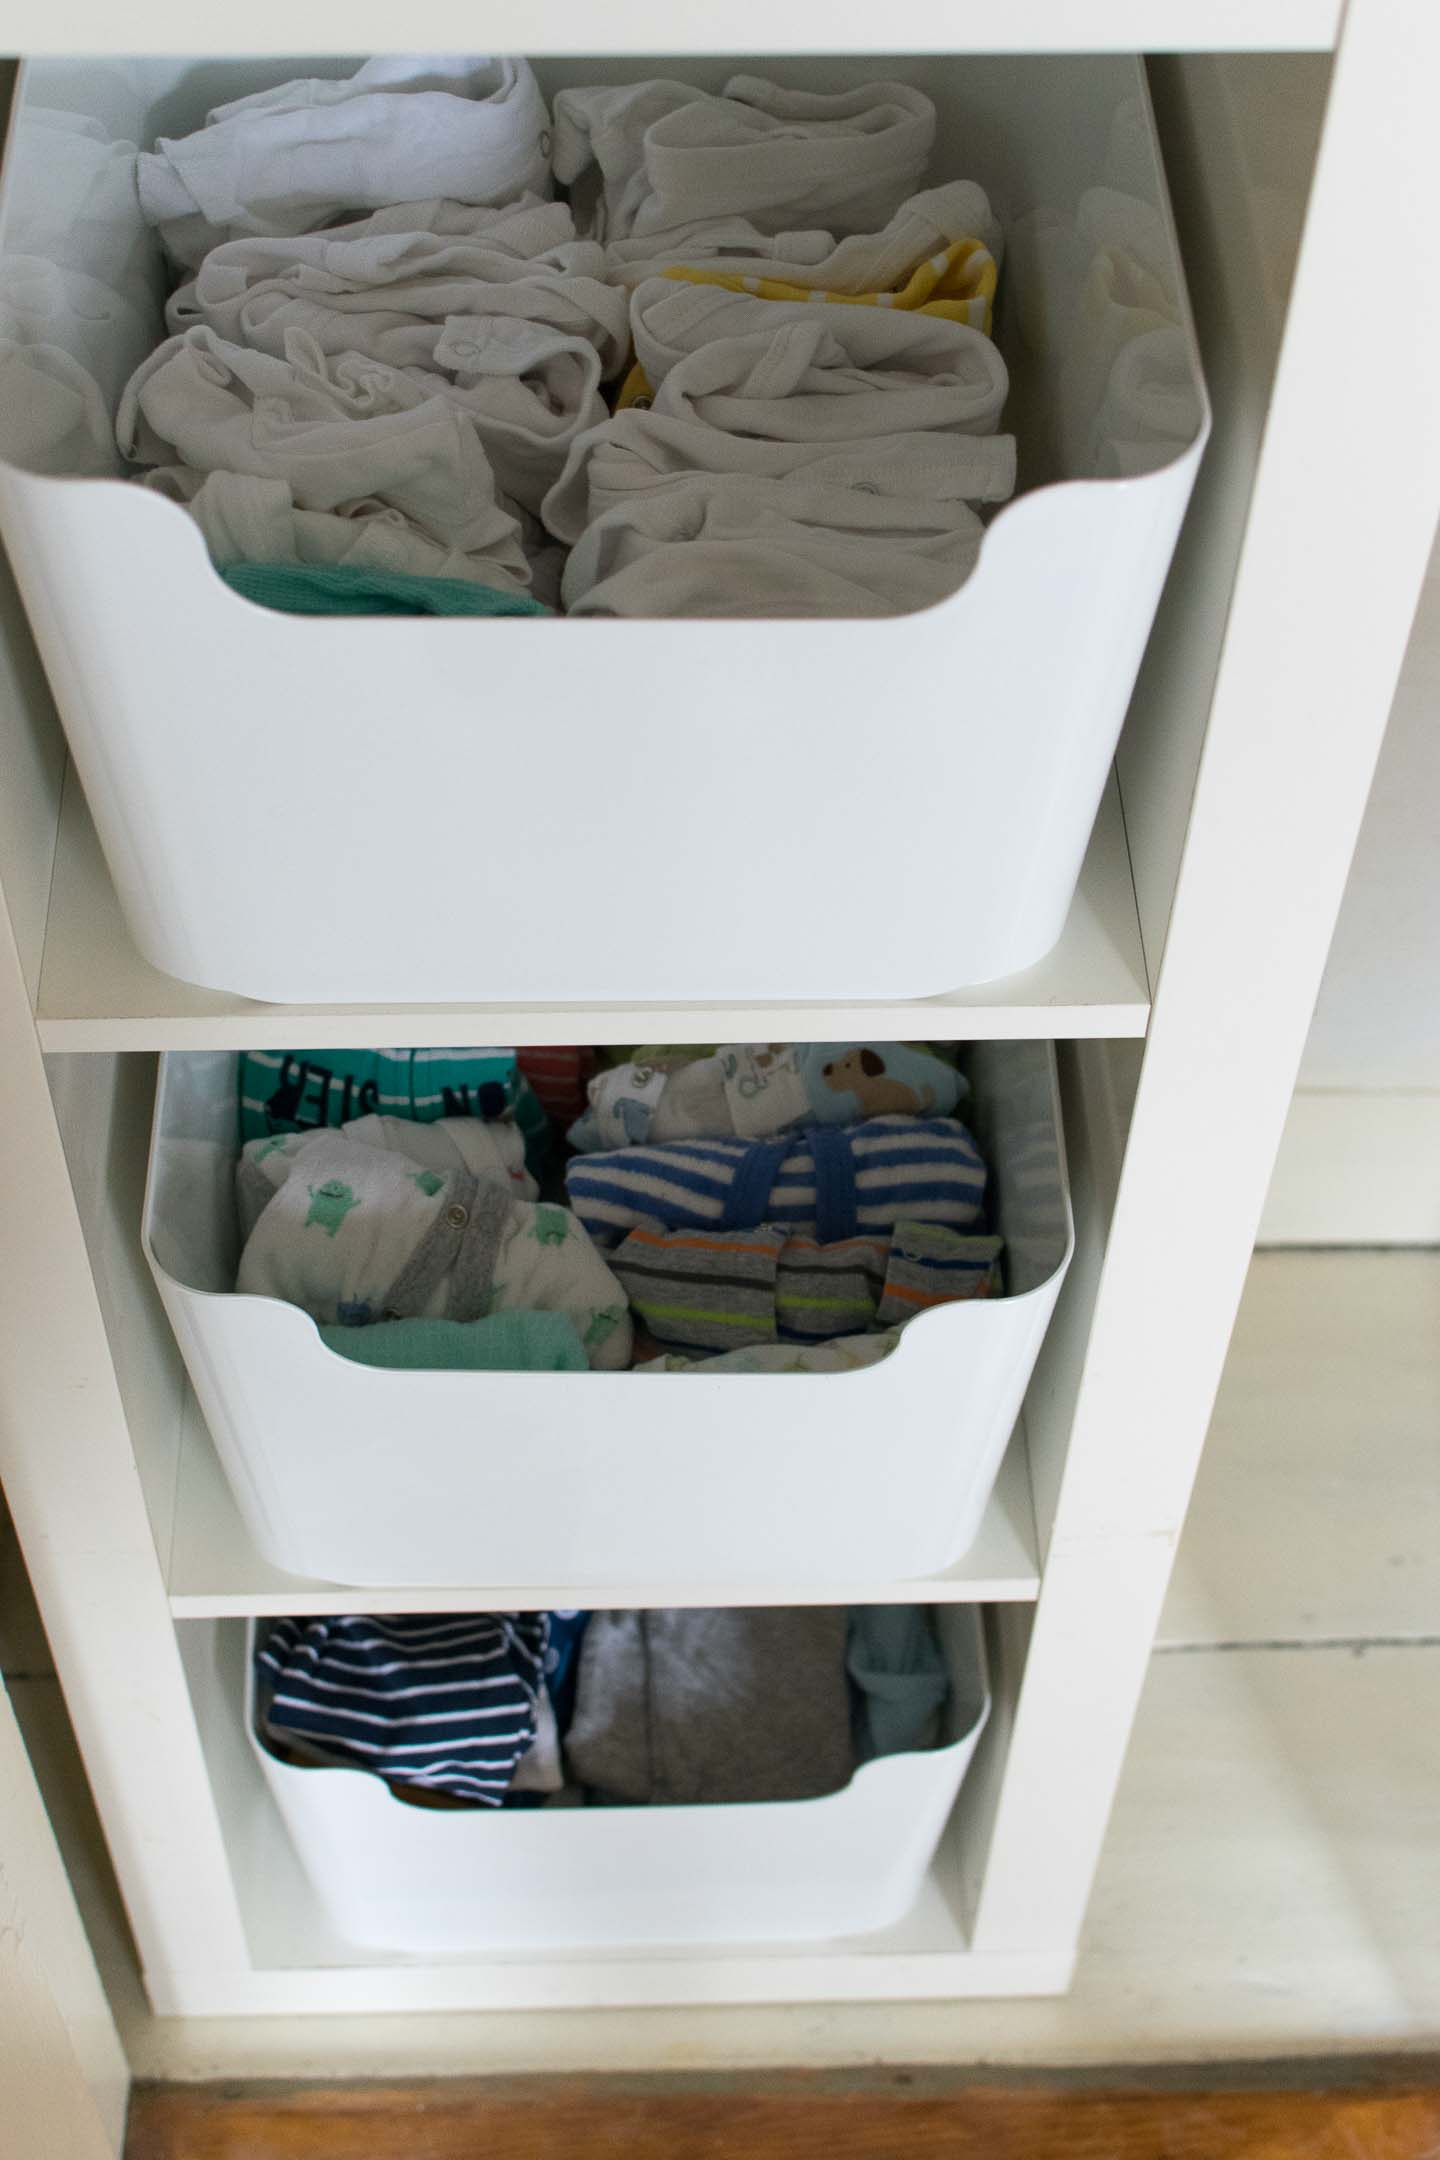
Use the dresser/changing table to store all the diapering items, and small baskets, bins or tubs for clothing either in the closet or in another storage unit.
This actually still works very well for our daughter Haverly who is 2.5 years.
Each bin is easily accessible, and can even be labeled so daddy isn’t totally clueless. Our breakdown looks something like this:
Bin 1: Socks, Booties, Hats Bin 2: Onesies, Shirts, and Pants (Folded into fool-proof "outfits" for Daddy- love you babe) Bin 3: Jammies & Swaddlers
Bin 4: Outer Wear & Sweaters / Swim or Sun Gear
Bin 5: One clothing size up
Tip #2 : Have bins ready to handle outgrown clothing, because they grow so flipping fast. I promise you will be so happy you did this.
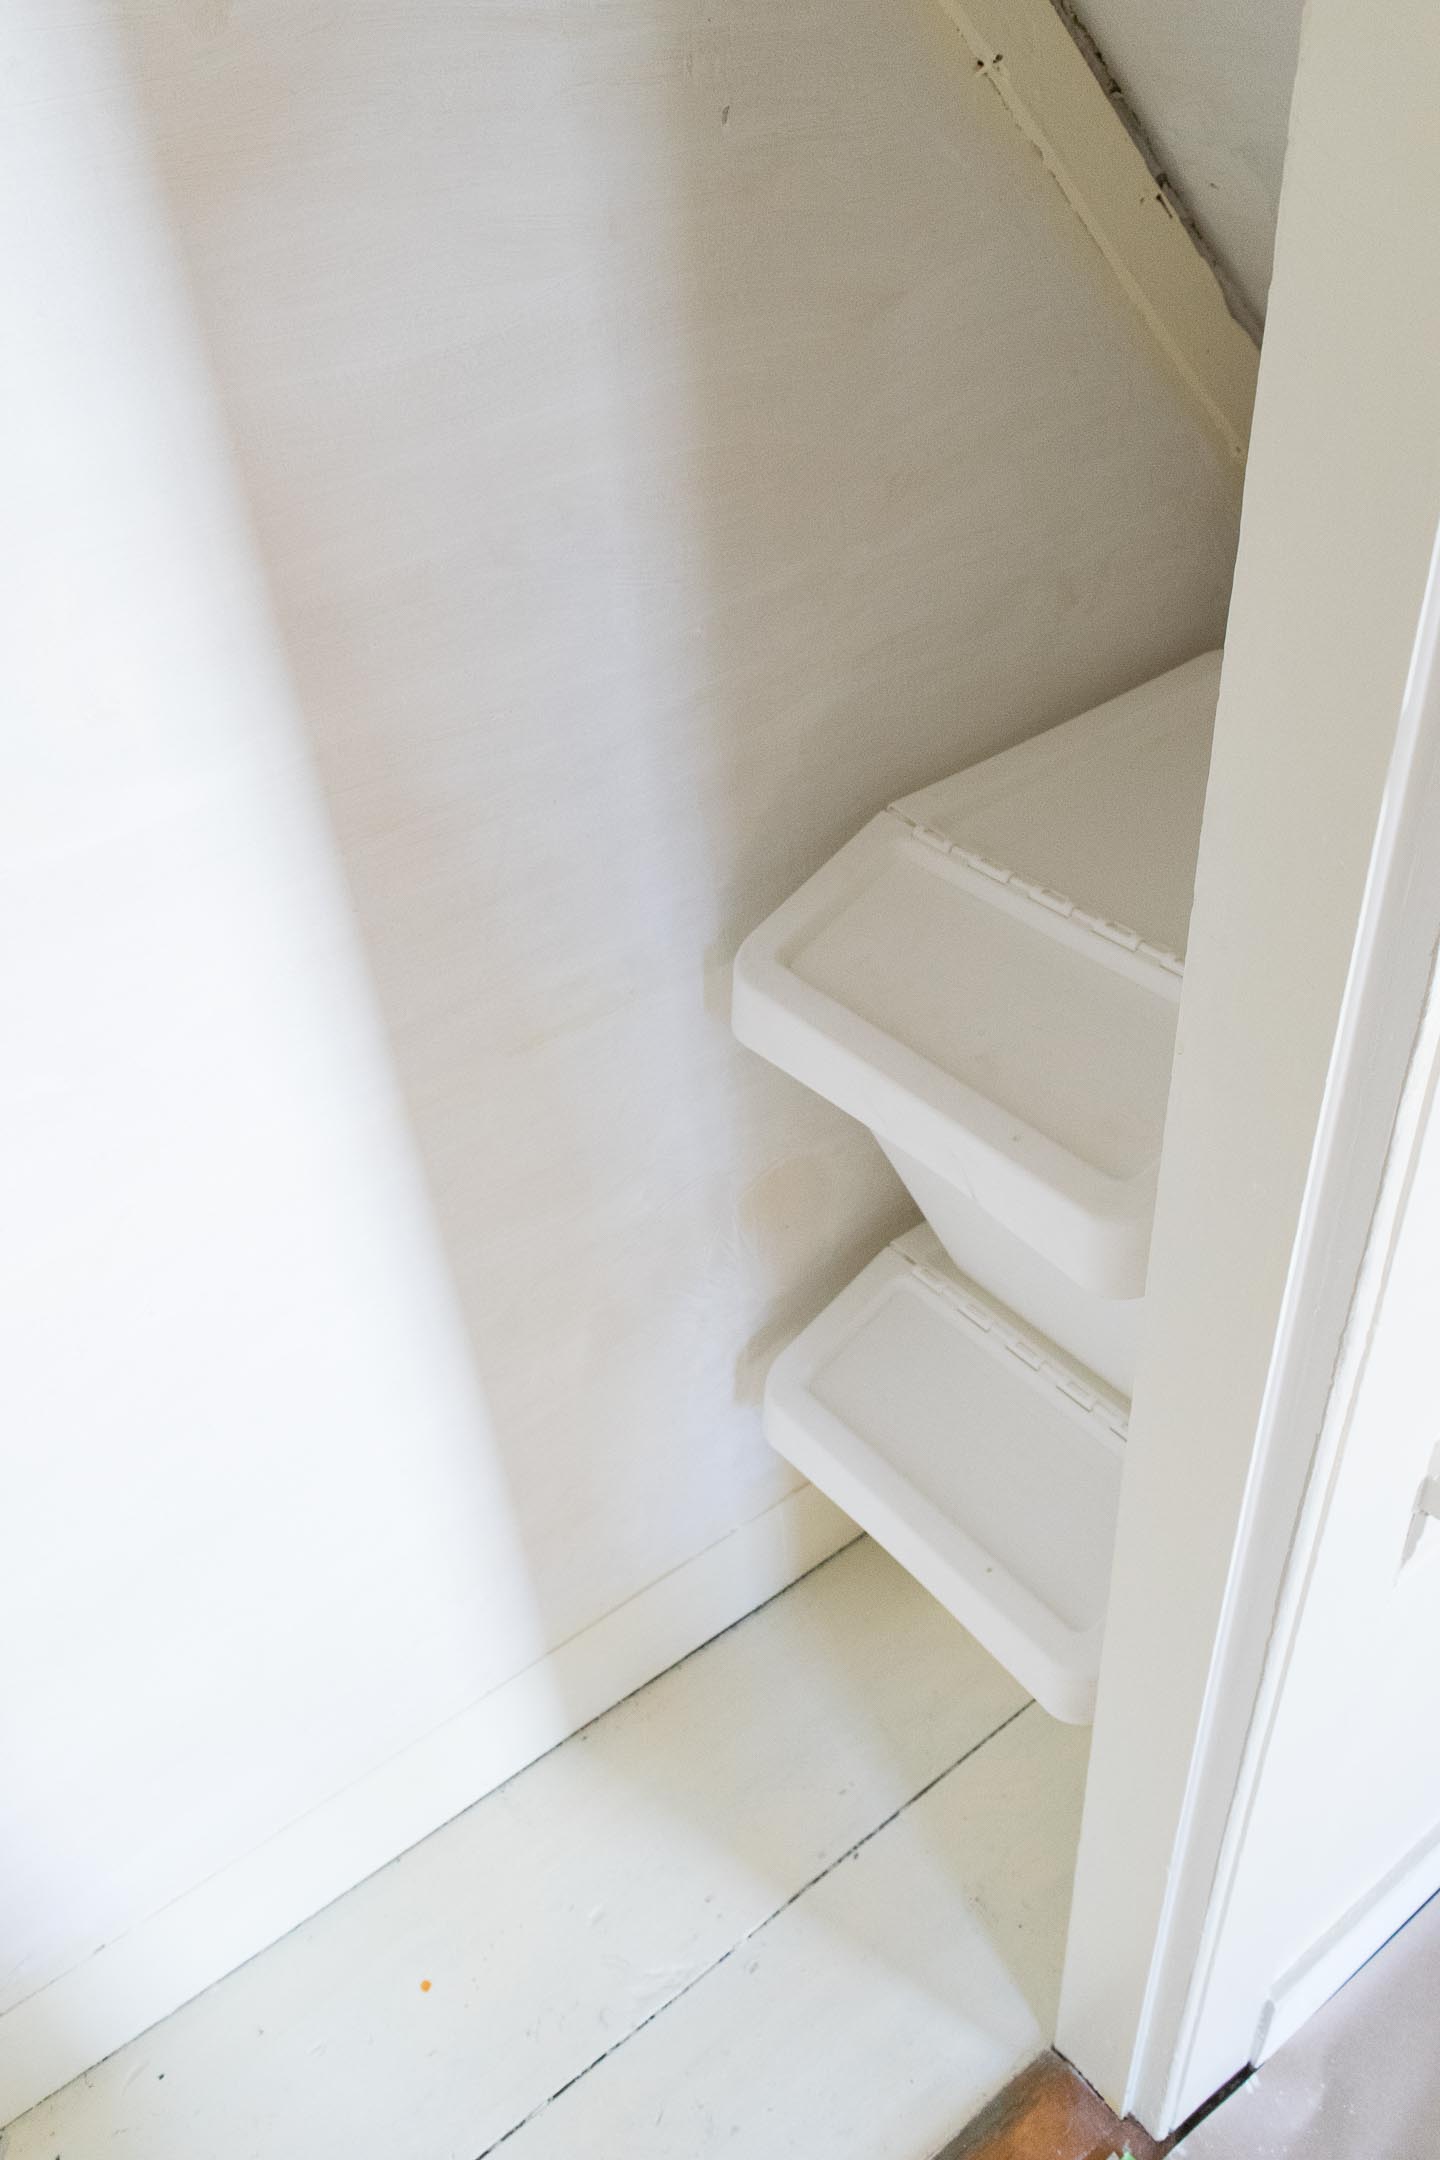
Our solution? Ikea recycle bins that we used to use for dog food overflow (we had 5 dogs at one point).

All you do is throw the clothing in as it becomes too small and call at a day, eventually when the bins get full you pull them out for donation or storage, and they are already sorted by size!
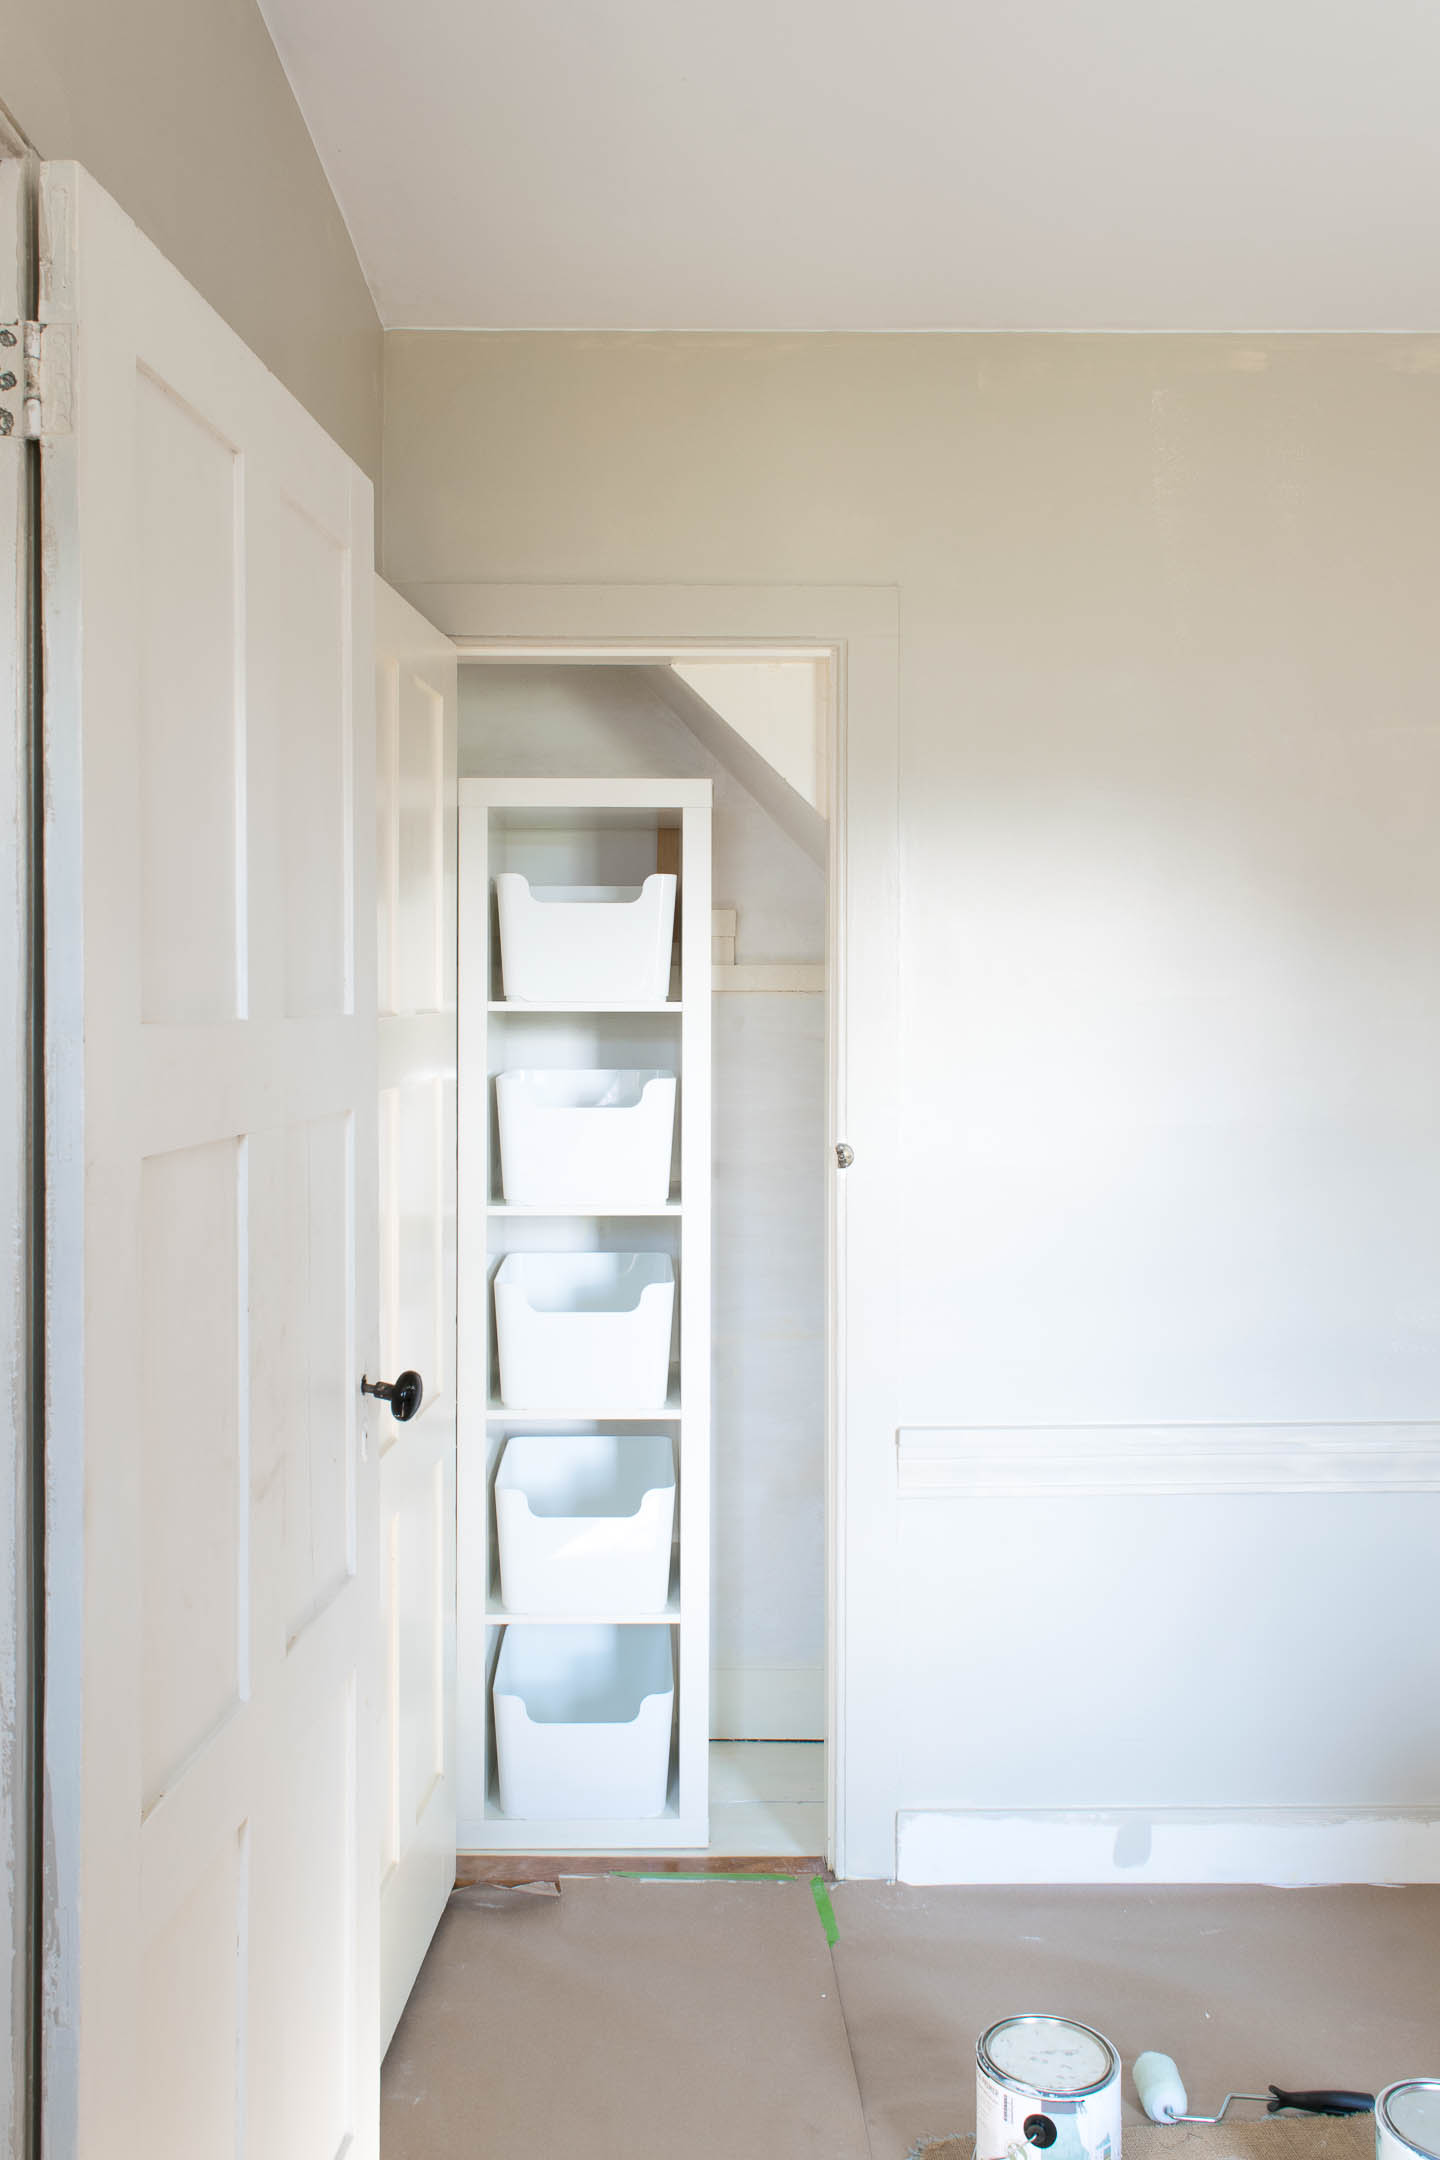
Putting together a small closet
We took out & saved the shelf and closet bar... they will most likely get re-installed at a later date. Which will come all too soon I fear...
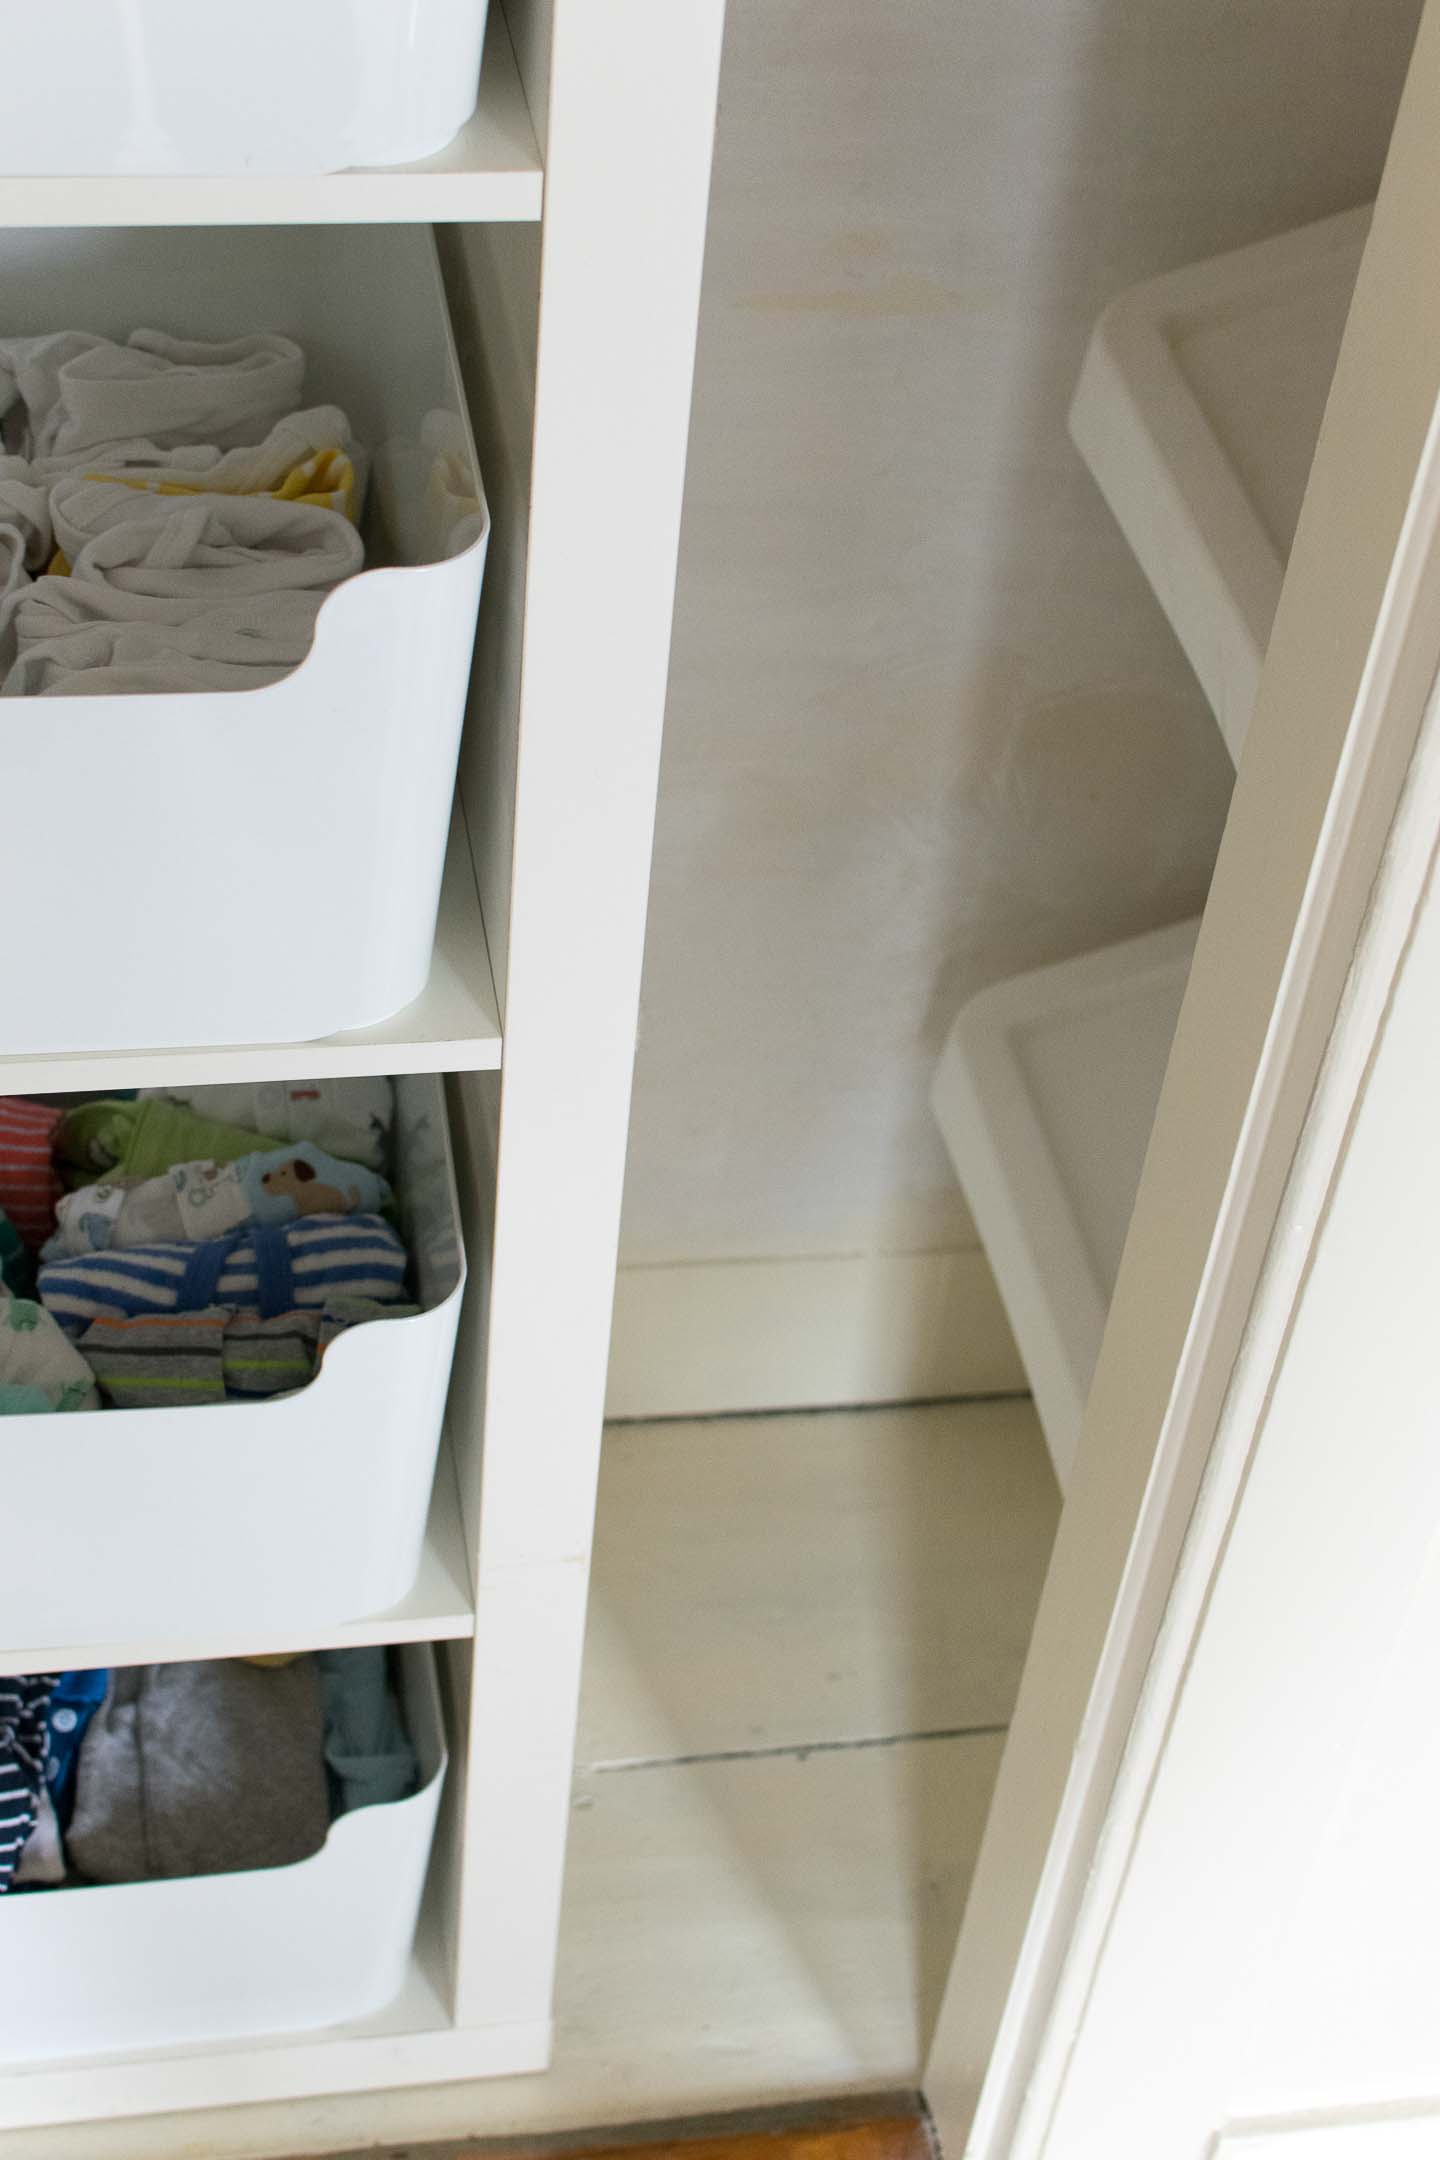
Then we re-used the same Ikea storage cabinet we’ve had for 7 years now; wow how time flies. While inserting other Ikea recycle bins into the space, you could easily use baskets for a different look. We have always liked these because they are easy to clean, won't fall apart over time, and perfect for little toys once clothing goes into a dresser.
Make sure to attached any storage units securely to the wall. Even if, like us, this won’t be permanent and another closet system will be used when baby grows up. They get to be climbers really young and it’s better not to have to worry about this.
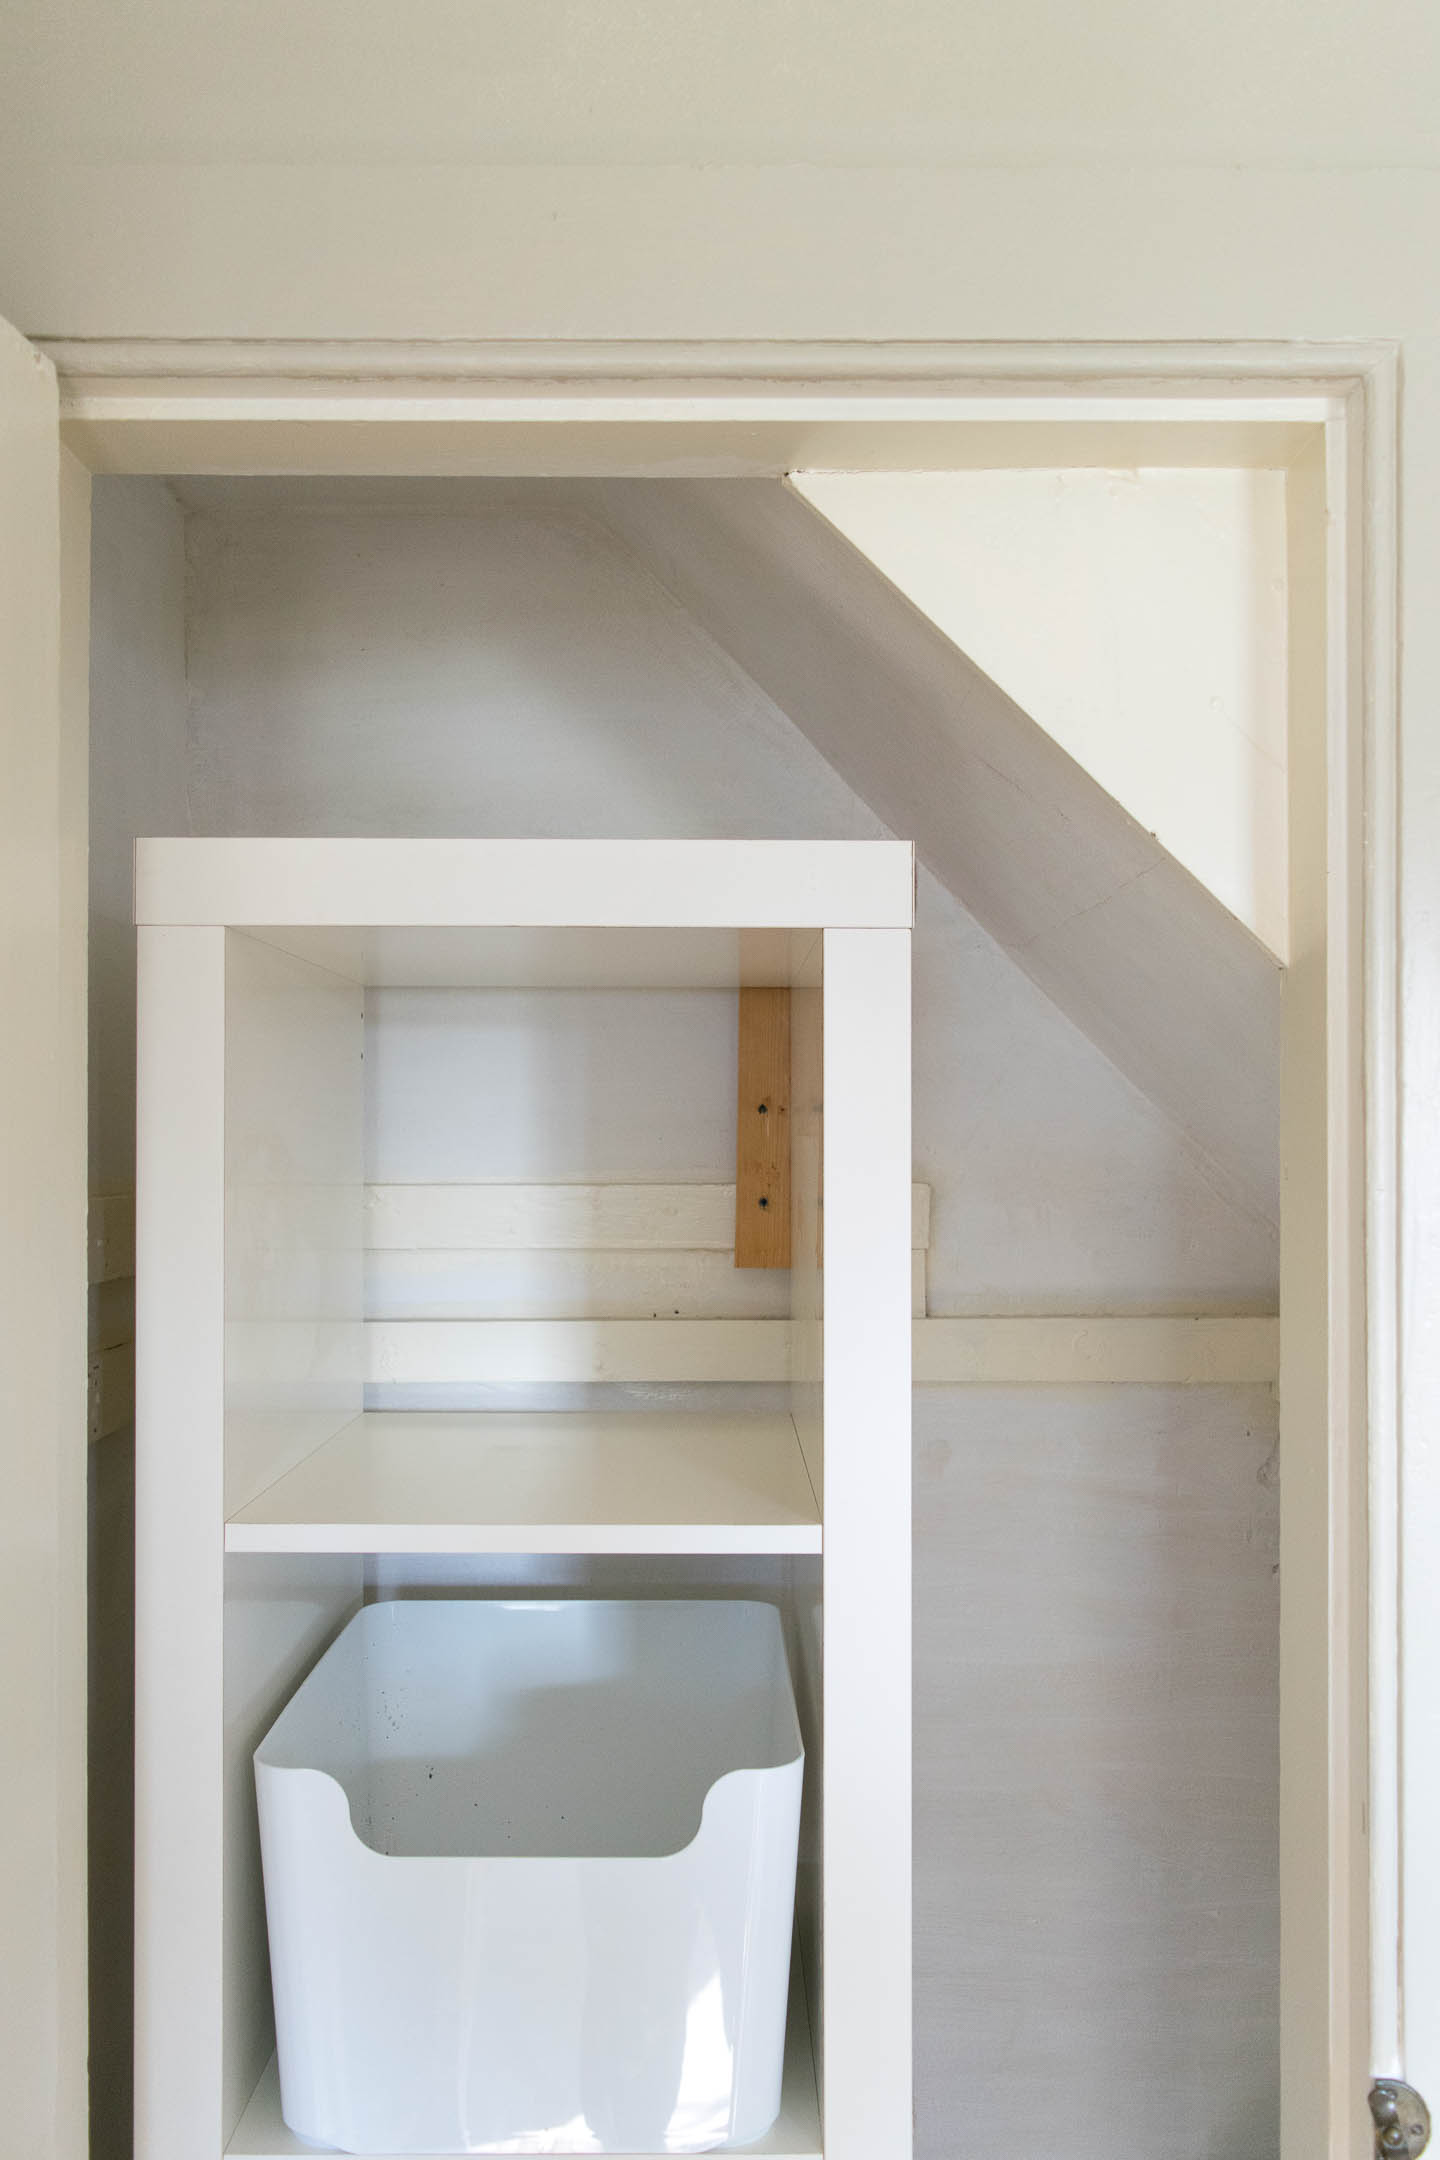
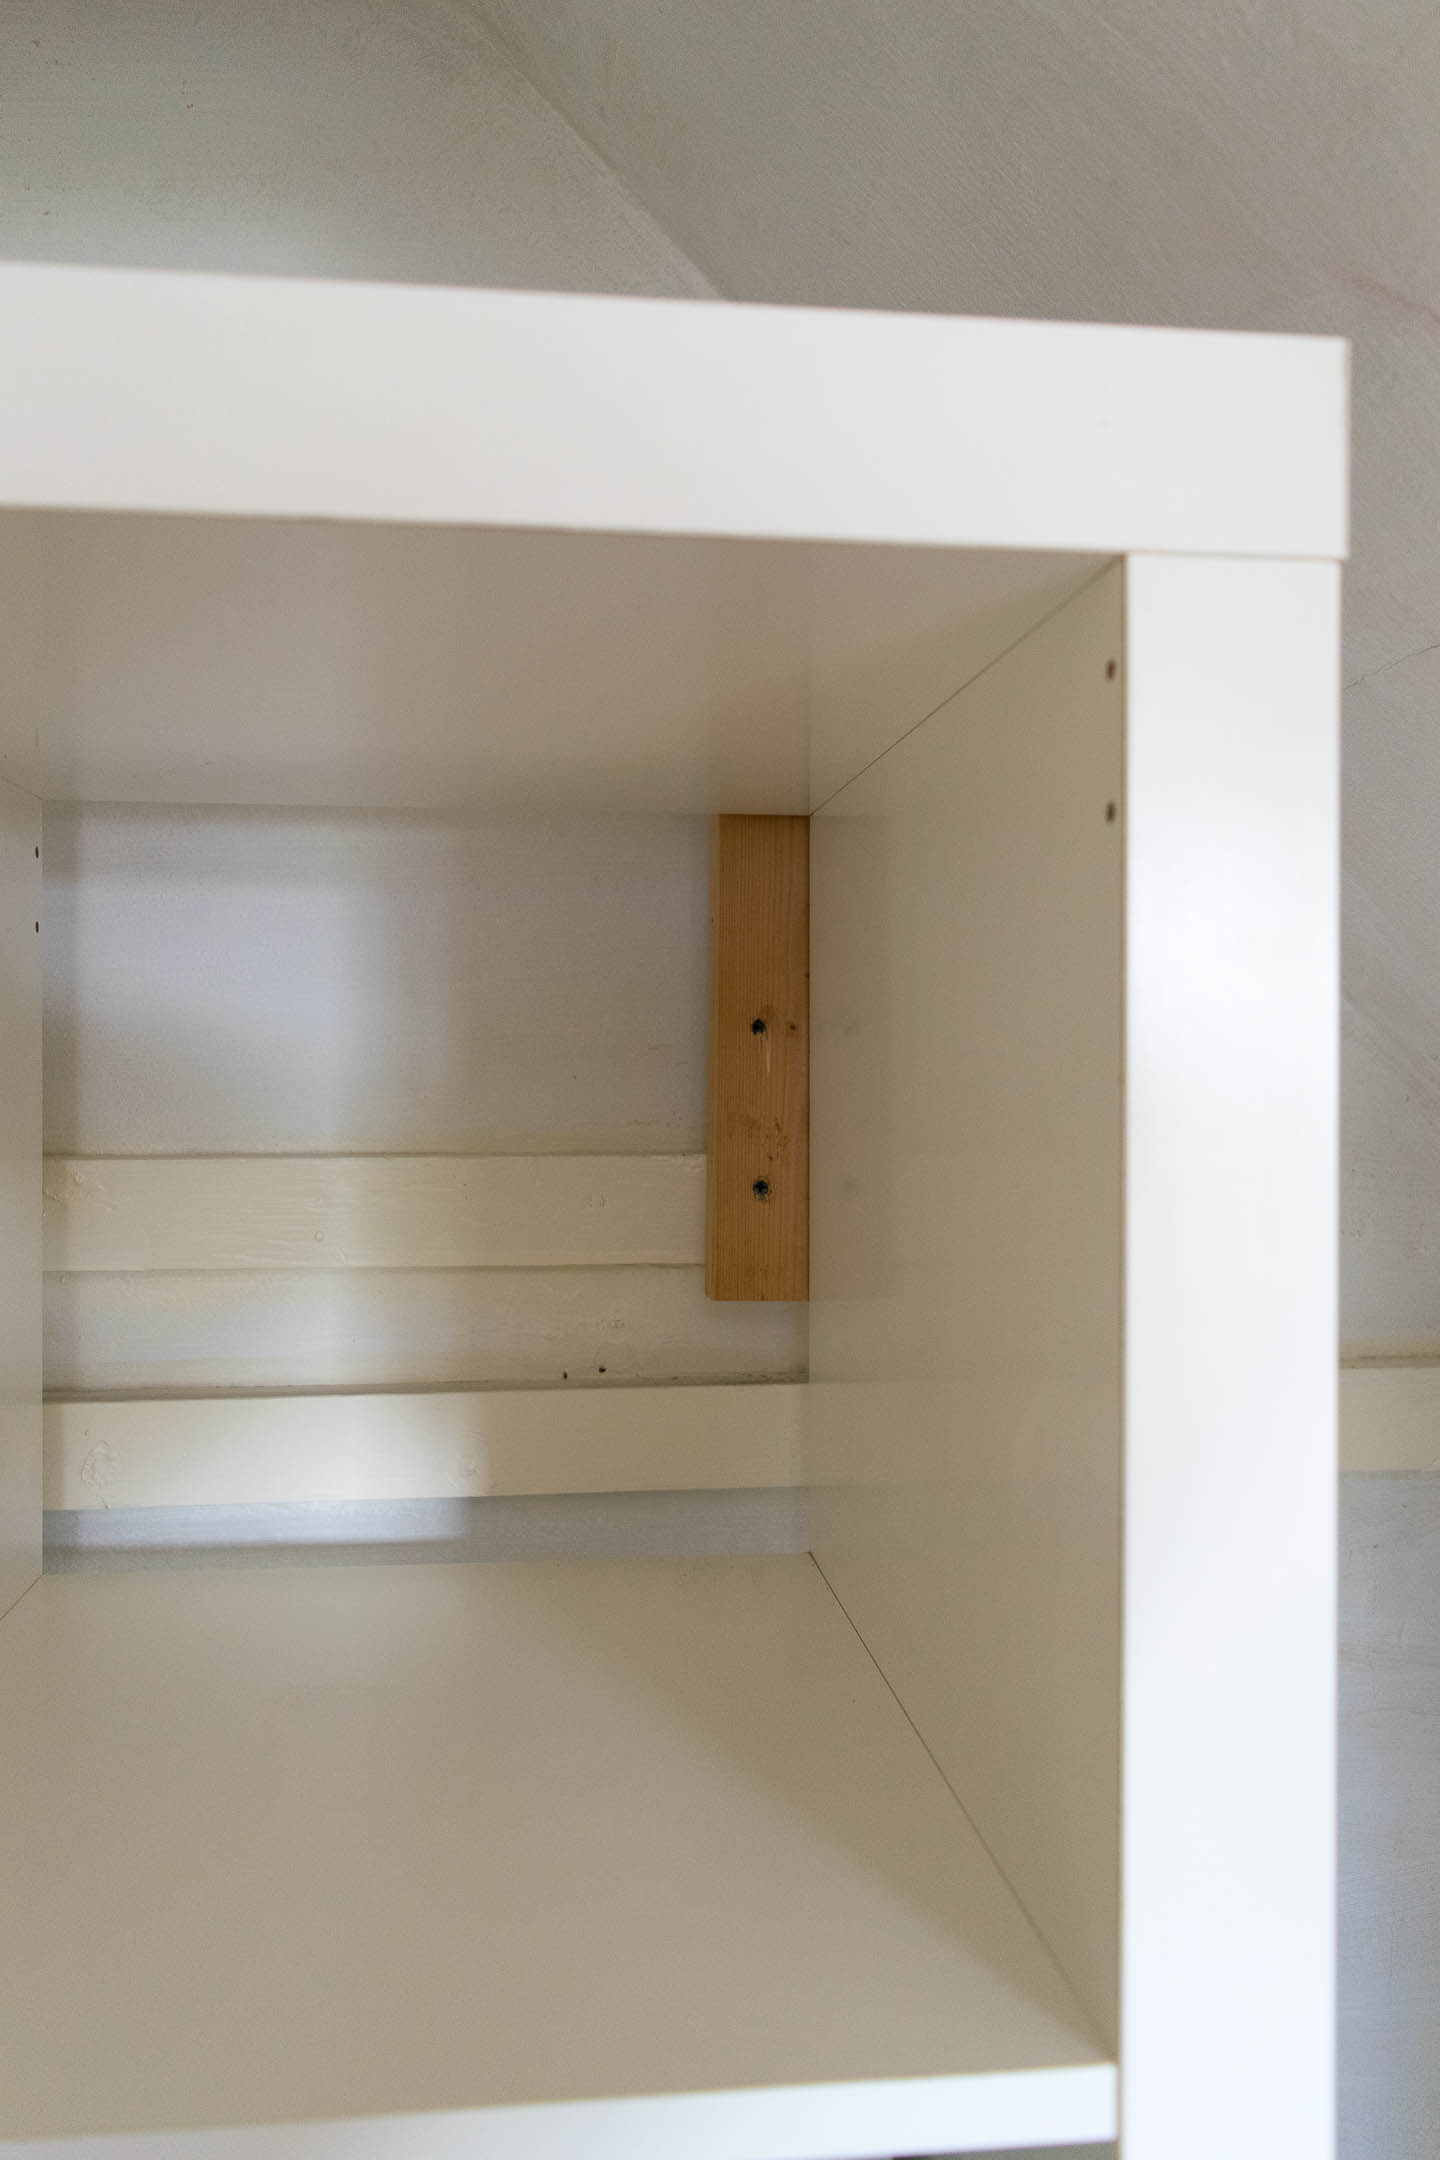
We just used a 2x4 screwed into the unit , screwed into the wall. But brackets would work as well.
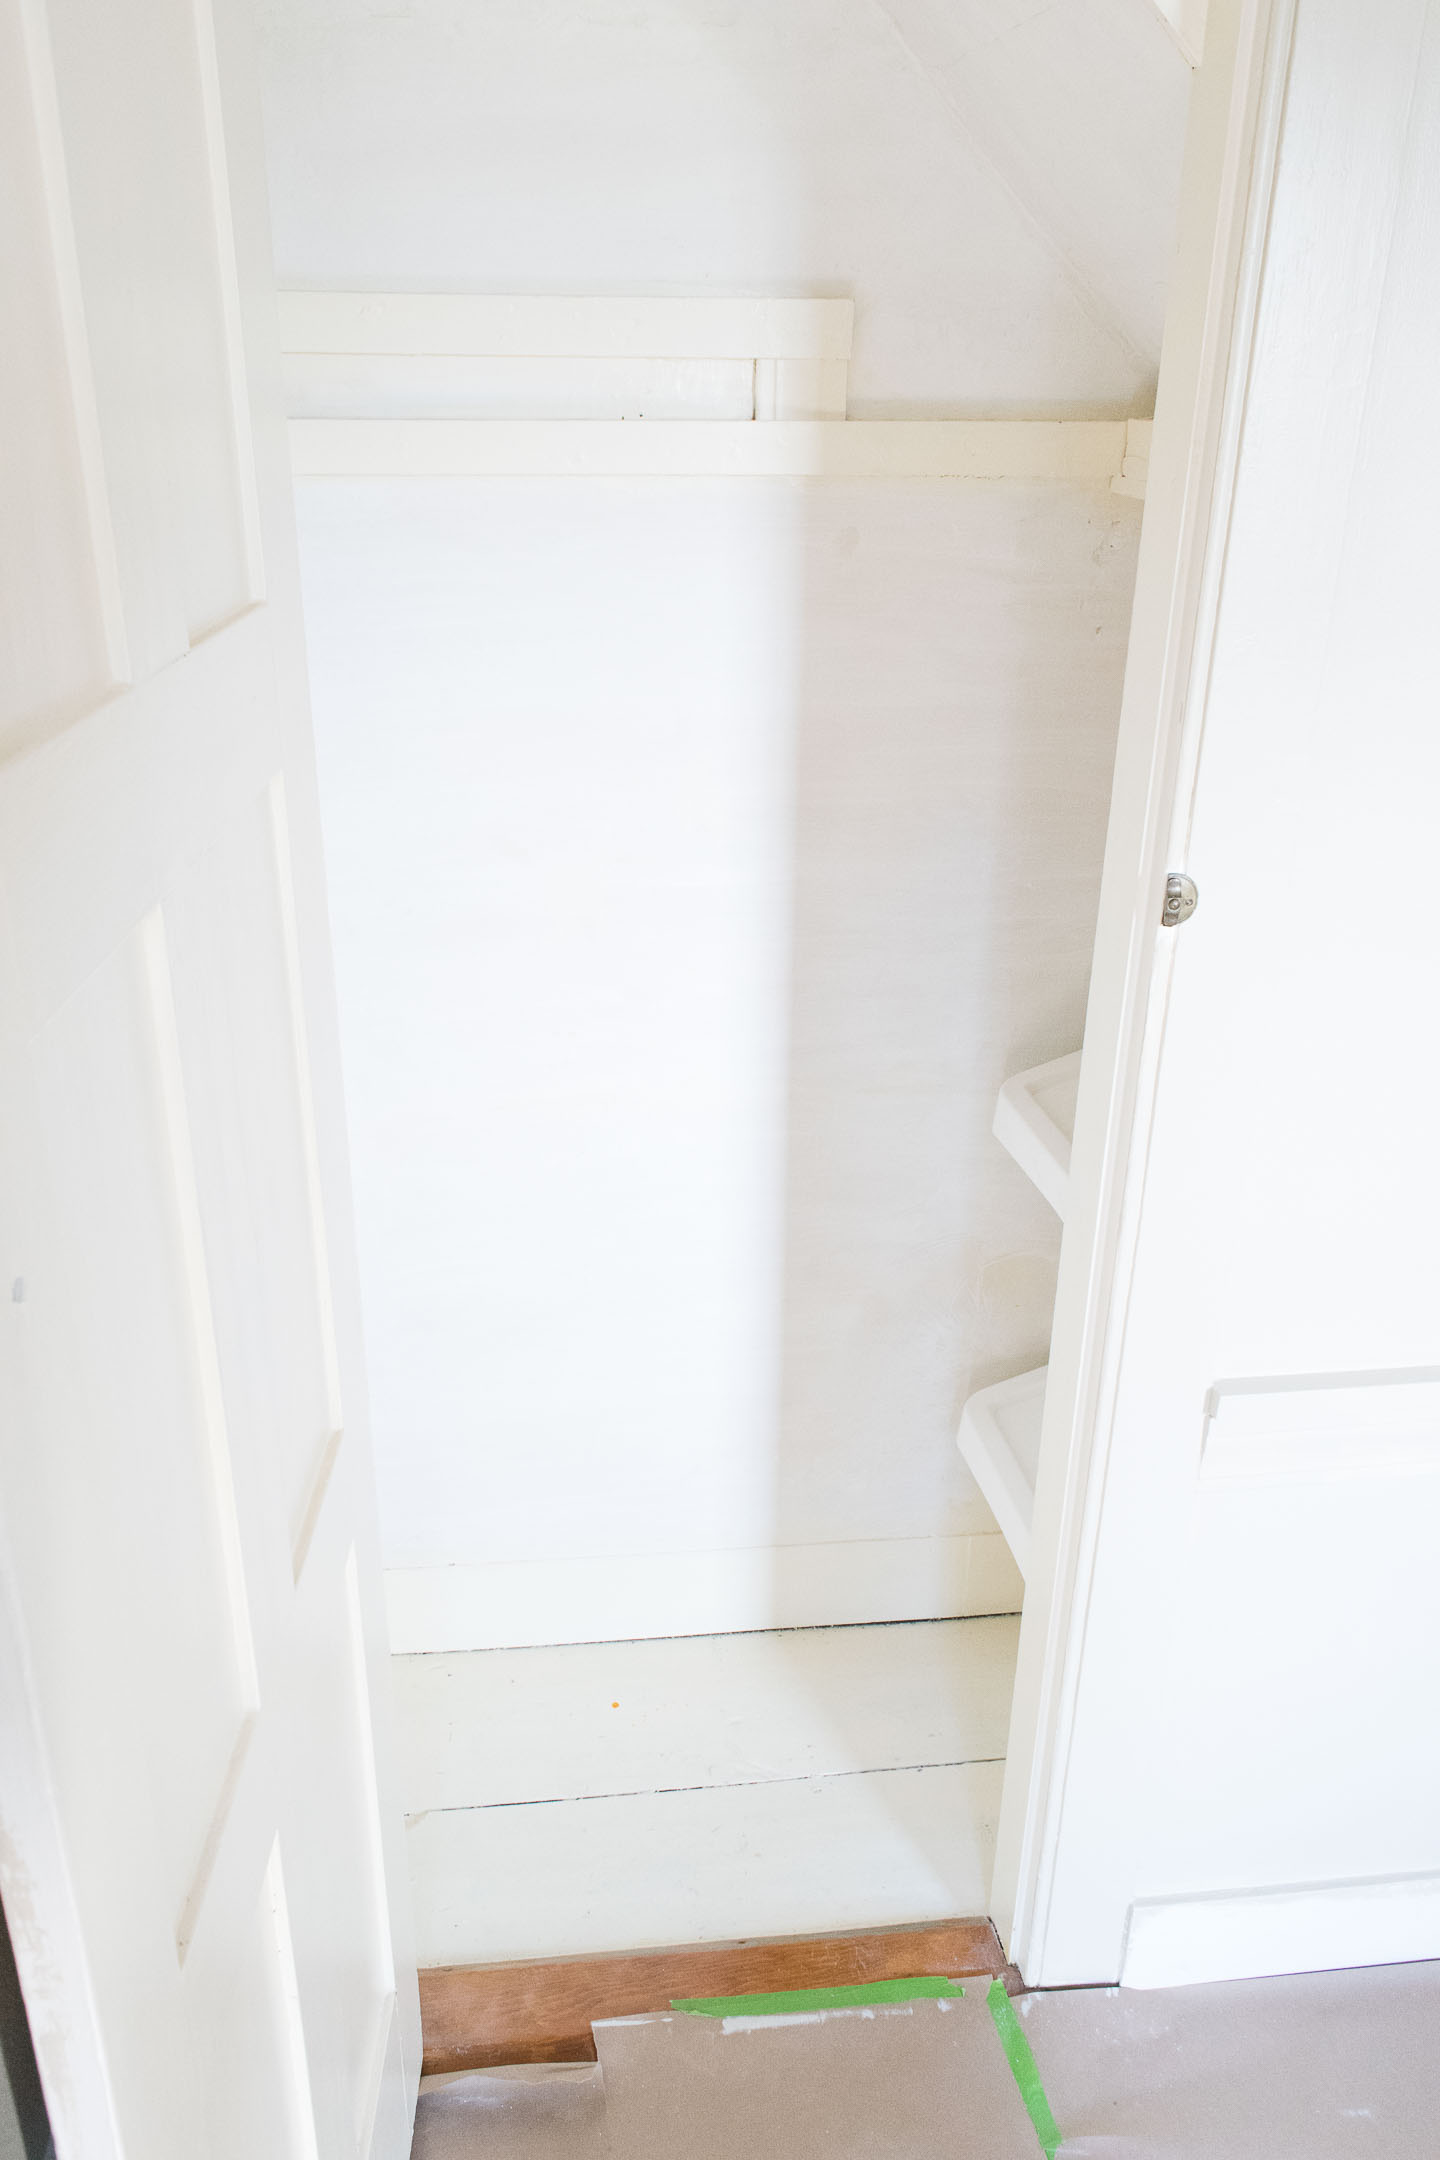
That with the large recycle bins tucked neatly under the attic stairs makes for the perfect small closet.
This space will really function well for us without being overly complicated. And when we need it turned back into a regular closet for our growing child, it will easily transition back to a regular closet.
Let’s make sure to go see what some of the other guest participants are doing this week during the One Room Challenge, were really getting down to the wire now!