Deciding on the best sliding door look (for us)
/This post may contain affiliate links. Read the full disclosure here.
It became quickly apparent into the porch remodels that a door that swings into the small office space was not going to work well for us. (Read up on our whole house here) The first thing that came into mind was to use a sliding door, but the typical "barn sliding door" really doesn't fit in our bungalow.
Finding The Sliding Barn Door
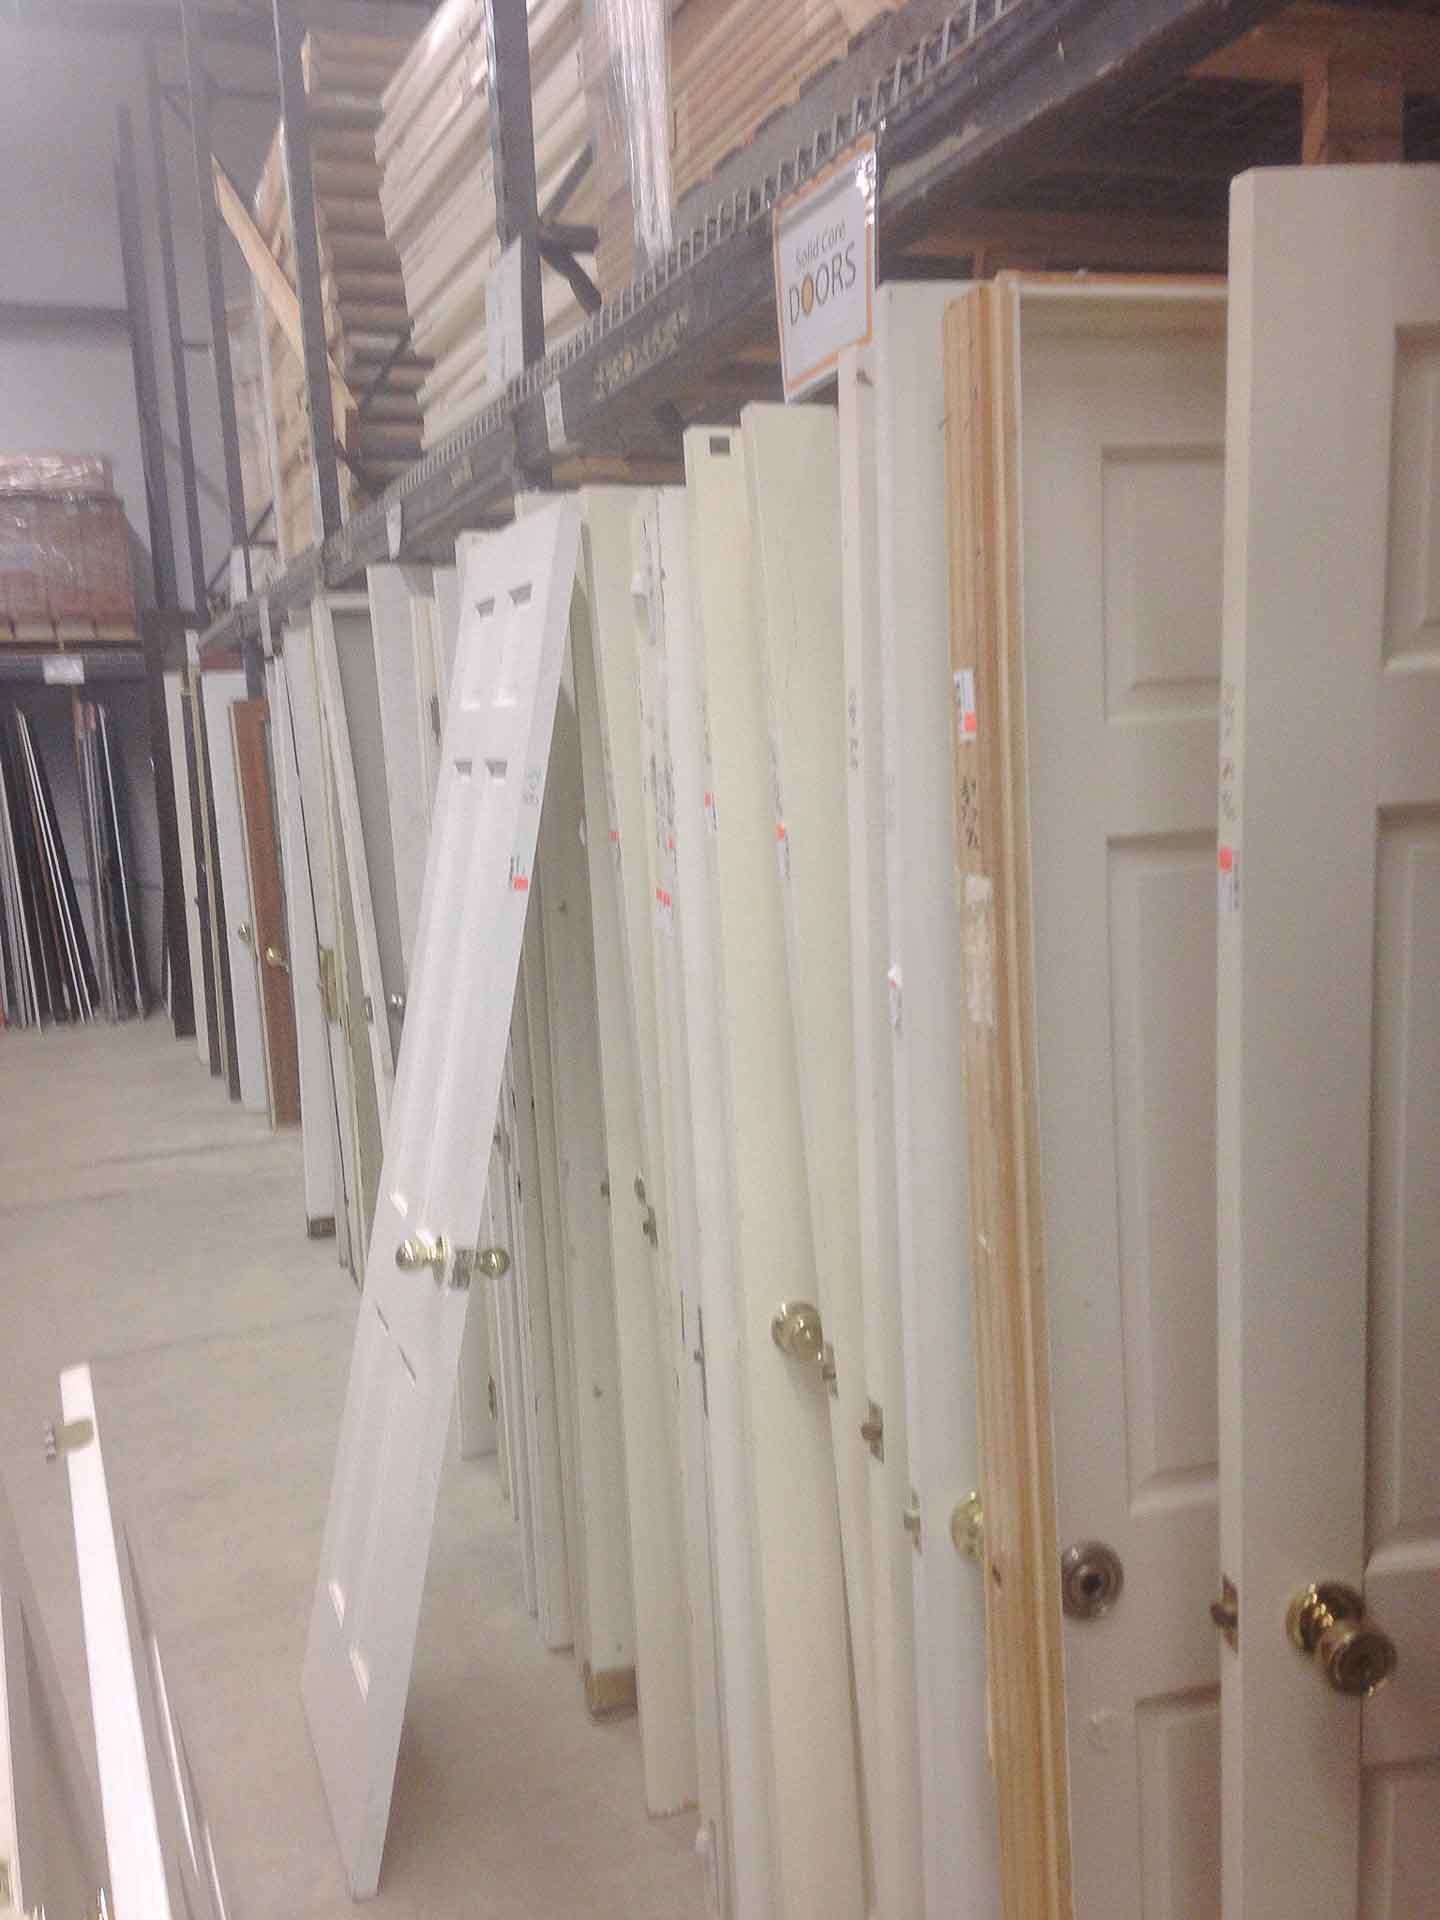
DIY Or Recycled Door?
Budget was a huge factor in completing this project and we did find some wonderful tutorials on creating your own door, but they just all seemed too barn-ish; none of them had any glass either. I was really loving the idea of glass so that I could see what was going on in the living room once Haverly gets older and can be alone. So off we went on the hunt for something unique, in our budget, with glass.
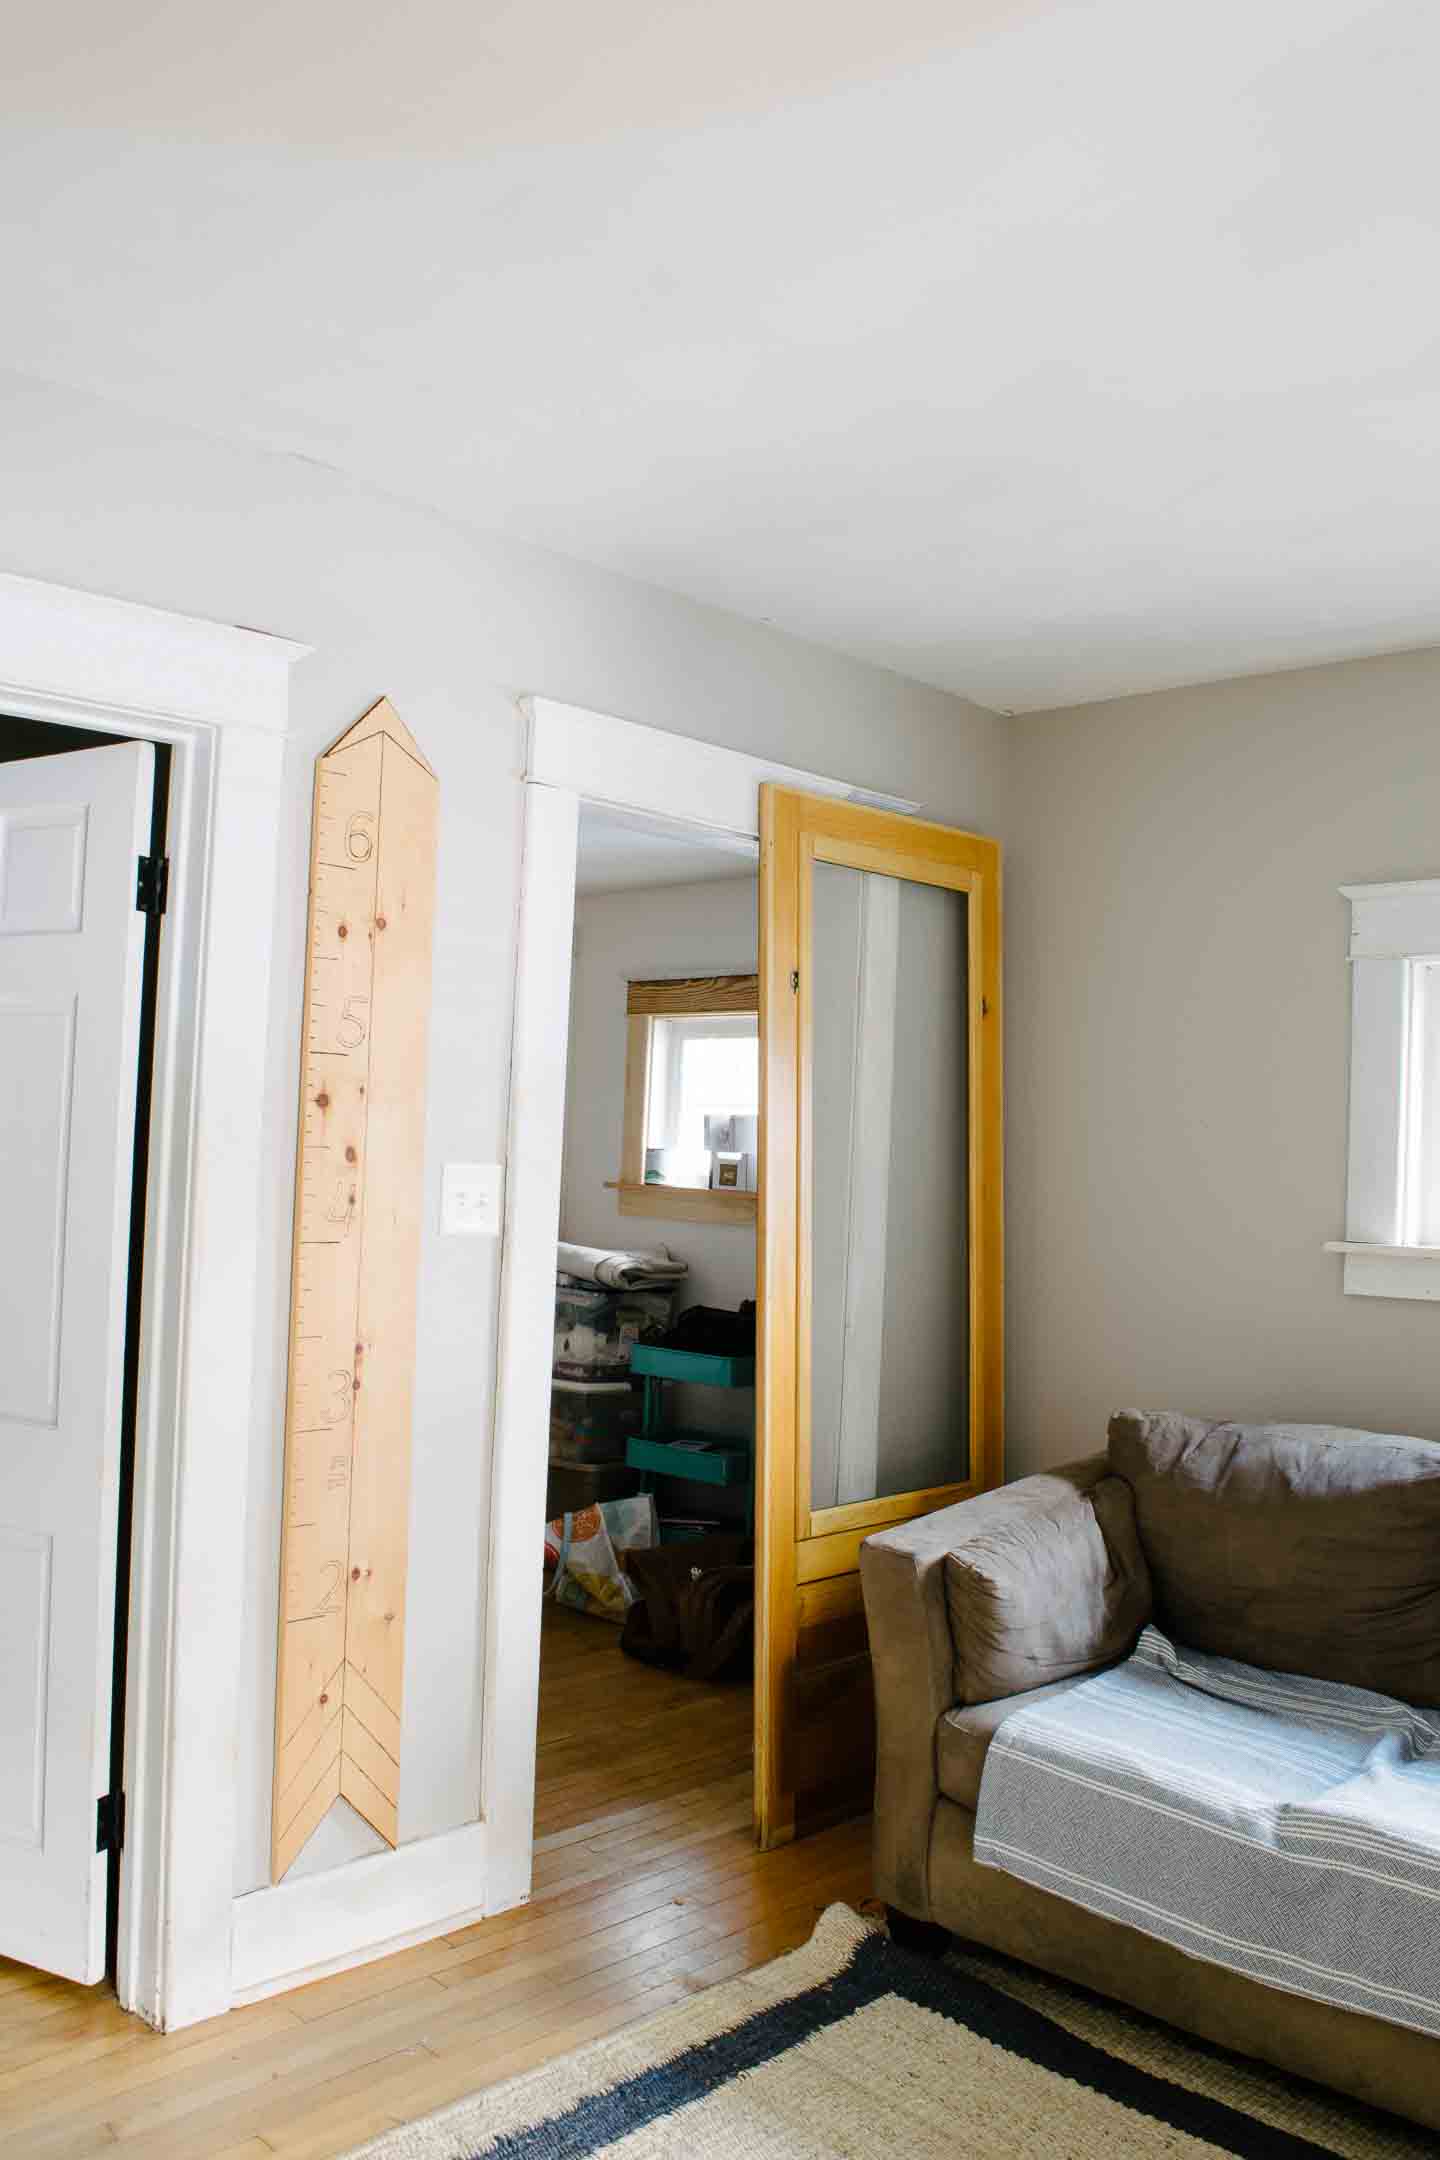
We found the door (which is actually a enclosed porch panel and not really a door) at a local salvage yard. I saw all the panels in the backroom waiting to be priced and put on the floor for sale. Asked around and they priced a panel at $20! It was perfect, except just a little bit too small.
Double Doors
Technically we really only had room for two narrow double doors on either side of the opening, but Mitch hated the idea of how that would look, and it would be double the price of doors & hardware. I just couldn't make it work (without feeling super guilty about spending too much money all in one feature).

The option to switch the look/ function of our door completely
Because the $20 sliding door was actually a porch enclosure panel, it came with a screen insert. This gives me two options for this door in the future; glass panel where I can see everything, and eventually (you know in like twelve years when I get to it) a fabric insert to snap into place for privacy.
The little knobs twist to remove the glass and I could insert a fabric "screen" in its place! Its always nice when something can function different from one year to the next and essentially grow with your family, this panel hit all the marks for us.
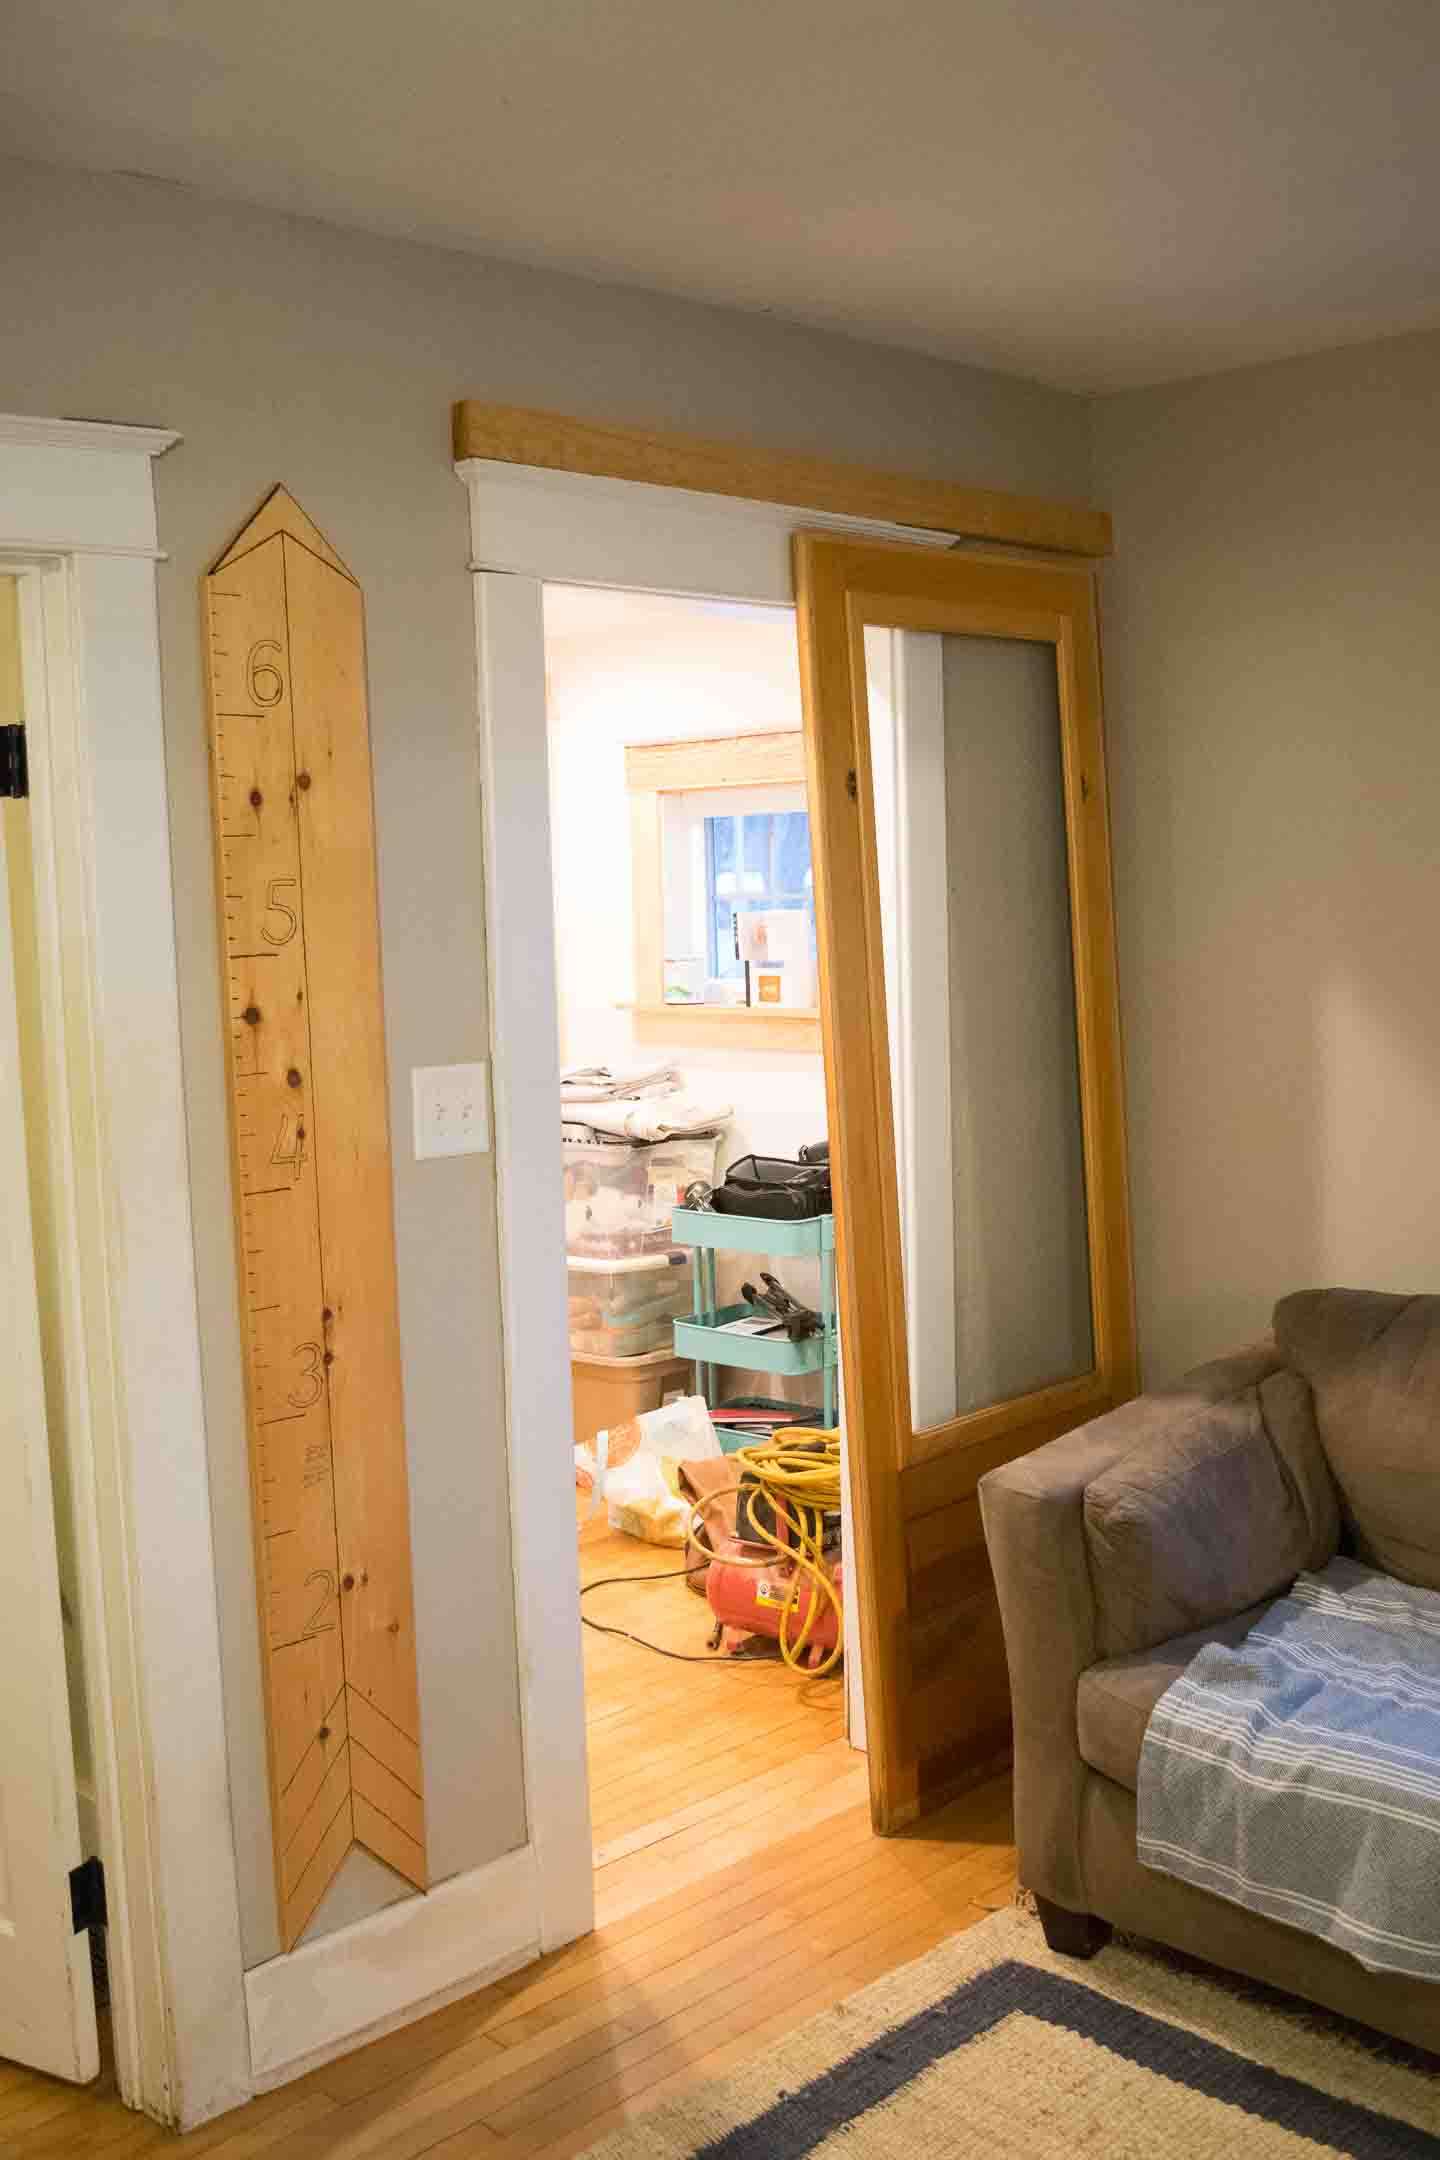
Narrowing our Doorway
The door almost fit our opening, like literally I needed it to be an inch possibly two wider. It just looked a little funny, and so we decided to narrow the opening.
Normally in almost any situation I would scream not to ever narrow a doorway even a bit! But the right side isn't a walkway anyways, and a few inches wasn't going to mess with the already limited space we had to pass through to the office.
The office isn't a walkthrough, its a destination, so you don't have to worry about folks running through the space.
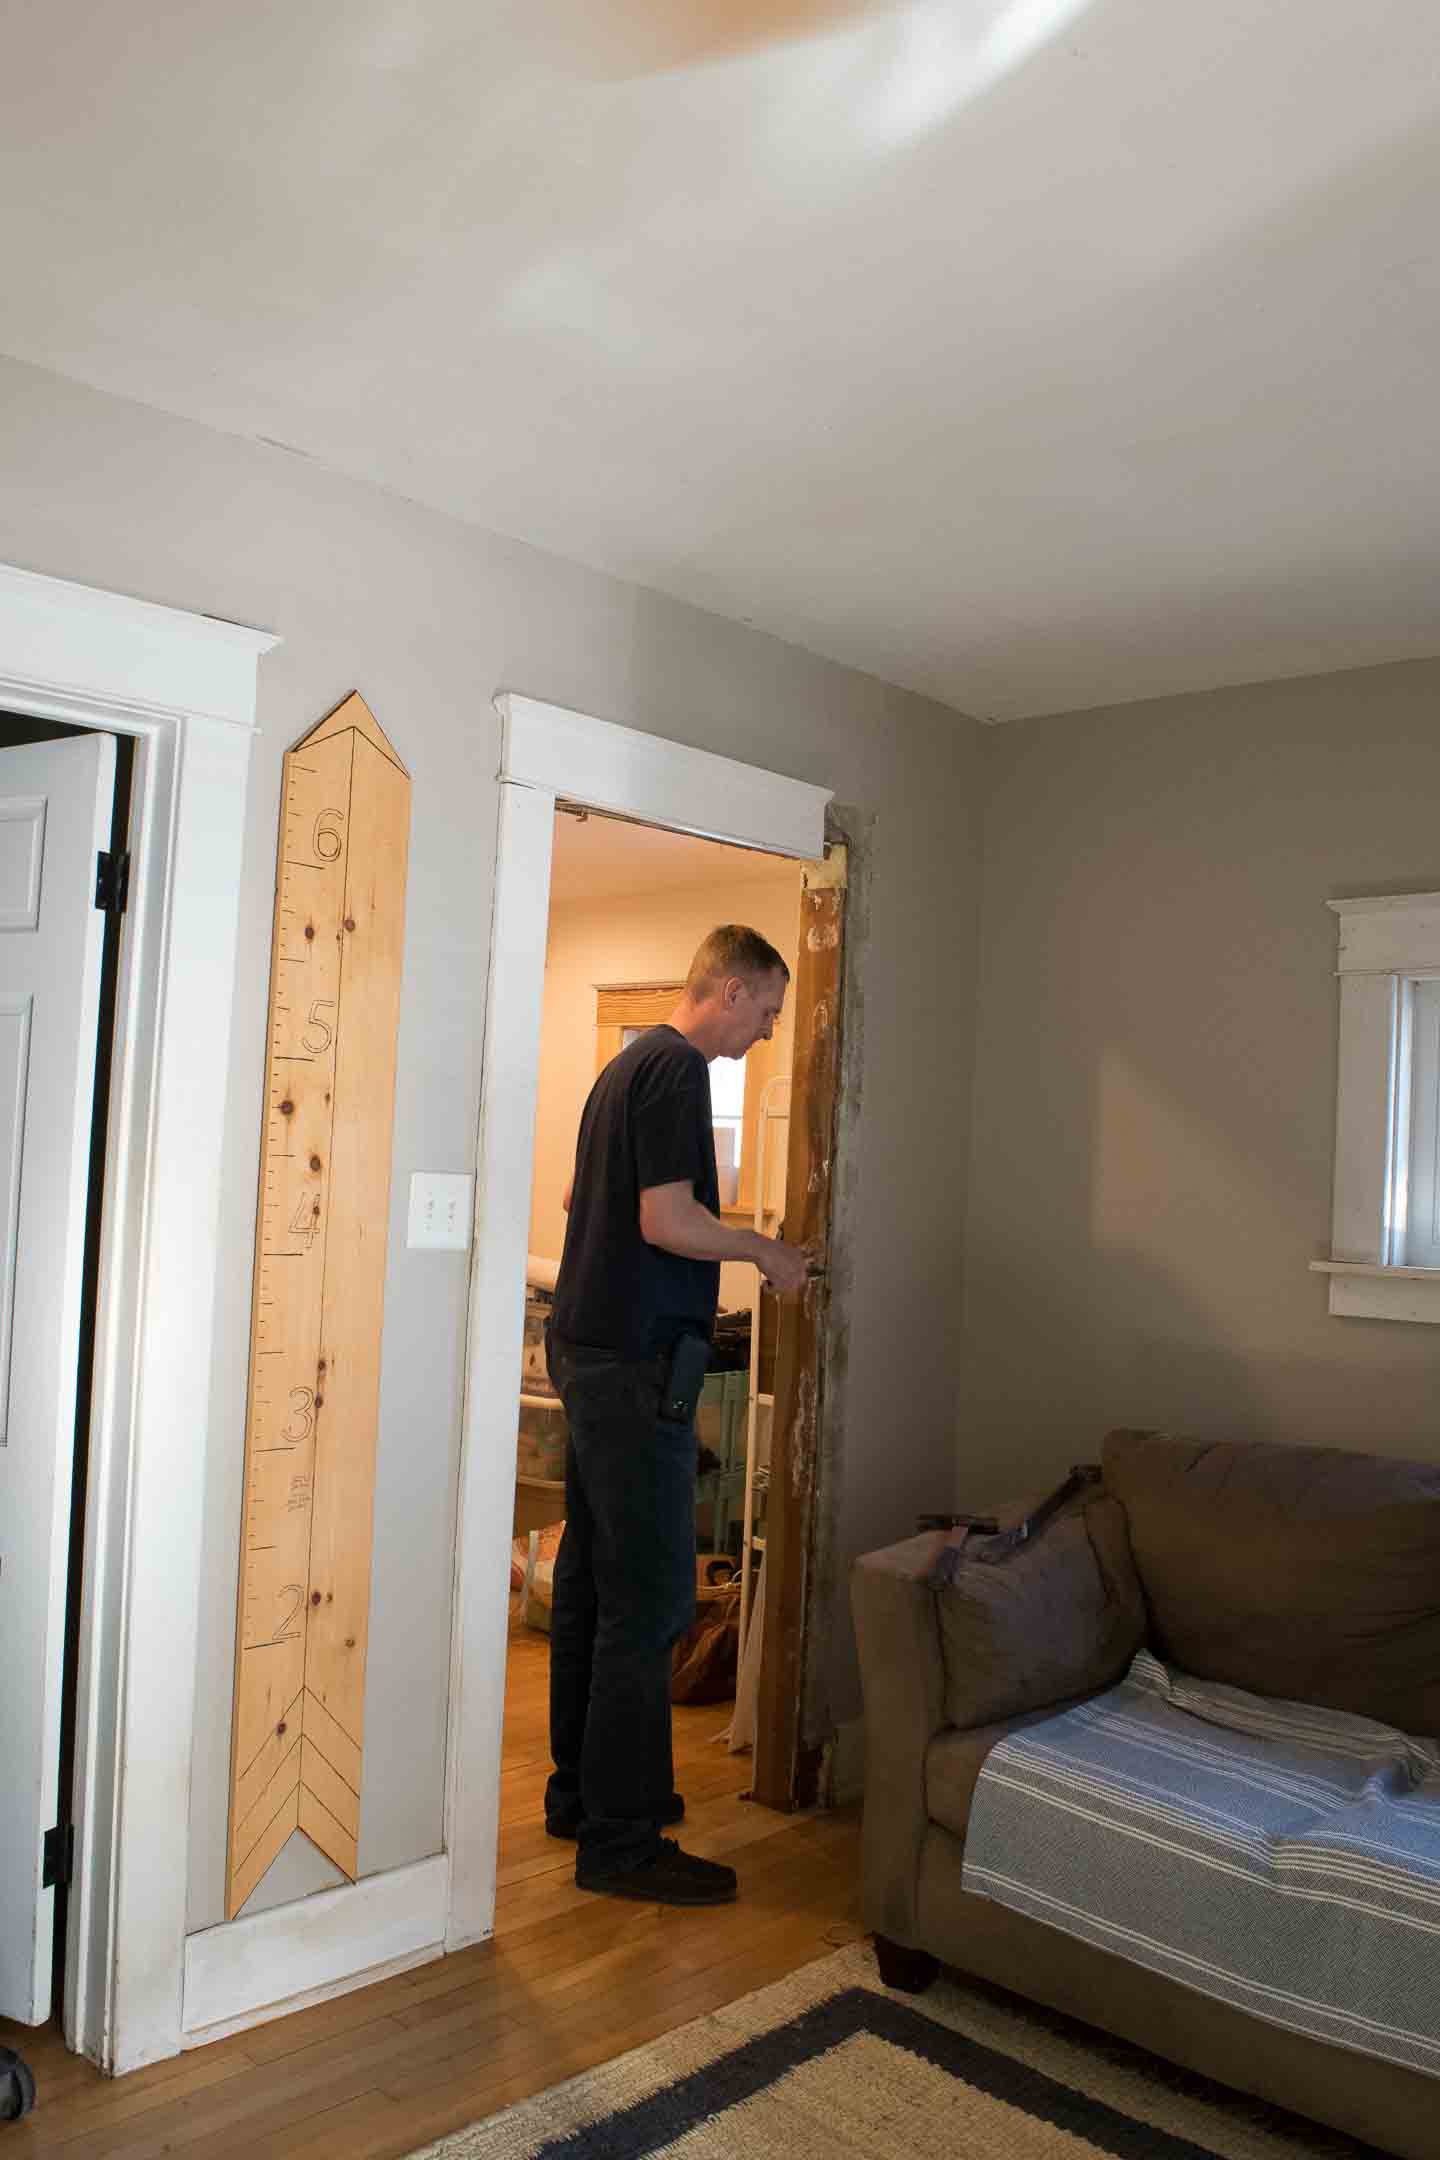
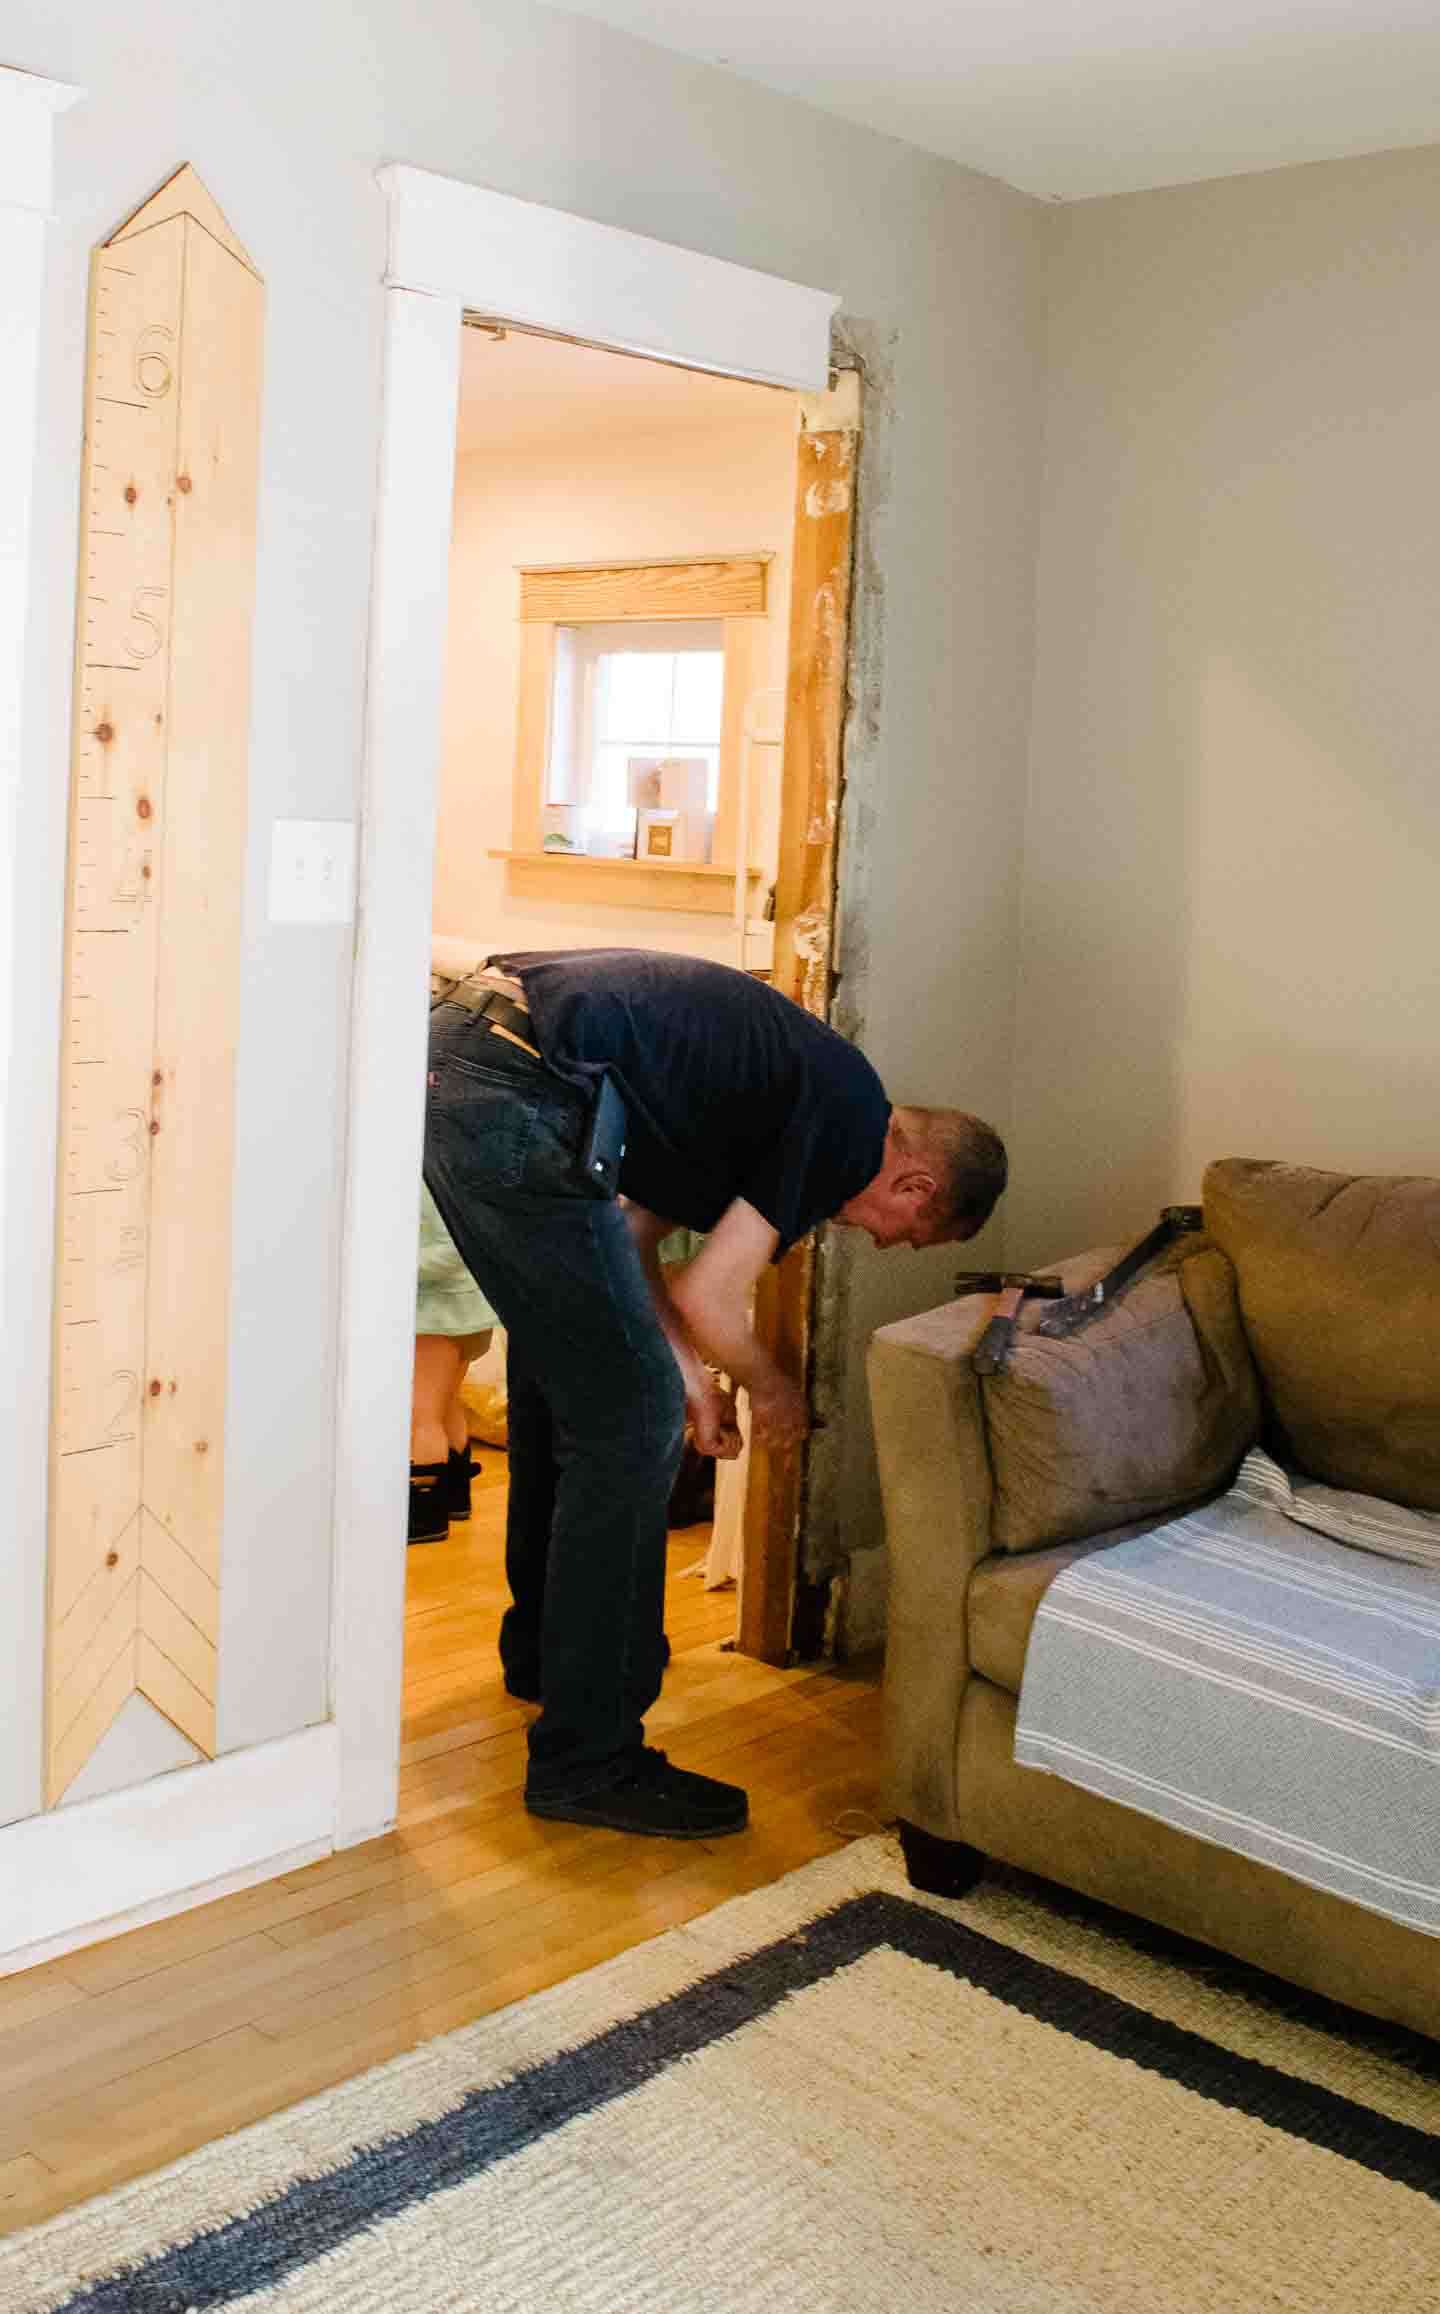
Mitch went ahead and pulled off the casing and some of the top molding (which will be re-done into one solid piece at some point in the future when we match the existing). We added a stud, re-cut the casing, and re-installed the casing's.
Which Barn Door Hardware to Pick
Honestly, we have had this door for at least a year and a half already. Its just been sitting and waiting for a final decision to be made on the hardware used to hang it.
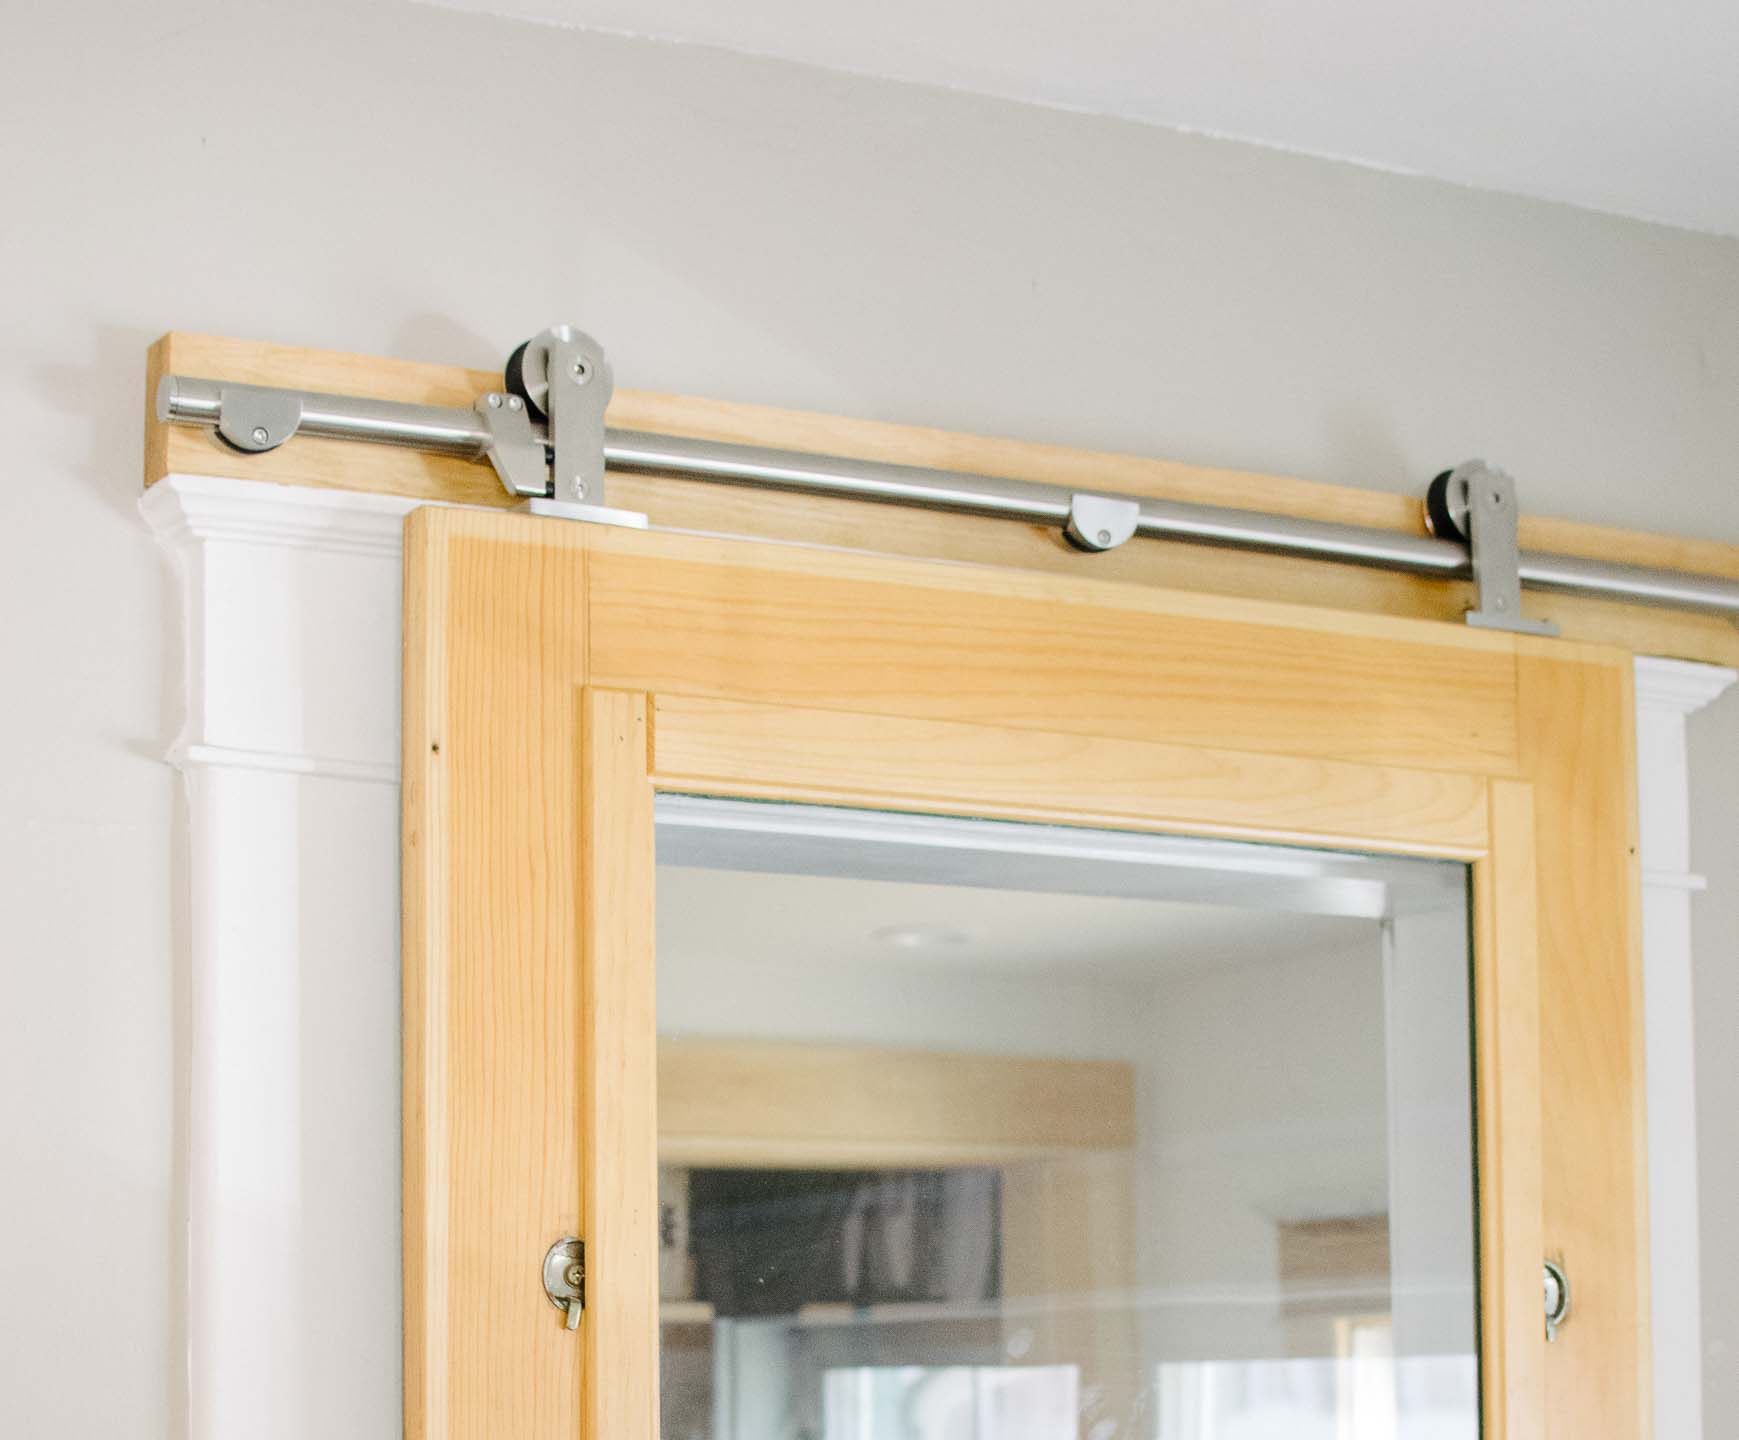
Modern Sliding Door Hardware
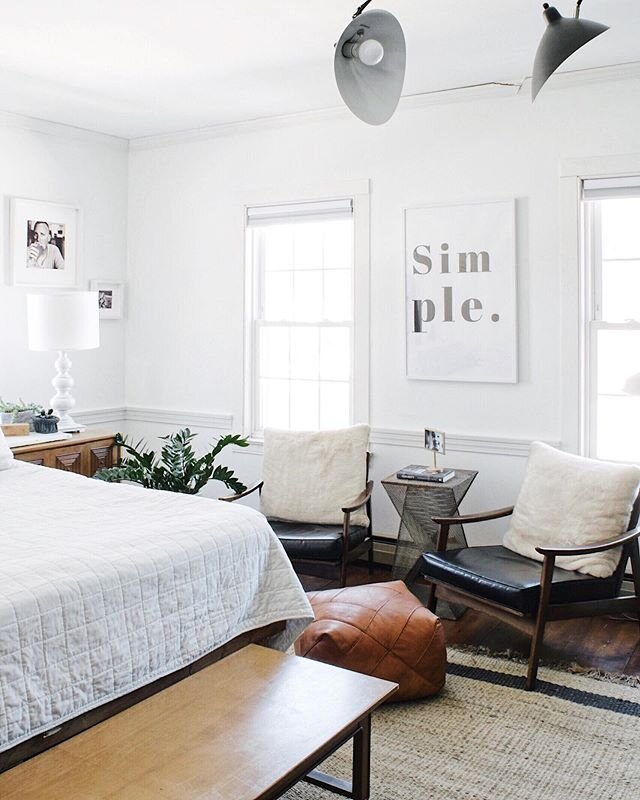
Classic sliding door hardware would be the rustic barn style and that just wasn't going to fit with our little bungalow. Not to mention it would really give off a rustic feel with our jute rug, which would have driven me crazy... not enough variation for my taste.
So we searched for a set of modern sliding door hardware that was in our budget, as well as size specs and came up with this modern hardware.
Clearing the door's casing
When the porch became the office we had the opportunity to remove the casing and make that door a sheet rocked opening. That would have had a very clean look, and made the hardware installation a breeze.
A true opening without a casing would draw your eye to the different door and become the rooms feature. Could we really make the feature of our historic living room be something new and shiny? It just didn't feel right for us.
Eventually we decided the most cost effective option would be a board above the casing.
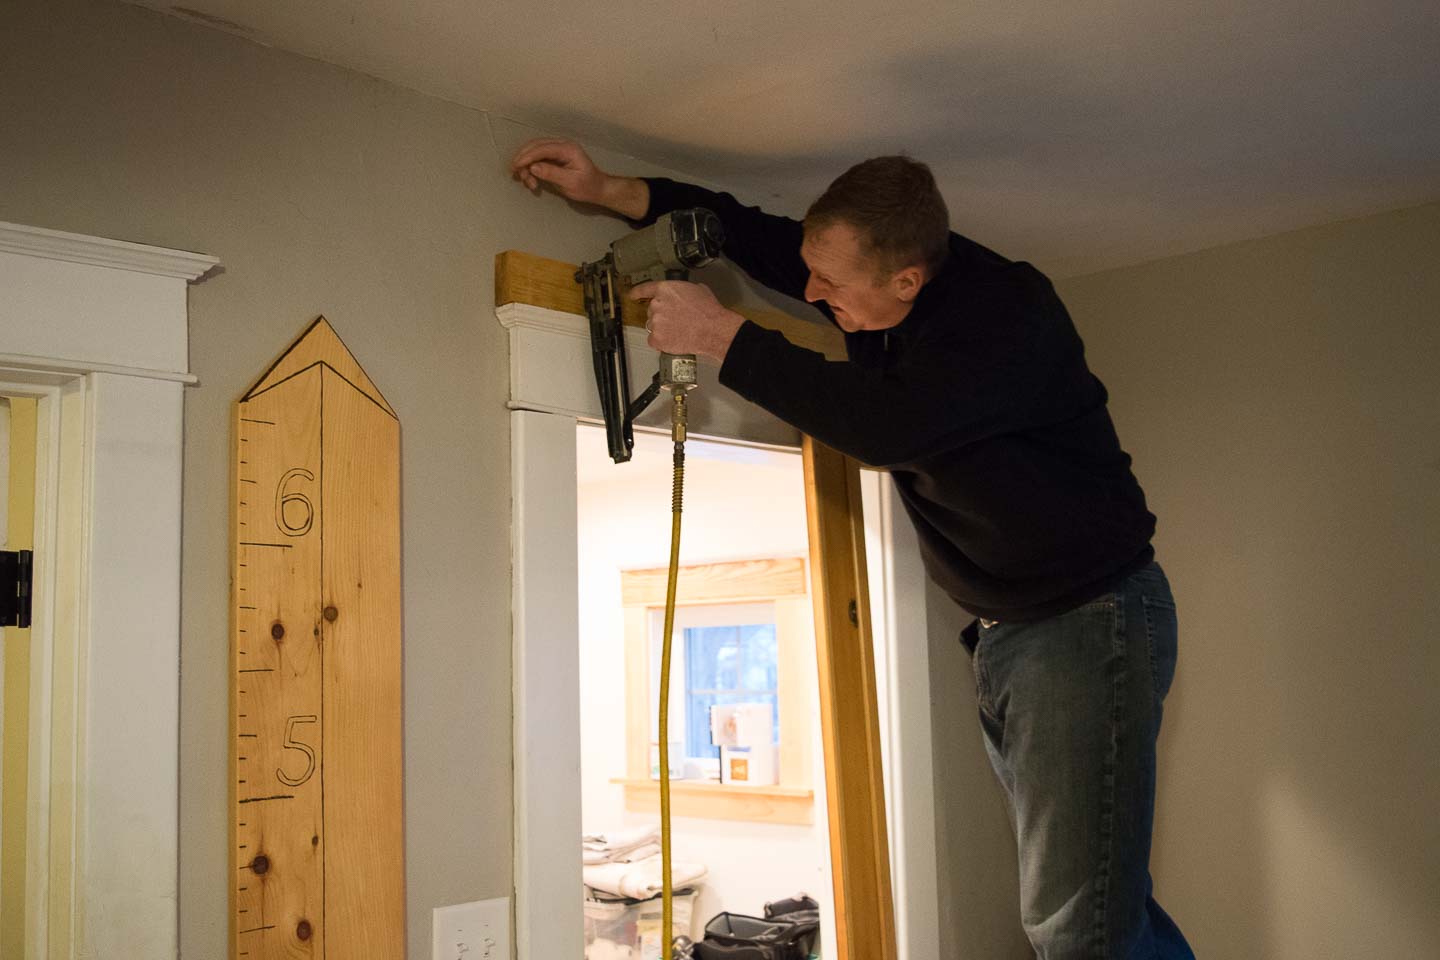
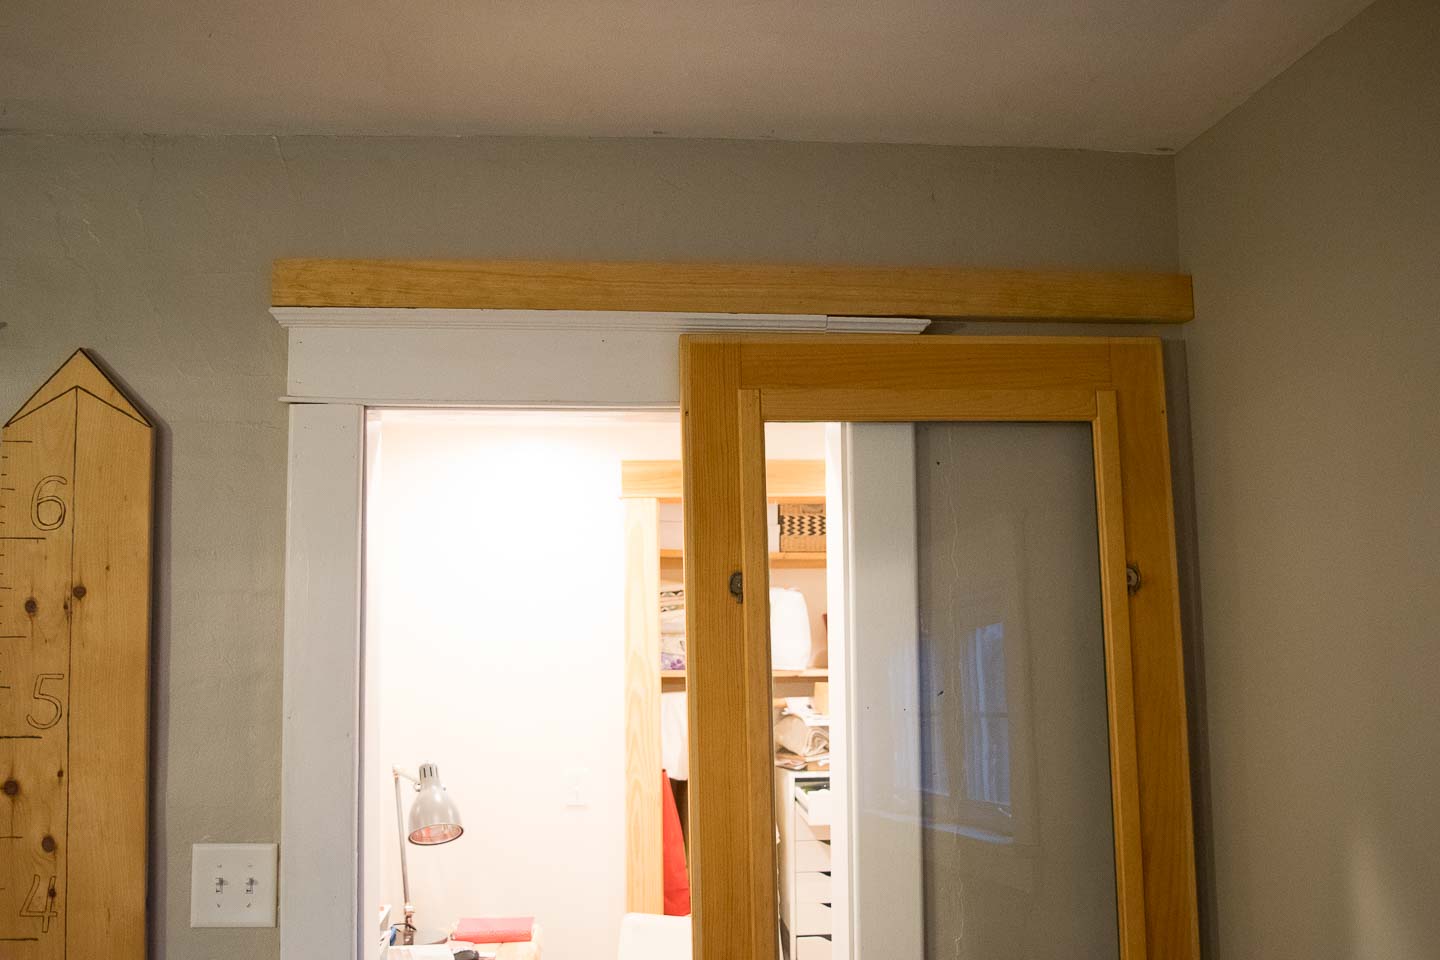
I had a lot of reservations about this looking like a big block hanging above our casing. We went back and forth on wanting it white (still a big block) or camouflaging it with the wall paint (big camouflaged block).
Finally the light-bulb went off! Stain it the same as the door (or very very close). Since we already have pretty much every stain color known to man... I told Mitch the color that I thought it was right off the top of my head, then made him do the hunting in our basement for it (obviously I did the hard work remembering exactly what stain to use, duh).
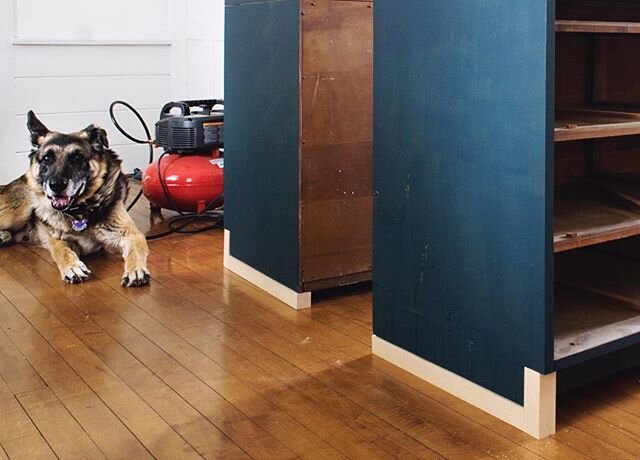
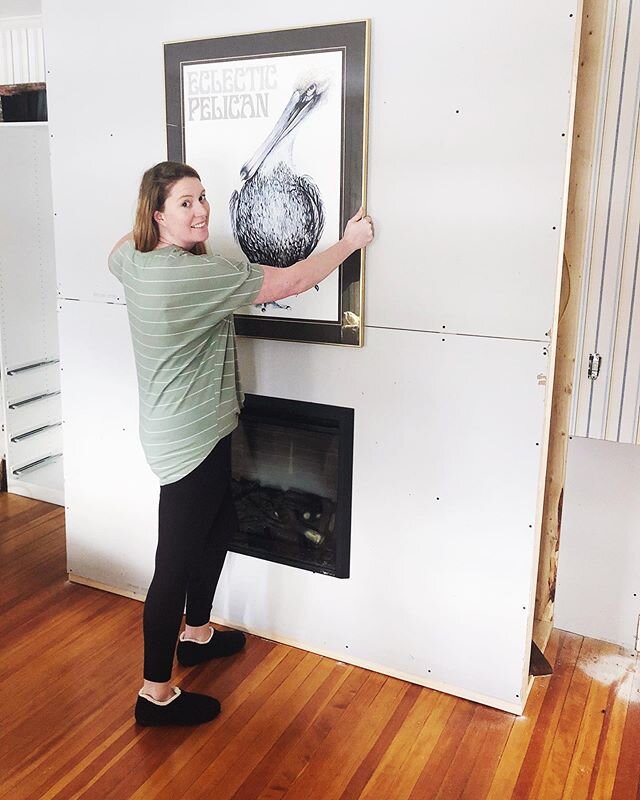
(Yep thats a huge mess of project stuff in our office, I don't need to actually work in it or anything...)
Installing the Sliding Door Hardware
Fitting The Sliding Door Hardware To Size
When we picked the sliding door track it clearly stated you can cut the rod to size, well that was that an adventure. It was heavier duty hardware than I would think given the price point, and we actually purchased it for even less because I risked getting an already opened box (not a single scratch and 15 dollars cheaper).
We did discuss back and forth about leaving the length on the rod but, ultimately Mitch came through and cut the rod (and modestly told me about his triumph, obviously).
The directions were of no use to us whatsoever, and I would have been lost on my own, but Mitch didn't seem to find it a problem to put together.
Floor Hardware
The hardware we purchased really did come with almost everything we could have possibly needed for the install, including these rollers to keep the door bottom from pushing in while you slide it
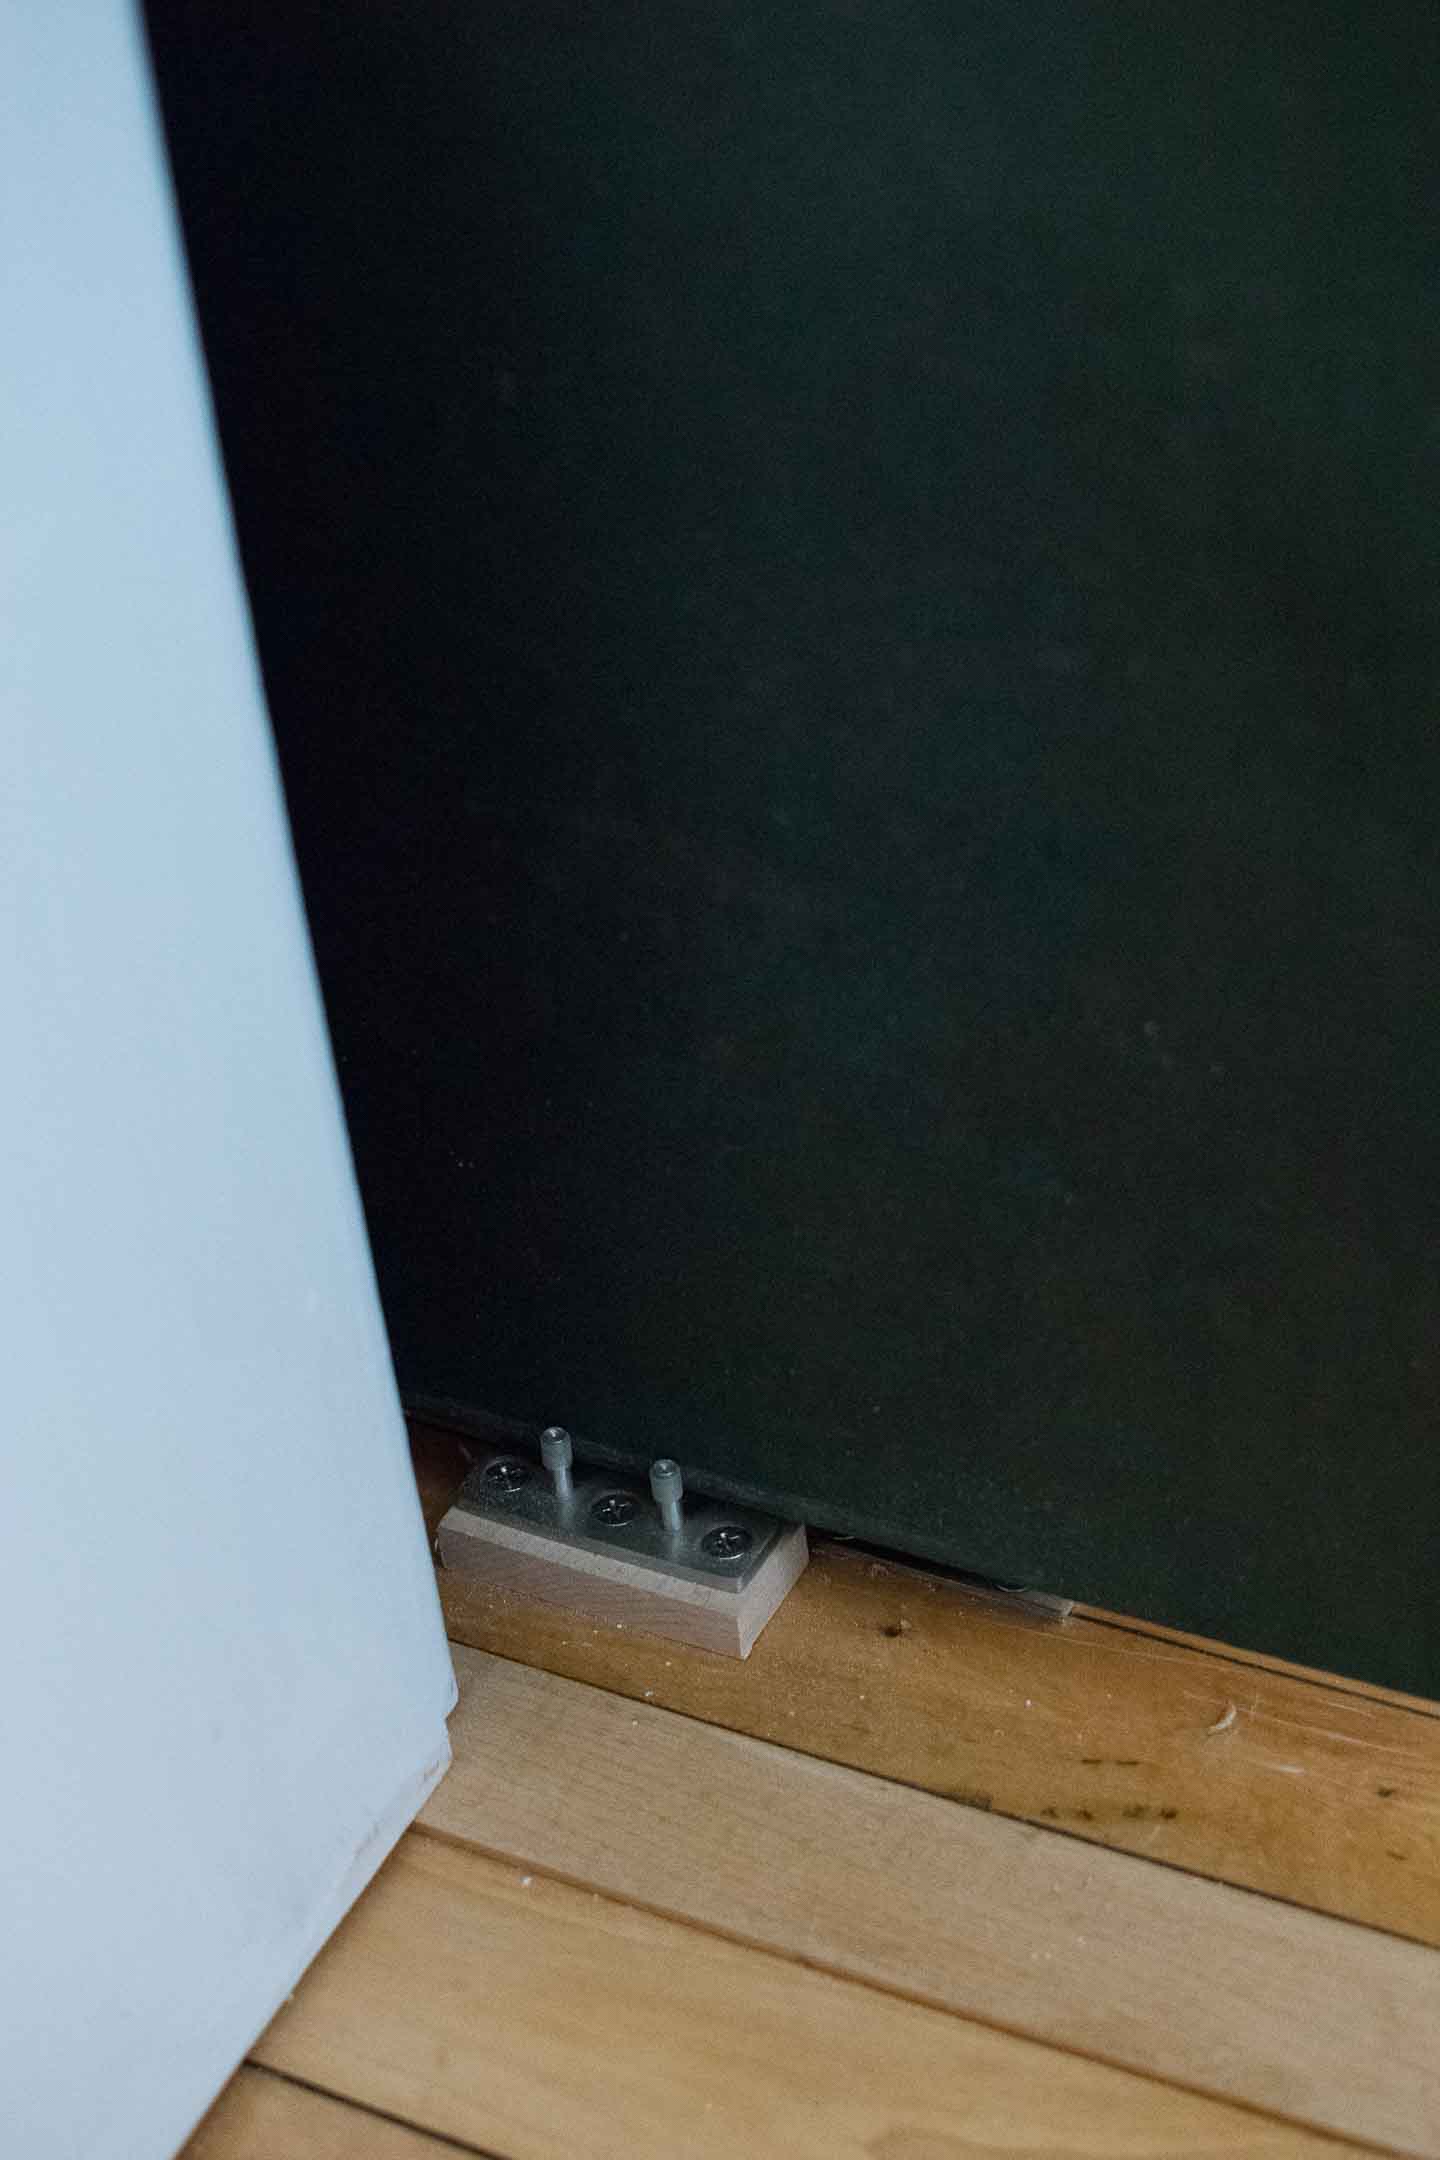
We only had to add a c-guide on one side to make sure Haverly couldn't pull the door towards the living room and onto her head if it came off the tracks.
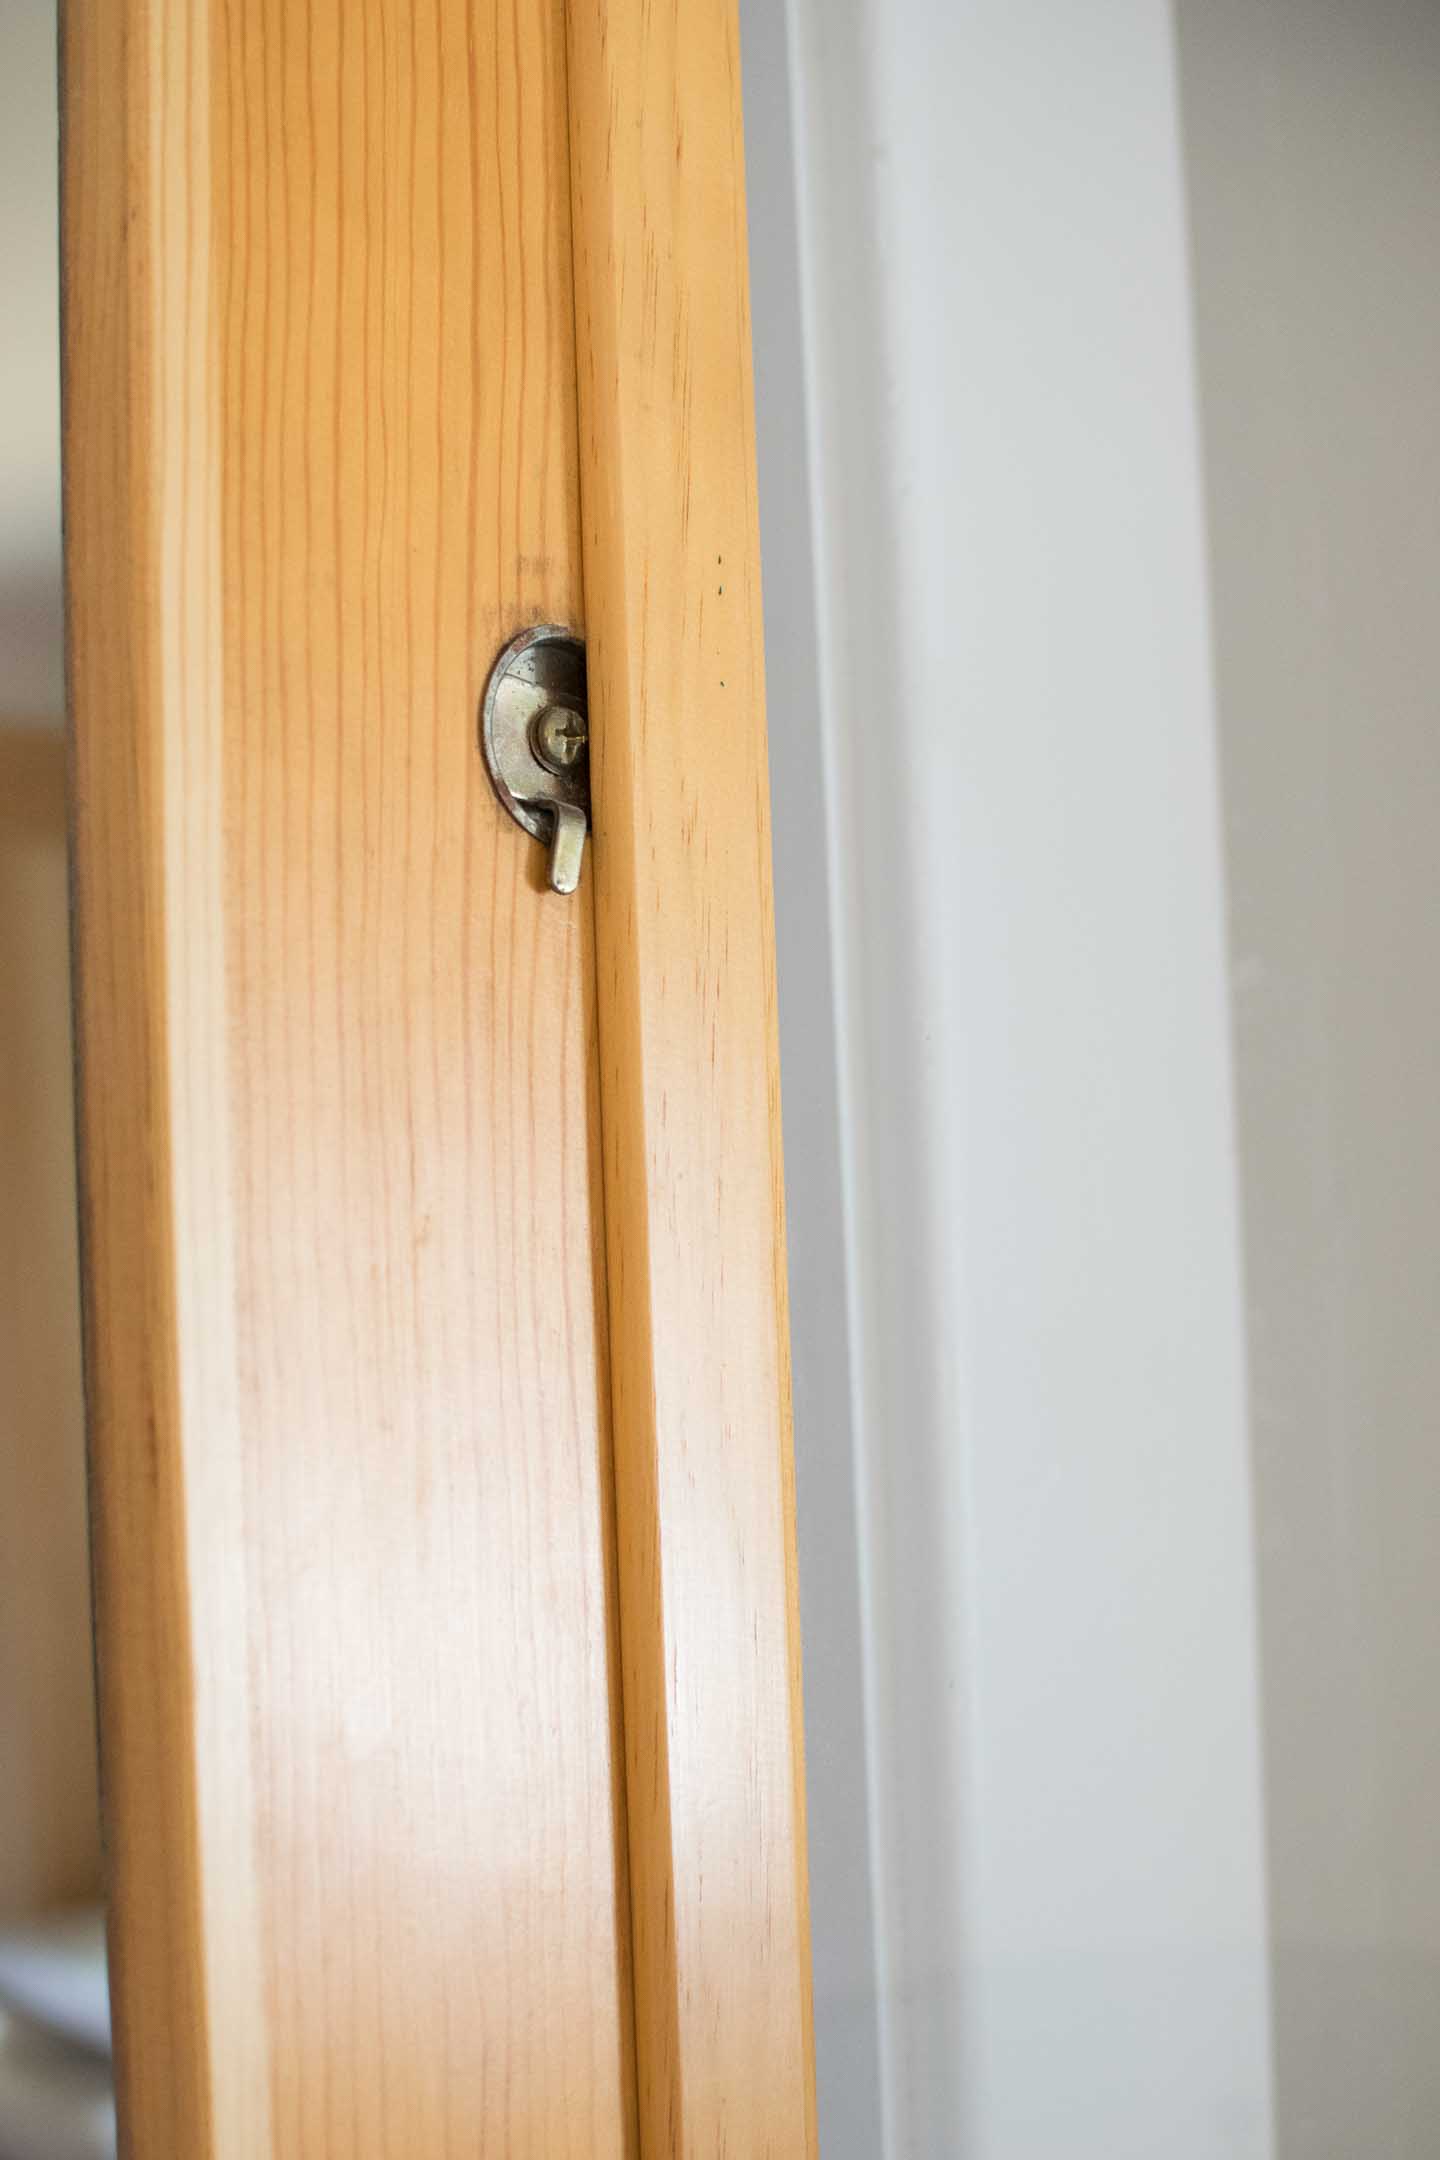
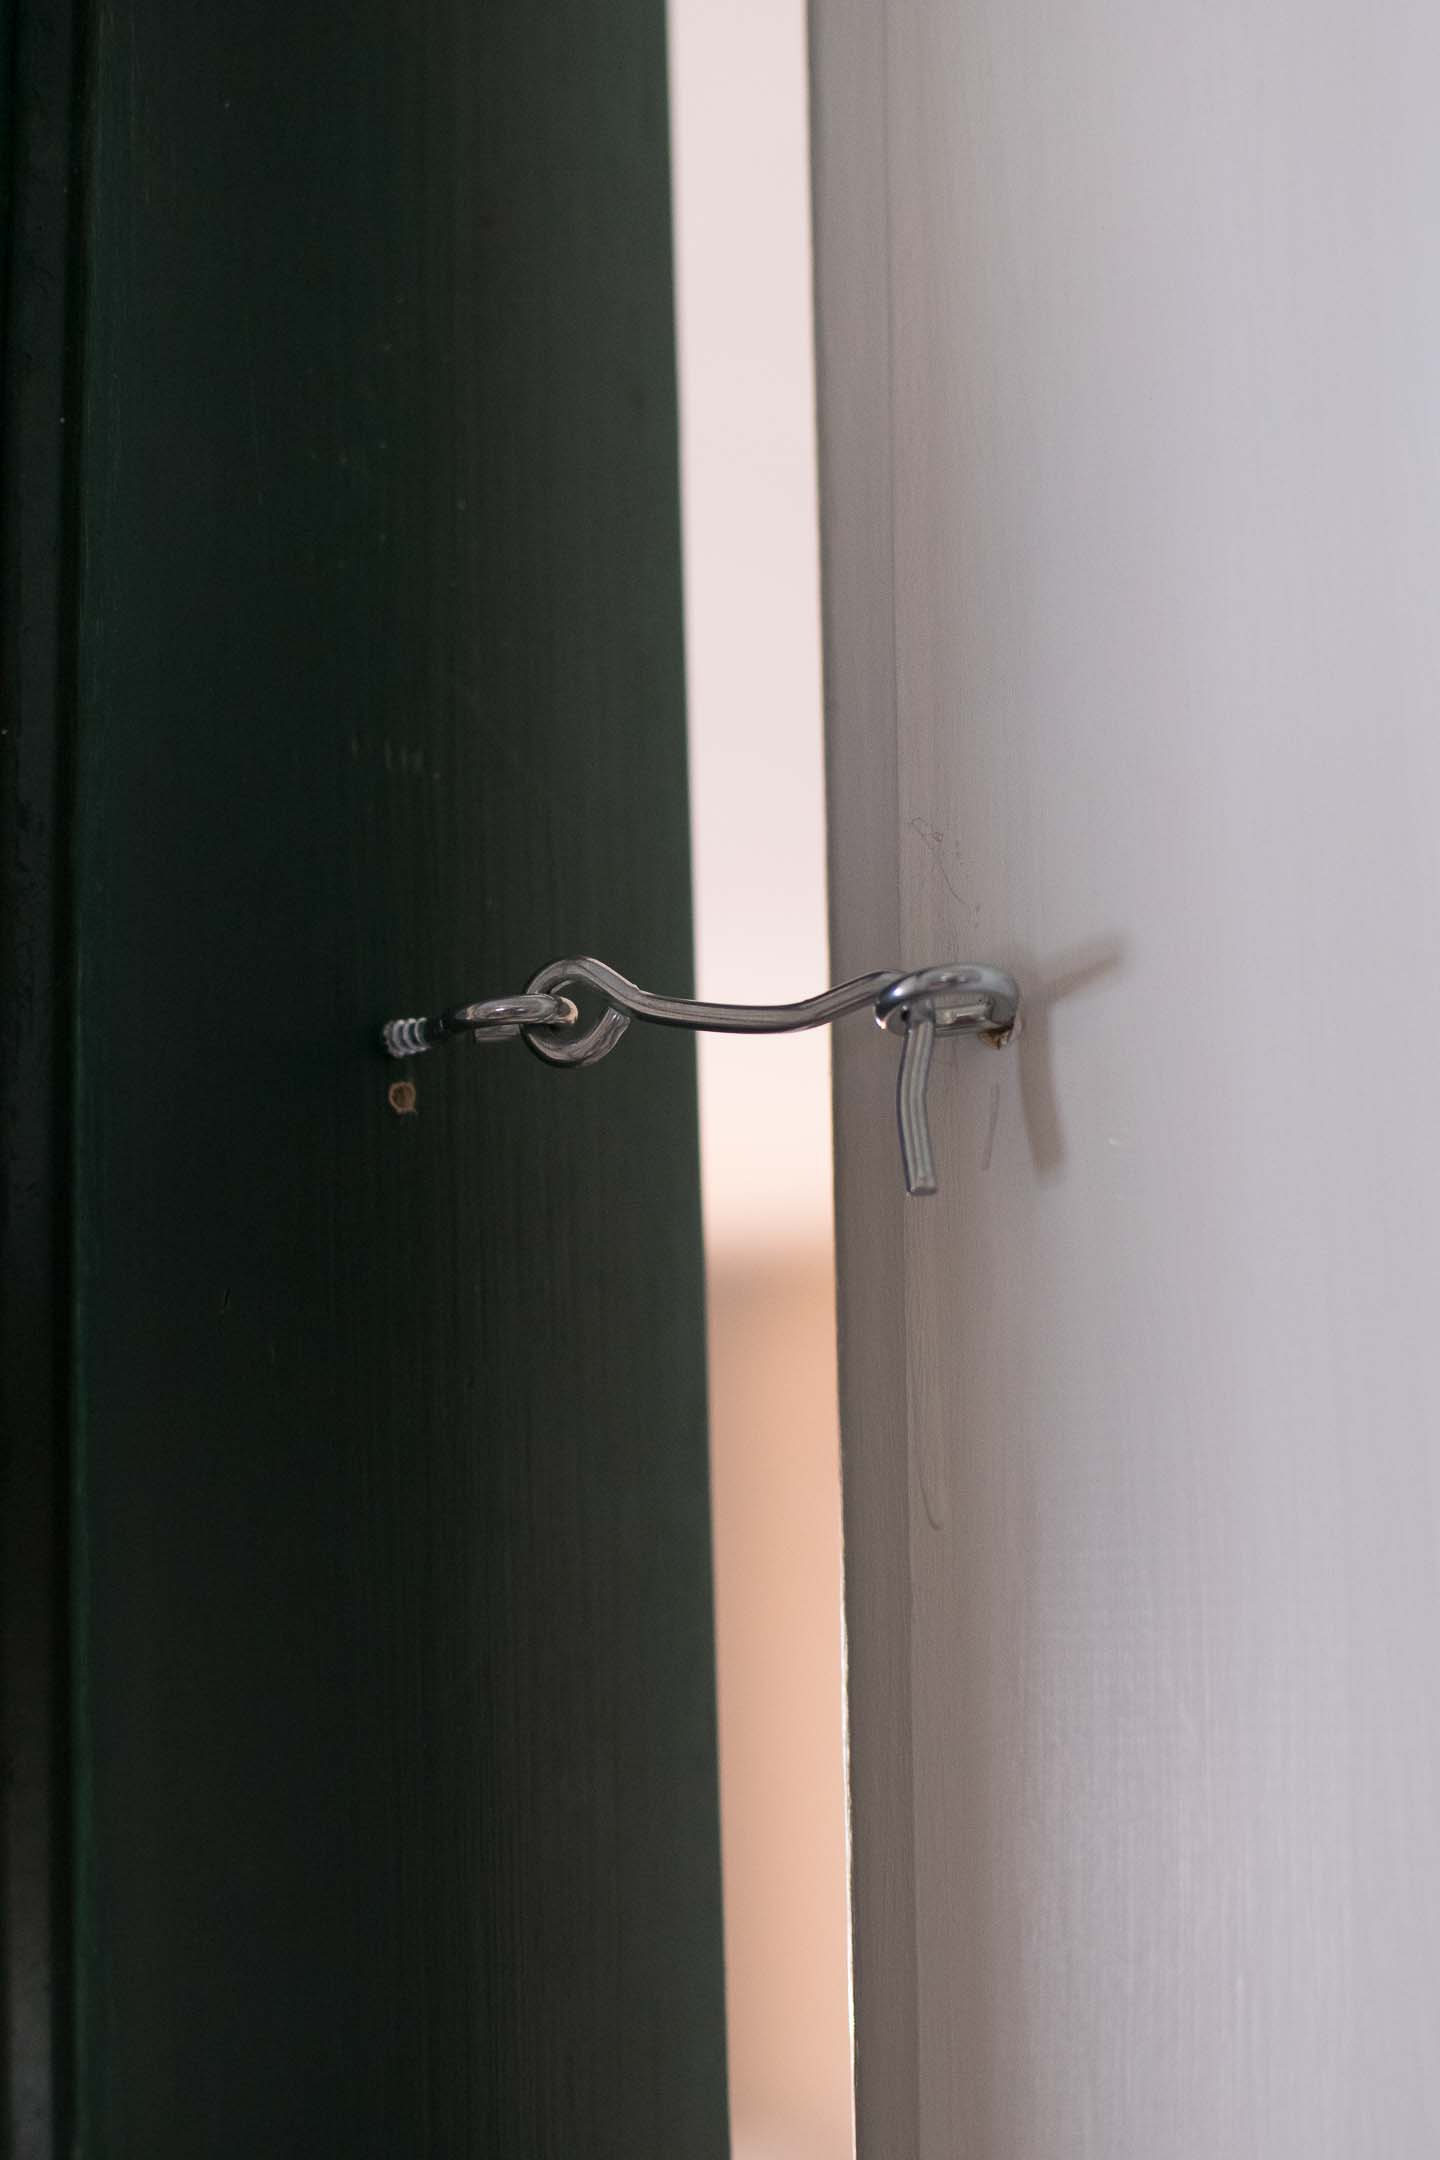
We Really Needed a Lock
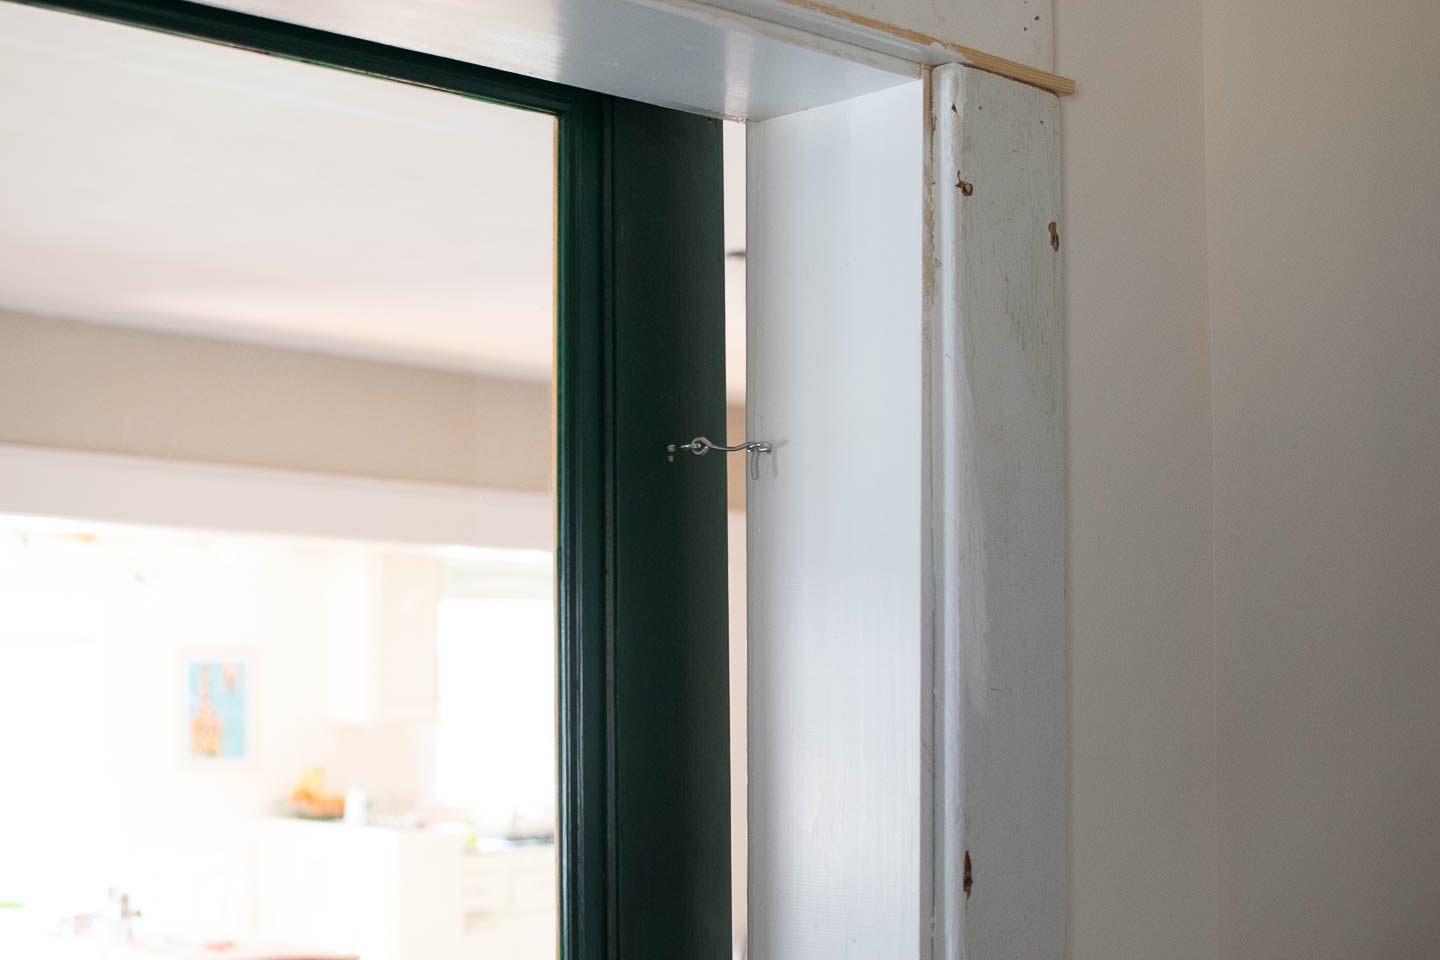
Since the door is so far away from the wall the traditional barn door lock wouldn't work for us.
Haverly took to sliding the door open and closed a zillion times the first day it was up so we just grabbed a hook closure from our local hardware store.
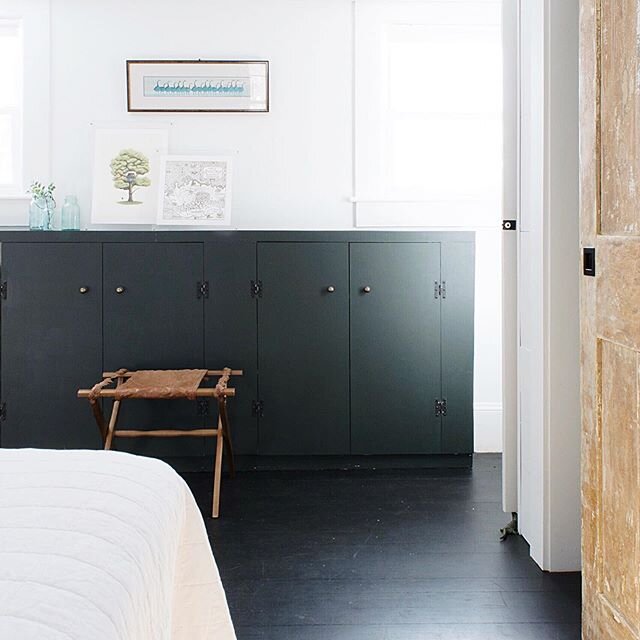
It isn't the prettiest "lock" but we can lock it from the living room or the office, in these pictures you can see it from the office side (I might end up keeping the rich hunter green door color on the back).
Reality Check
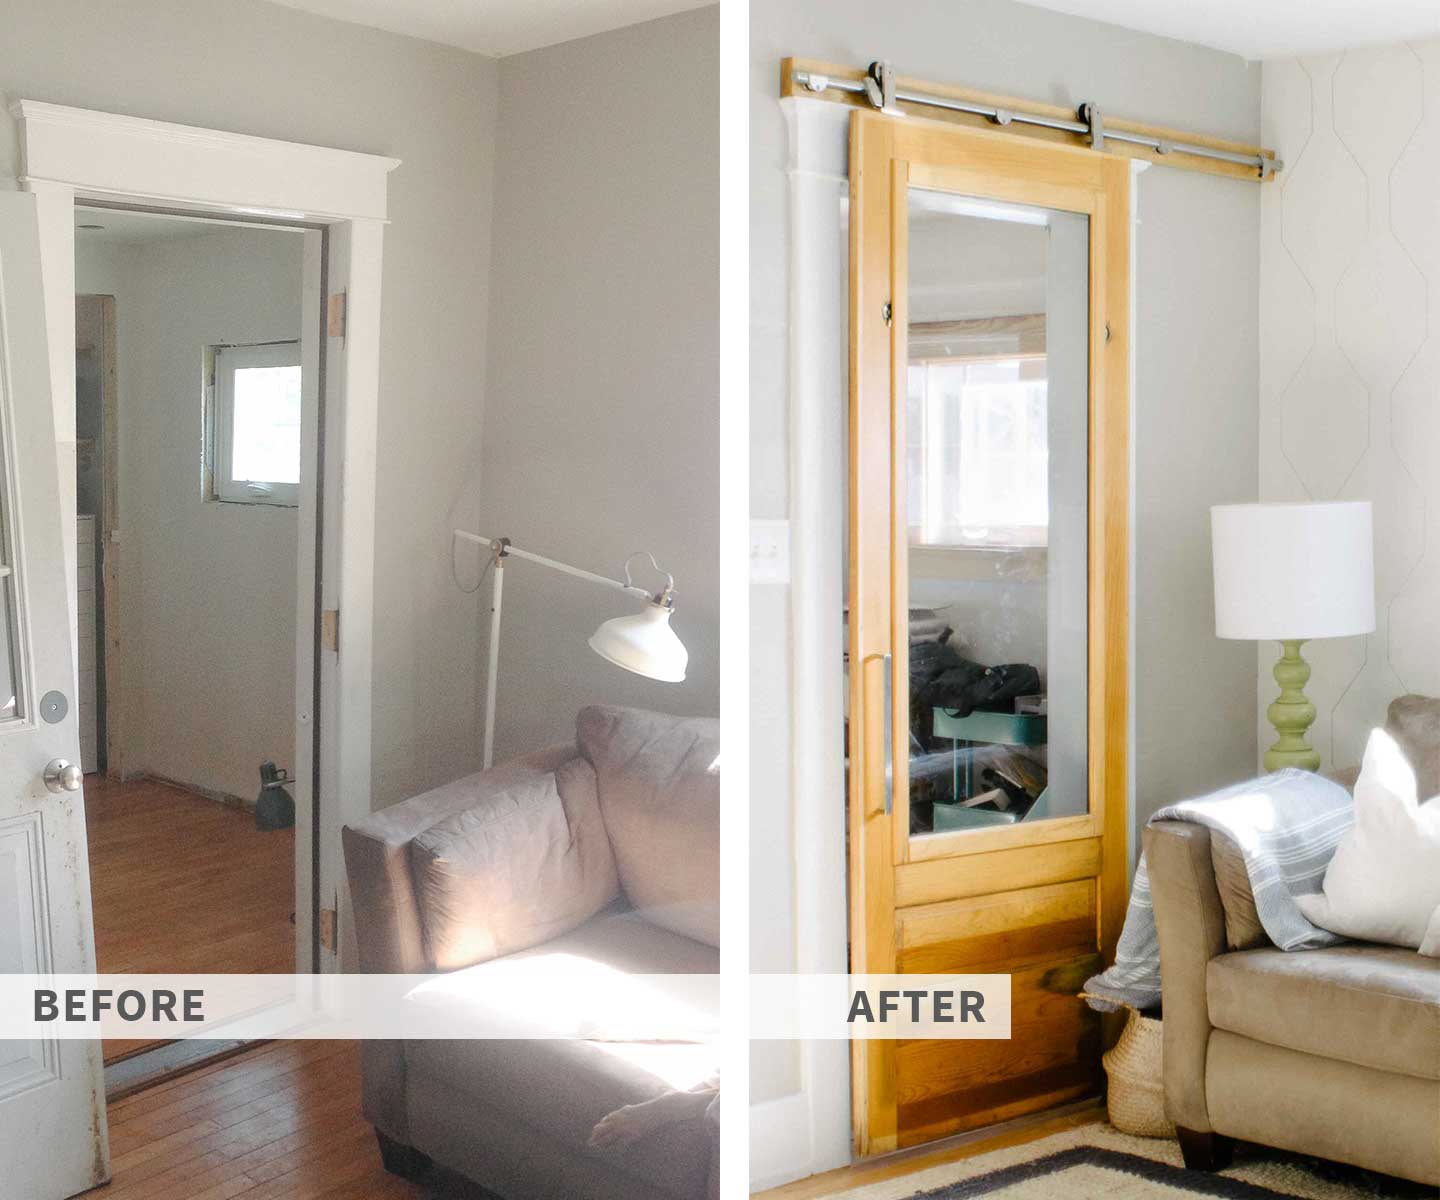
So all-together, this modern sliding door cost us about $100 not including the wood and stain which we already had. It also took us almost two years to find all the materials within our budget; keep that in mind when you are on the hunt for materials that work, if you have a shorter time-frame to work within, you may need to spend more on materials.
Before we started this venture, I really wasn't sure if a modern sliding door could be pulled of without being a brand new or a barn style. I think we got a great looking office entry that adds to the character of our bungalow instead of taking away.
Looking for something similar?