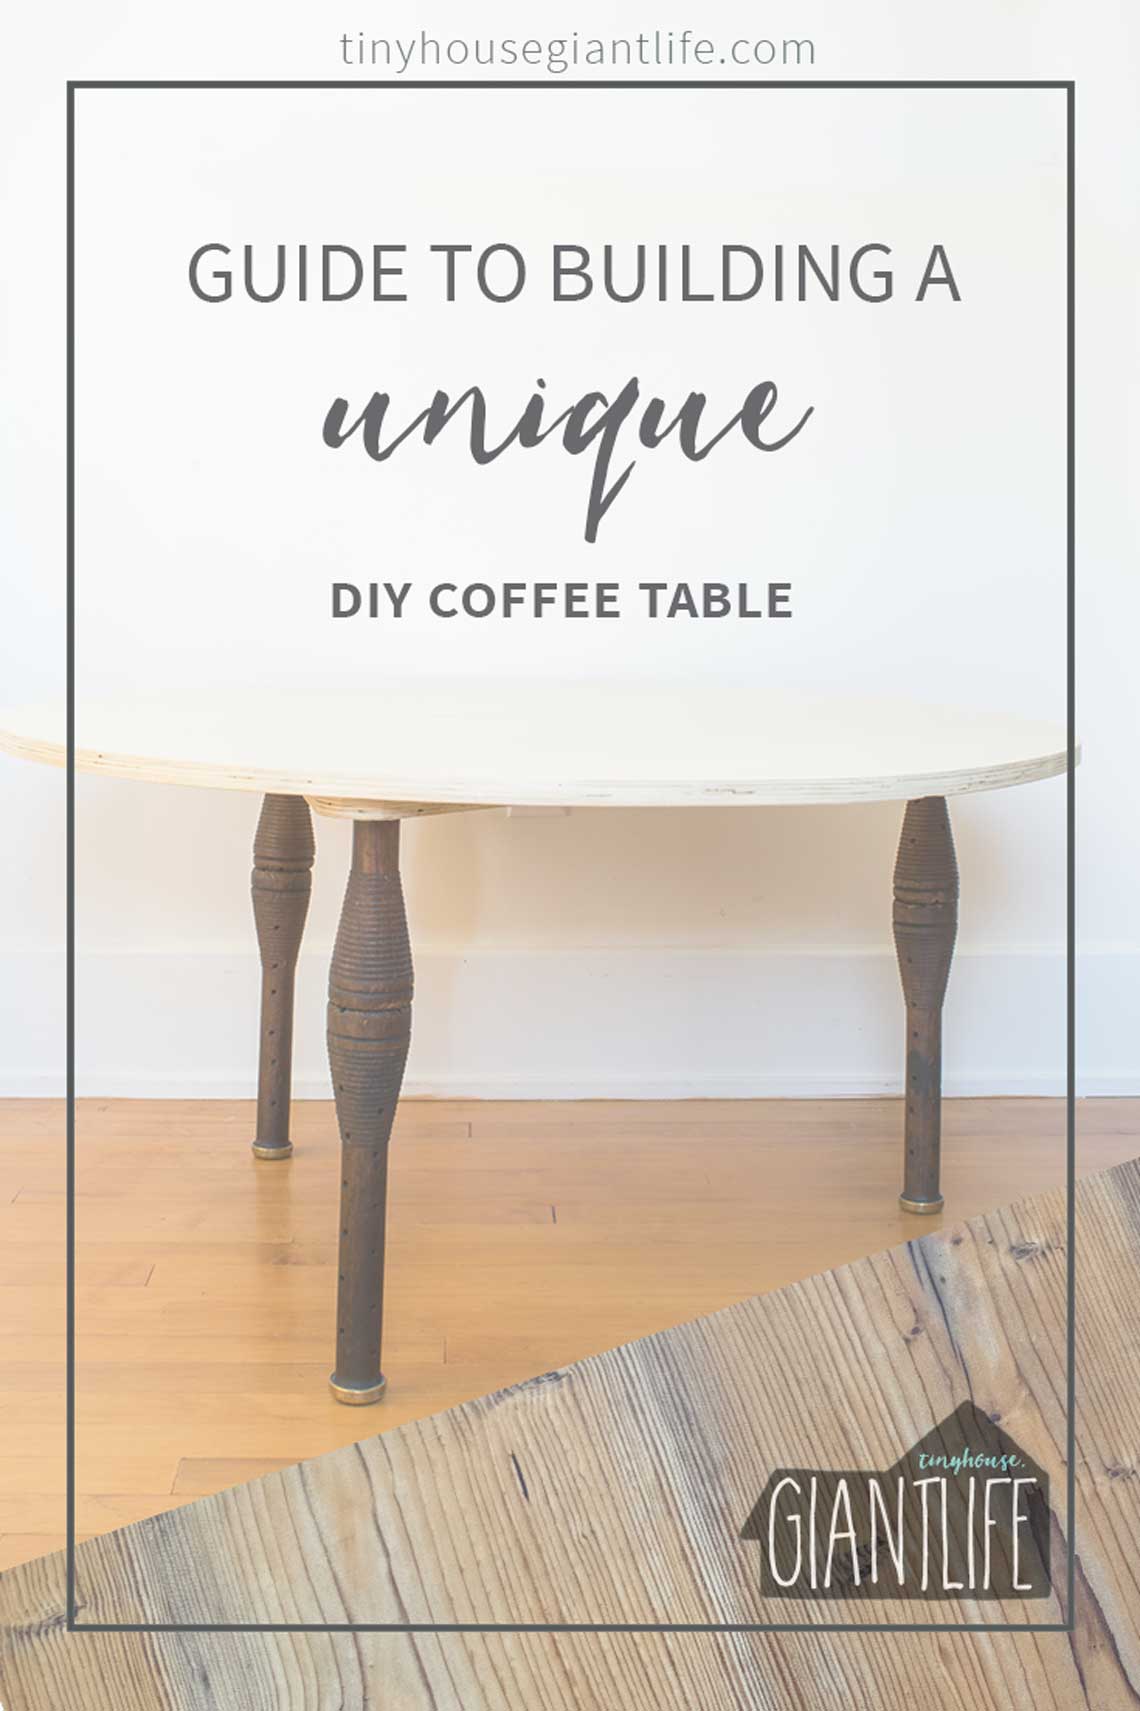
A Guide To Building A Unique DIY Coffee Table
/This post may contain affiliate links. Read the full disclosure here.
Anybody else have trouble with decisions when it comes to DIY-ing? For our DIY Coffee table I wanted every idea to be the most original thing that ever existed before I went ahead and started the project.
Of course in the world of pinterest, thats pretty difficult to come by these days.
If you know me at all you know that perfection is not my forte, so I gathered inspiration and forged on with our DIY, deciding to not caring if something similar had been done.
Low and behold, we ended up with a truly unique DIY project with table legs I haven't seen anywhere before (Tell me if you have!)
Decide What Shape & Size DIY Coffee Table
Figure out what doesn't work for you first.
We knew another long narrow table wouldn't work with the shape of our room, we needed something that would elongate the seating area so one side of the room wasn't barren.
Then come up with two or three shapes or sizes you think could work.
I thought a large square table would be a dream for our daughter to play on, and my sister-in-law suggested a round table when I took a poll, the round ended up being the best option.
Use tools to visualize them in your space.
Using design software, coloring pages like we have done, or taping the area off in your space.
Take a poll.
Be warned this can backfire! Make sure you really want others ideas, and make sure that you are not the type of person who gets overwhelmed with too many ideas, or second guesses if a friend doesn't like what you do. I can't even tell you how many clients I've had who change things they love because the neighbor down the street had some silly comment to make about their design choice. You be YOU, let them be cookie cutter boring, your the one making it, living with it, and spending your hard earned money on it! Rant over...now back to the main event.
Think about the Width & Height.
Are you putting your feet on the table? The height is really going to matter in comparison to your couch height. We needed two feet in the narrowest areas and eventually settled on a 36" diameter top. Our height @ 18" is too tall for resting feet (thats a project for the future !), but that was a great height for our daughter to stand a play at (at least for a week or two before she grows like a weed).
Additional Reading:
Open concept living room design plans
How we conquer design dilemmas
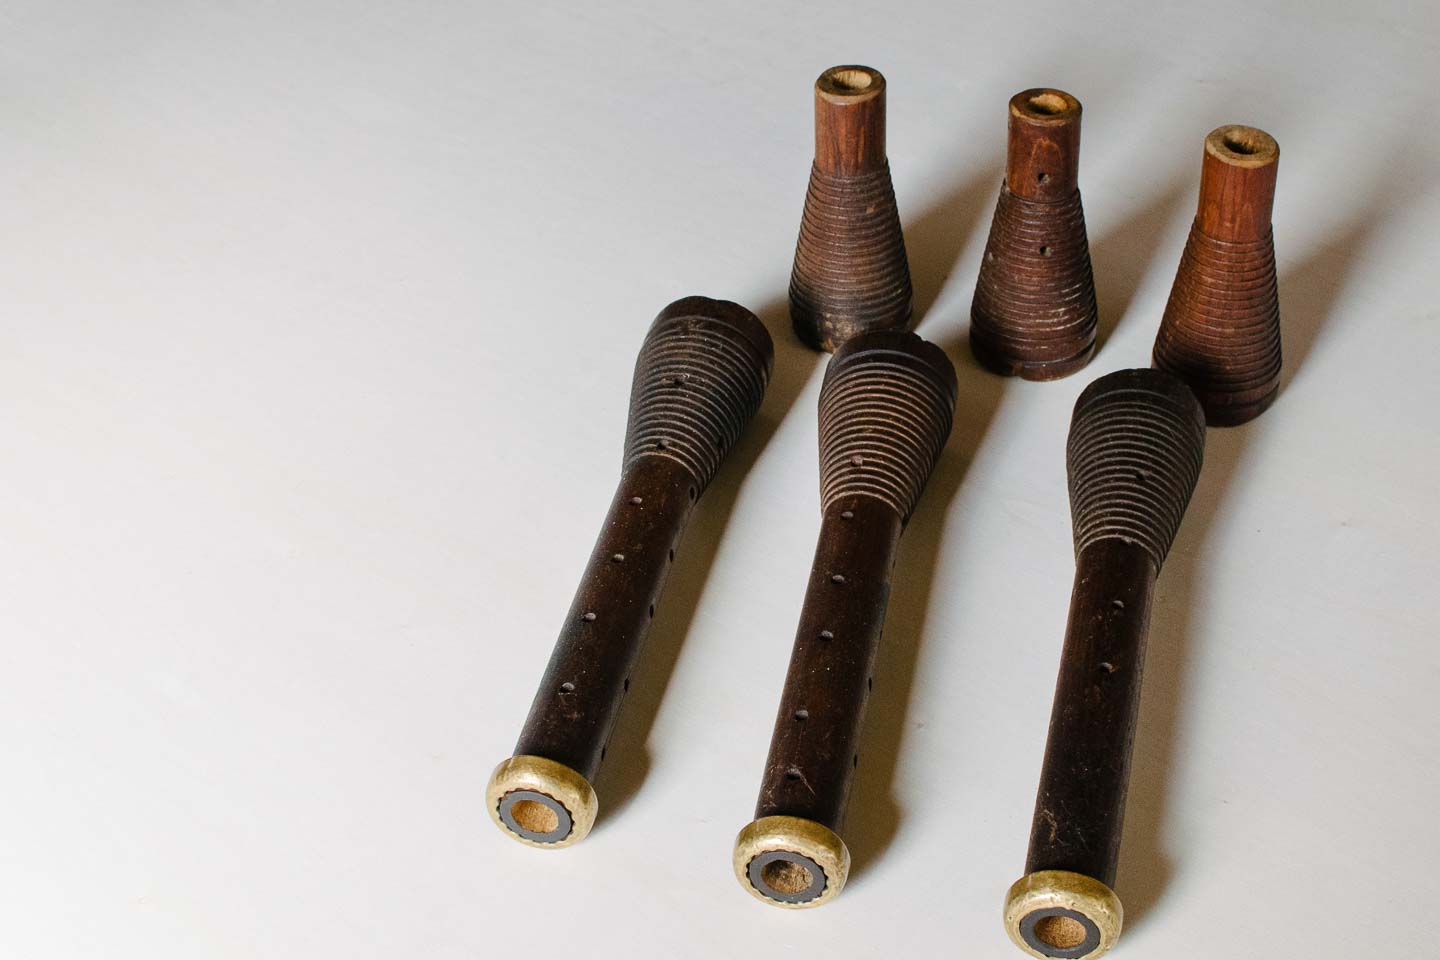
Find Table Legs
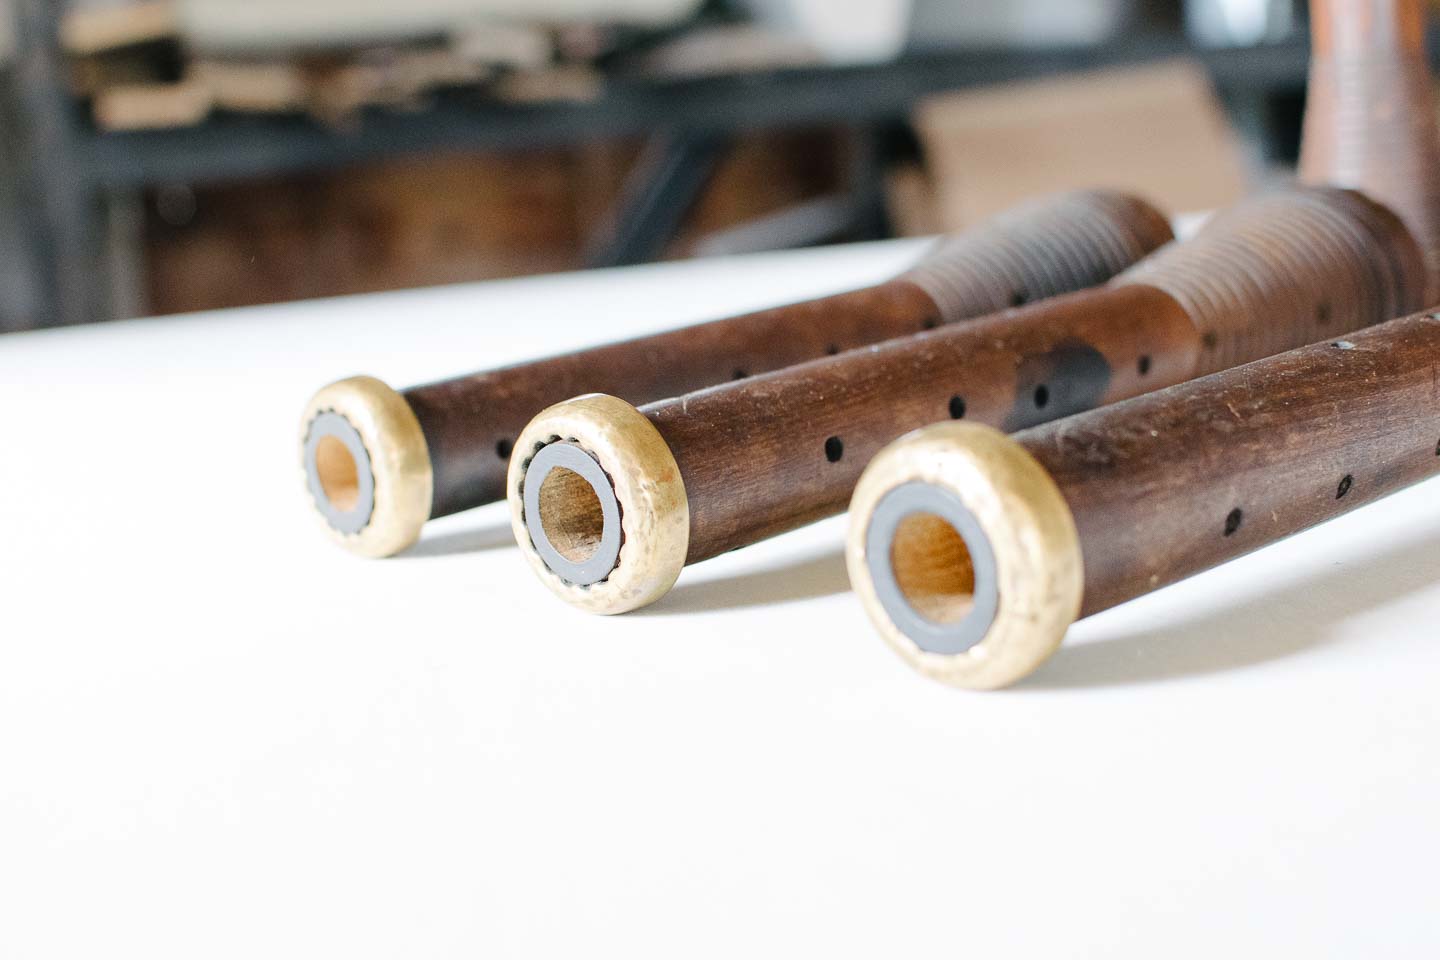
We had already found these "table legs" at last summers antique show. One vender had boxes stacked full of these industrial spools, possibly for yarn or thread. They were amazing and I didn't know what project I would use them for but I knew they would be fantastic legs (and the brass rings were perfect for bottom pieces)
Search around online for ideas , then when you start seeing items at yard sales, flea markets, or craigslist you will know what you want to use items for and what a good price might be. I believe I spent 5 dollars for the little ones and another 15 each for the larger with brass.
Think About Construction
I actually had four spools of each size but fell in love with the idea of a three legged table. I needed to get both legs together for a reasonable height. So would three be sturdy enough? And how would we construct them?
I was inspired by this little three legged side table with the legs sticking up.
Additional Reading
Emily Henderson's entire Curbly project (which I loved EVERYTHING)
Decide on Top
For us, plywood made the most sense. Its sturdier than your average piece of wood, has beautiful veneers to choose from, and you can always paint. I really wanted to balance the antique and quirky legs out with something simple, and clean lined. Having seen these two posts (Linked below) about blogger's using plywood without any edge banding, I was sold on the fun look. (I was a construction science major so I think the raw material just appealed to me).
See Vintage Revival's Post With Plywood Top
See Almost Makes Perfect's Coffee Table
Cutting a round top won't be the easiest thing you've ever done. We used a string and pencil with our 18" diameter to mark the circle.
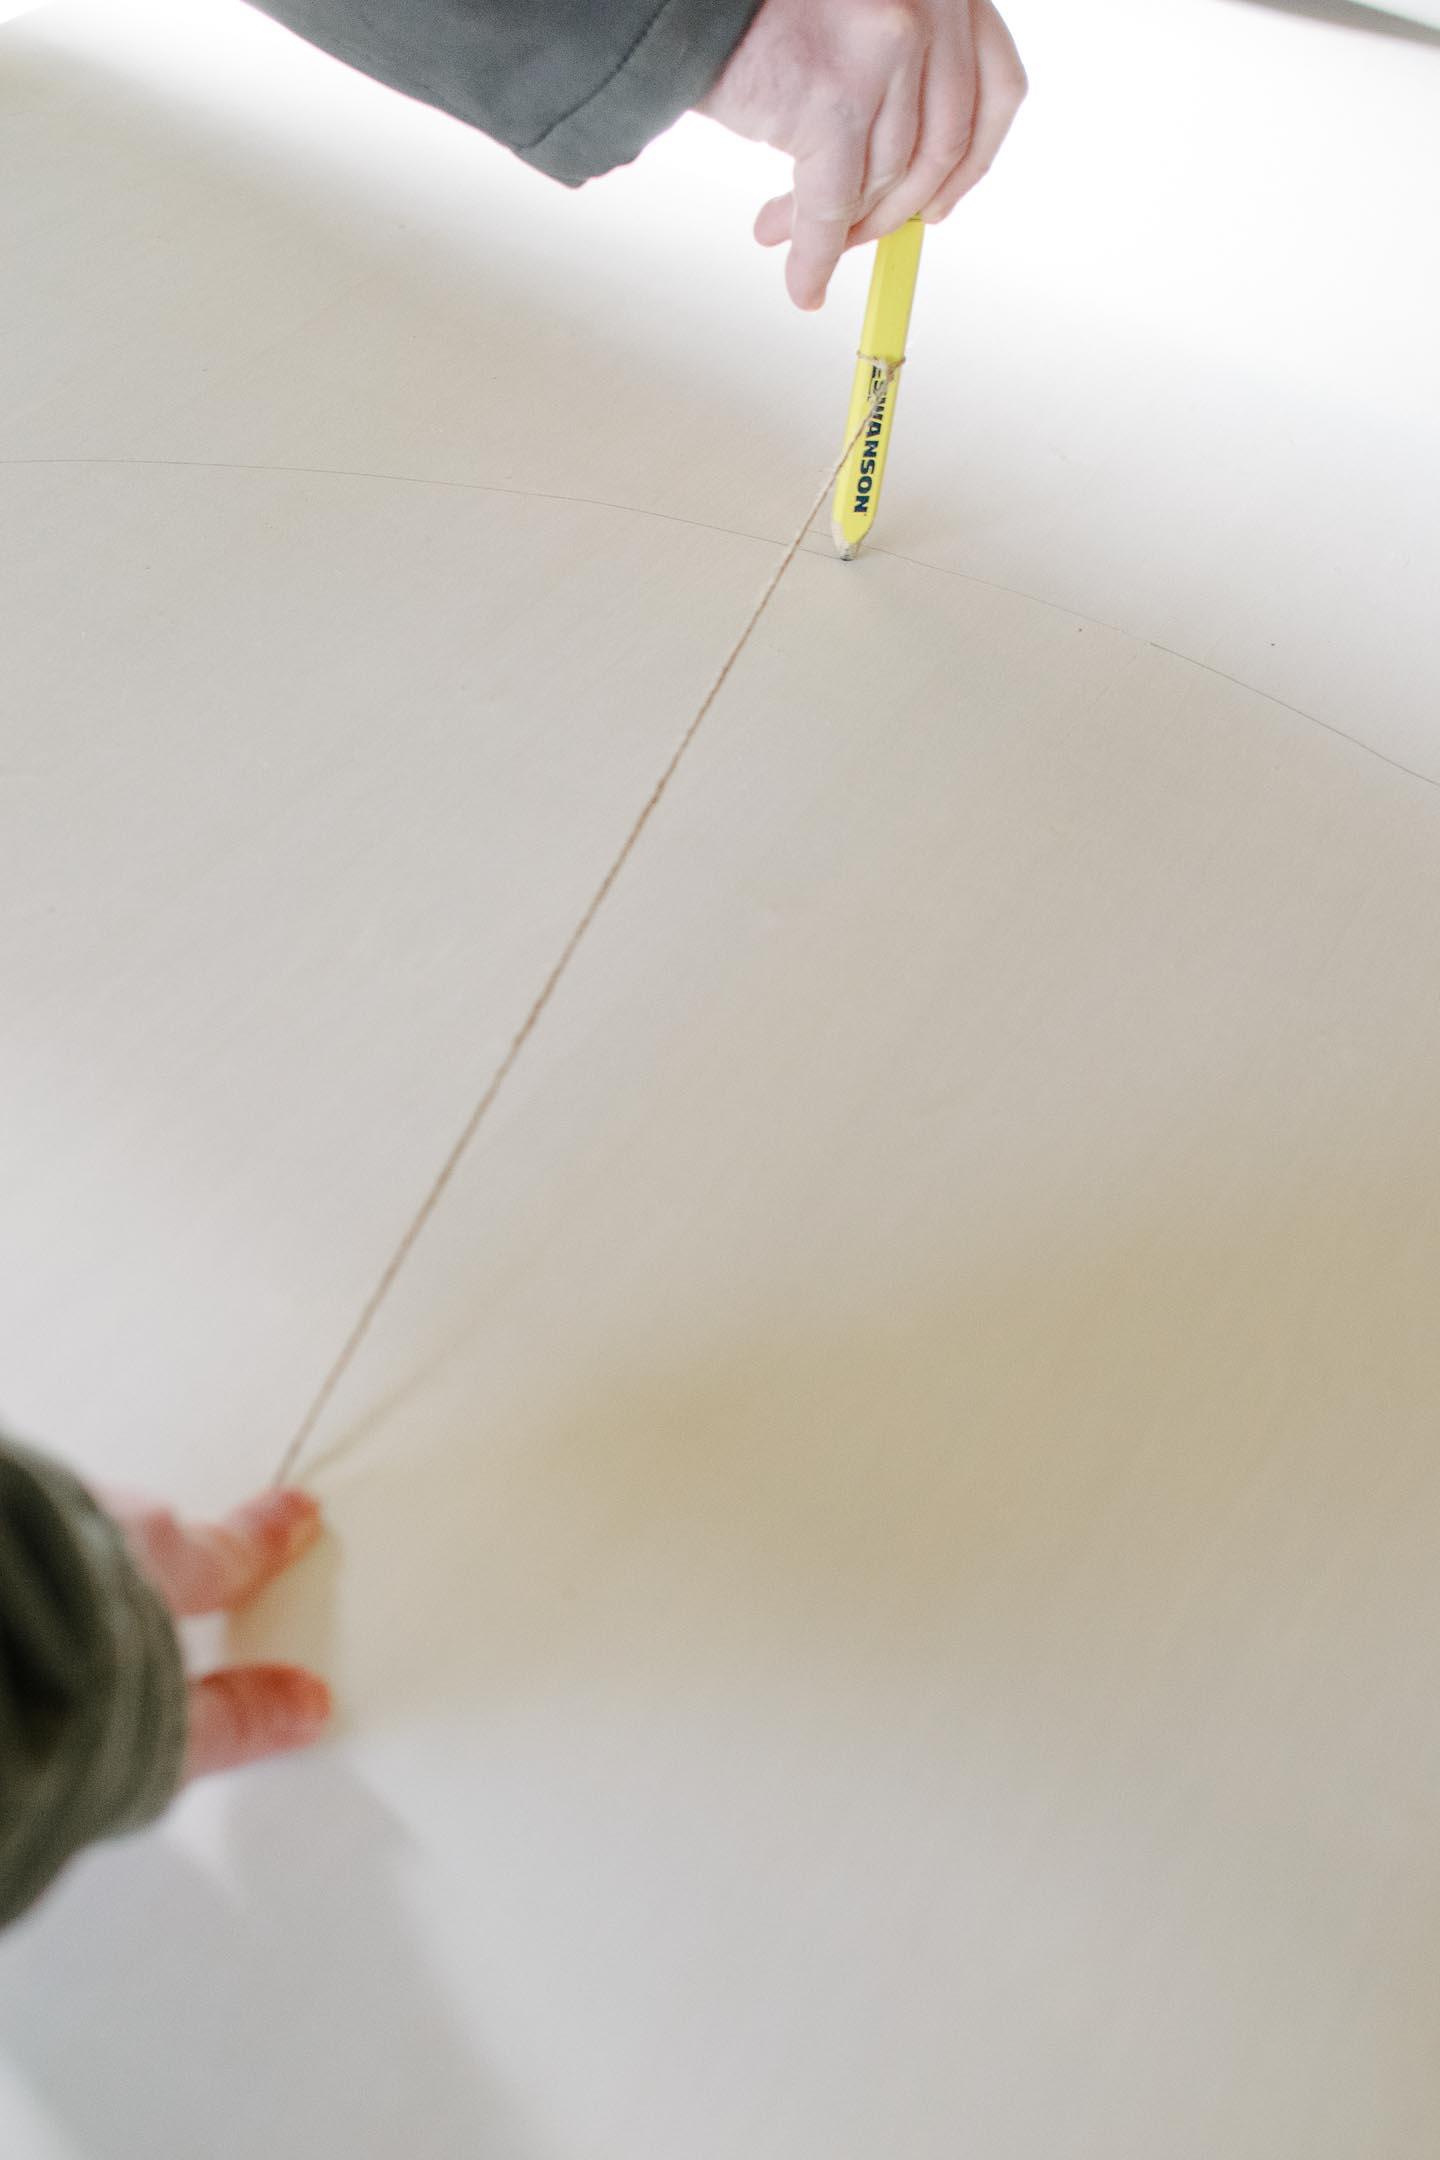
See that double line? Make sure you are holding the pencil straight up and down and taunt as your draw.

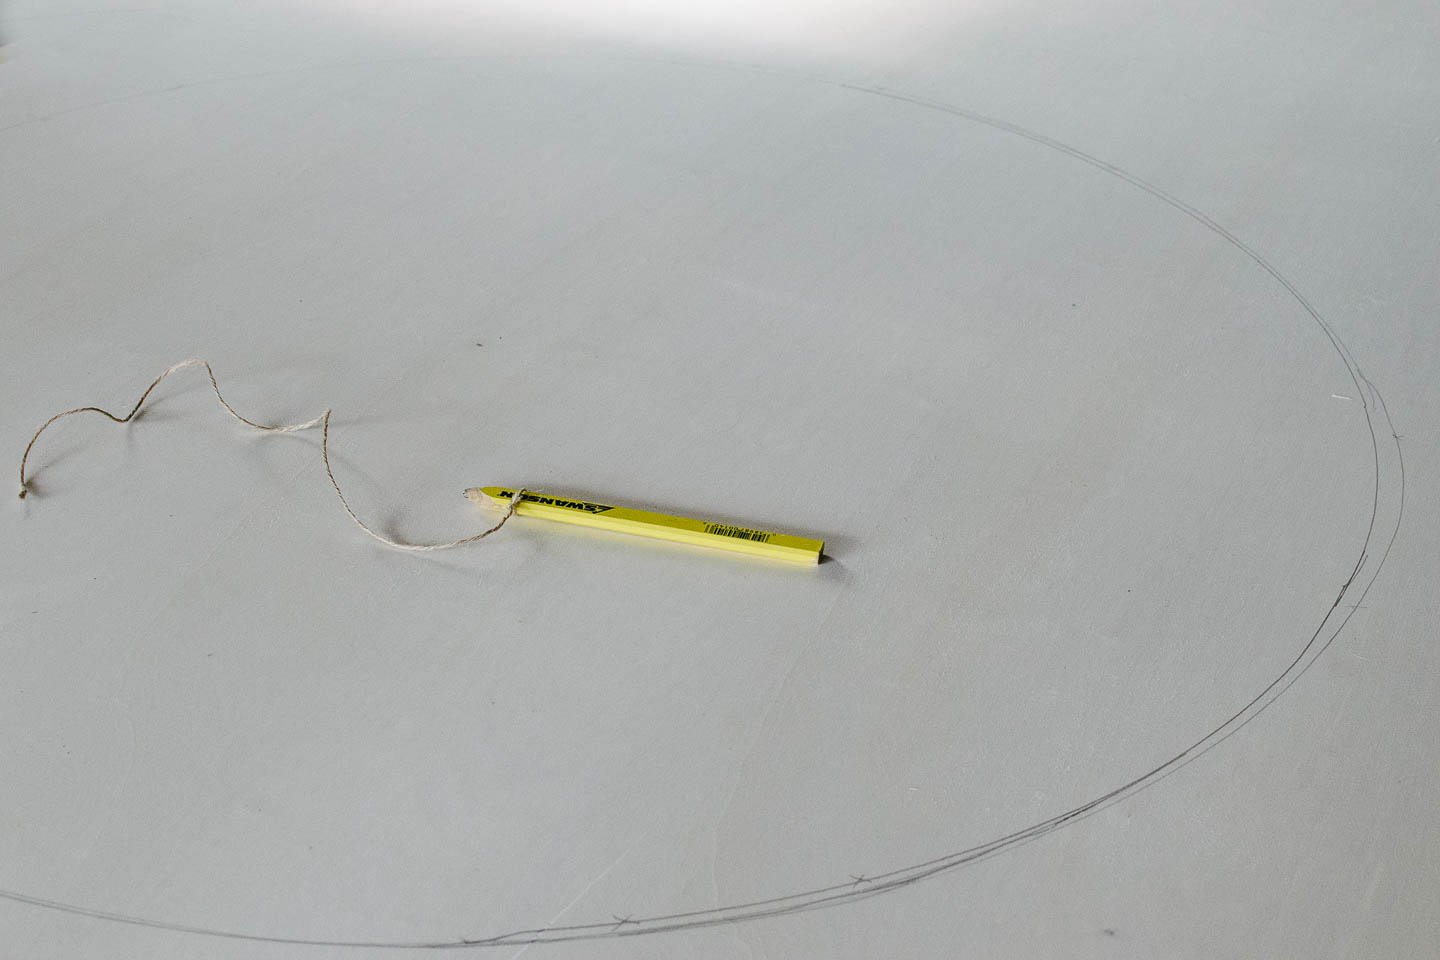
Then taped over the lines and re-drew them. The tape will help with any splitting that could occur when you cut the circle with a jig-saw.
Put the DIY coffee table together
Legs, Washer's & Bolts
We used threaded rod, washers and bolts to tighten the two leg pieces together and make one.

Bottom Apron, Legs Bolted through
We cut a triangle piece to fit under the circle as our apron, drilled through and bolted the legs onto the triangle apron.


Drill to Inset Bolts
On the underside of the circle top, we drilled for the washer & nuts to be inset. Be very careful not to punch through the entire top (I had to look away while Mitch completed this portion, I just couldn't handle it)

Screw to top
Finally you will line up the inset drill holes with your legs and everything should sit together nicely. Go ahead and screw everything together.


Finish the Top
With plywood you don't have a ton of options for a finish. Wax just doesn't hold up well enough for a piece used as much as a coffee table. So, polyurethane it was, 6 coats with sanding in-between and cure time will set you back almost a week.
When I took the finish picture's the table was still curing so I had to move quick and hope nothing stuck to it. Thankfully it turned out okay and I got the picture's in time for the post.
Additional Reading:
Here is a DIY hairpin coffee table from Yellow Brick Home, watch the awesome video for some detail's on finishing your top & curing time.
Style Like Crazy


Additional Reading:
Check Out Emily Henderson's Book Styled if you really want help with creating useful & beautiful vignettes in your household, it was a must for me.
Tip: Don't get too "Set" on any aspect of the design
I originally bought the legs for two separate projects, but when we decided it was time to figure out the coffee table situation, I knew we needed to use some items we already owned. The tall legs were only 12" alone, far to low for a reasonable coffee table. Adapt your design around what you have and what you need.
We also couldn't decide about the top finish for the life of us. I was torn worrying that wood would be too much wood, and painting just the top would be so busy. When we looked at the options for plywood...low and behold "blonde" plywood! It was totally meant to be that we couldn't decide because the right thing just fell into our laps.
Tip: Remember perfection is the death of creativity
Let me be the first to tell you that DIY are rarely perfect, and this is no exclusion to the rule. The circle is not perfectly round and we couldn't sand it too rough without fear of the veneer peeling up around the edges.
If you want perfect, you need to purchase from a master carpenter and pay for it, its as simple as that. If you want the YOU in do-it-yourself because its unique and thrilling, get up off your butt and do it. Once its done, love the little things that make it real, and all yours.
Have truly unique DIY in your home? Tell me about it!